My First Four Weeks of Green Chef (Plant Powered)

After watching so many ads I finally did it, I took the plunge and got myself a meal kit. This is the second meal kit I have ever tried and I was really excited about it, spoiler alert things turned out really well! So let’s talk about the process of getting started.

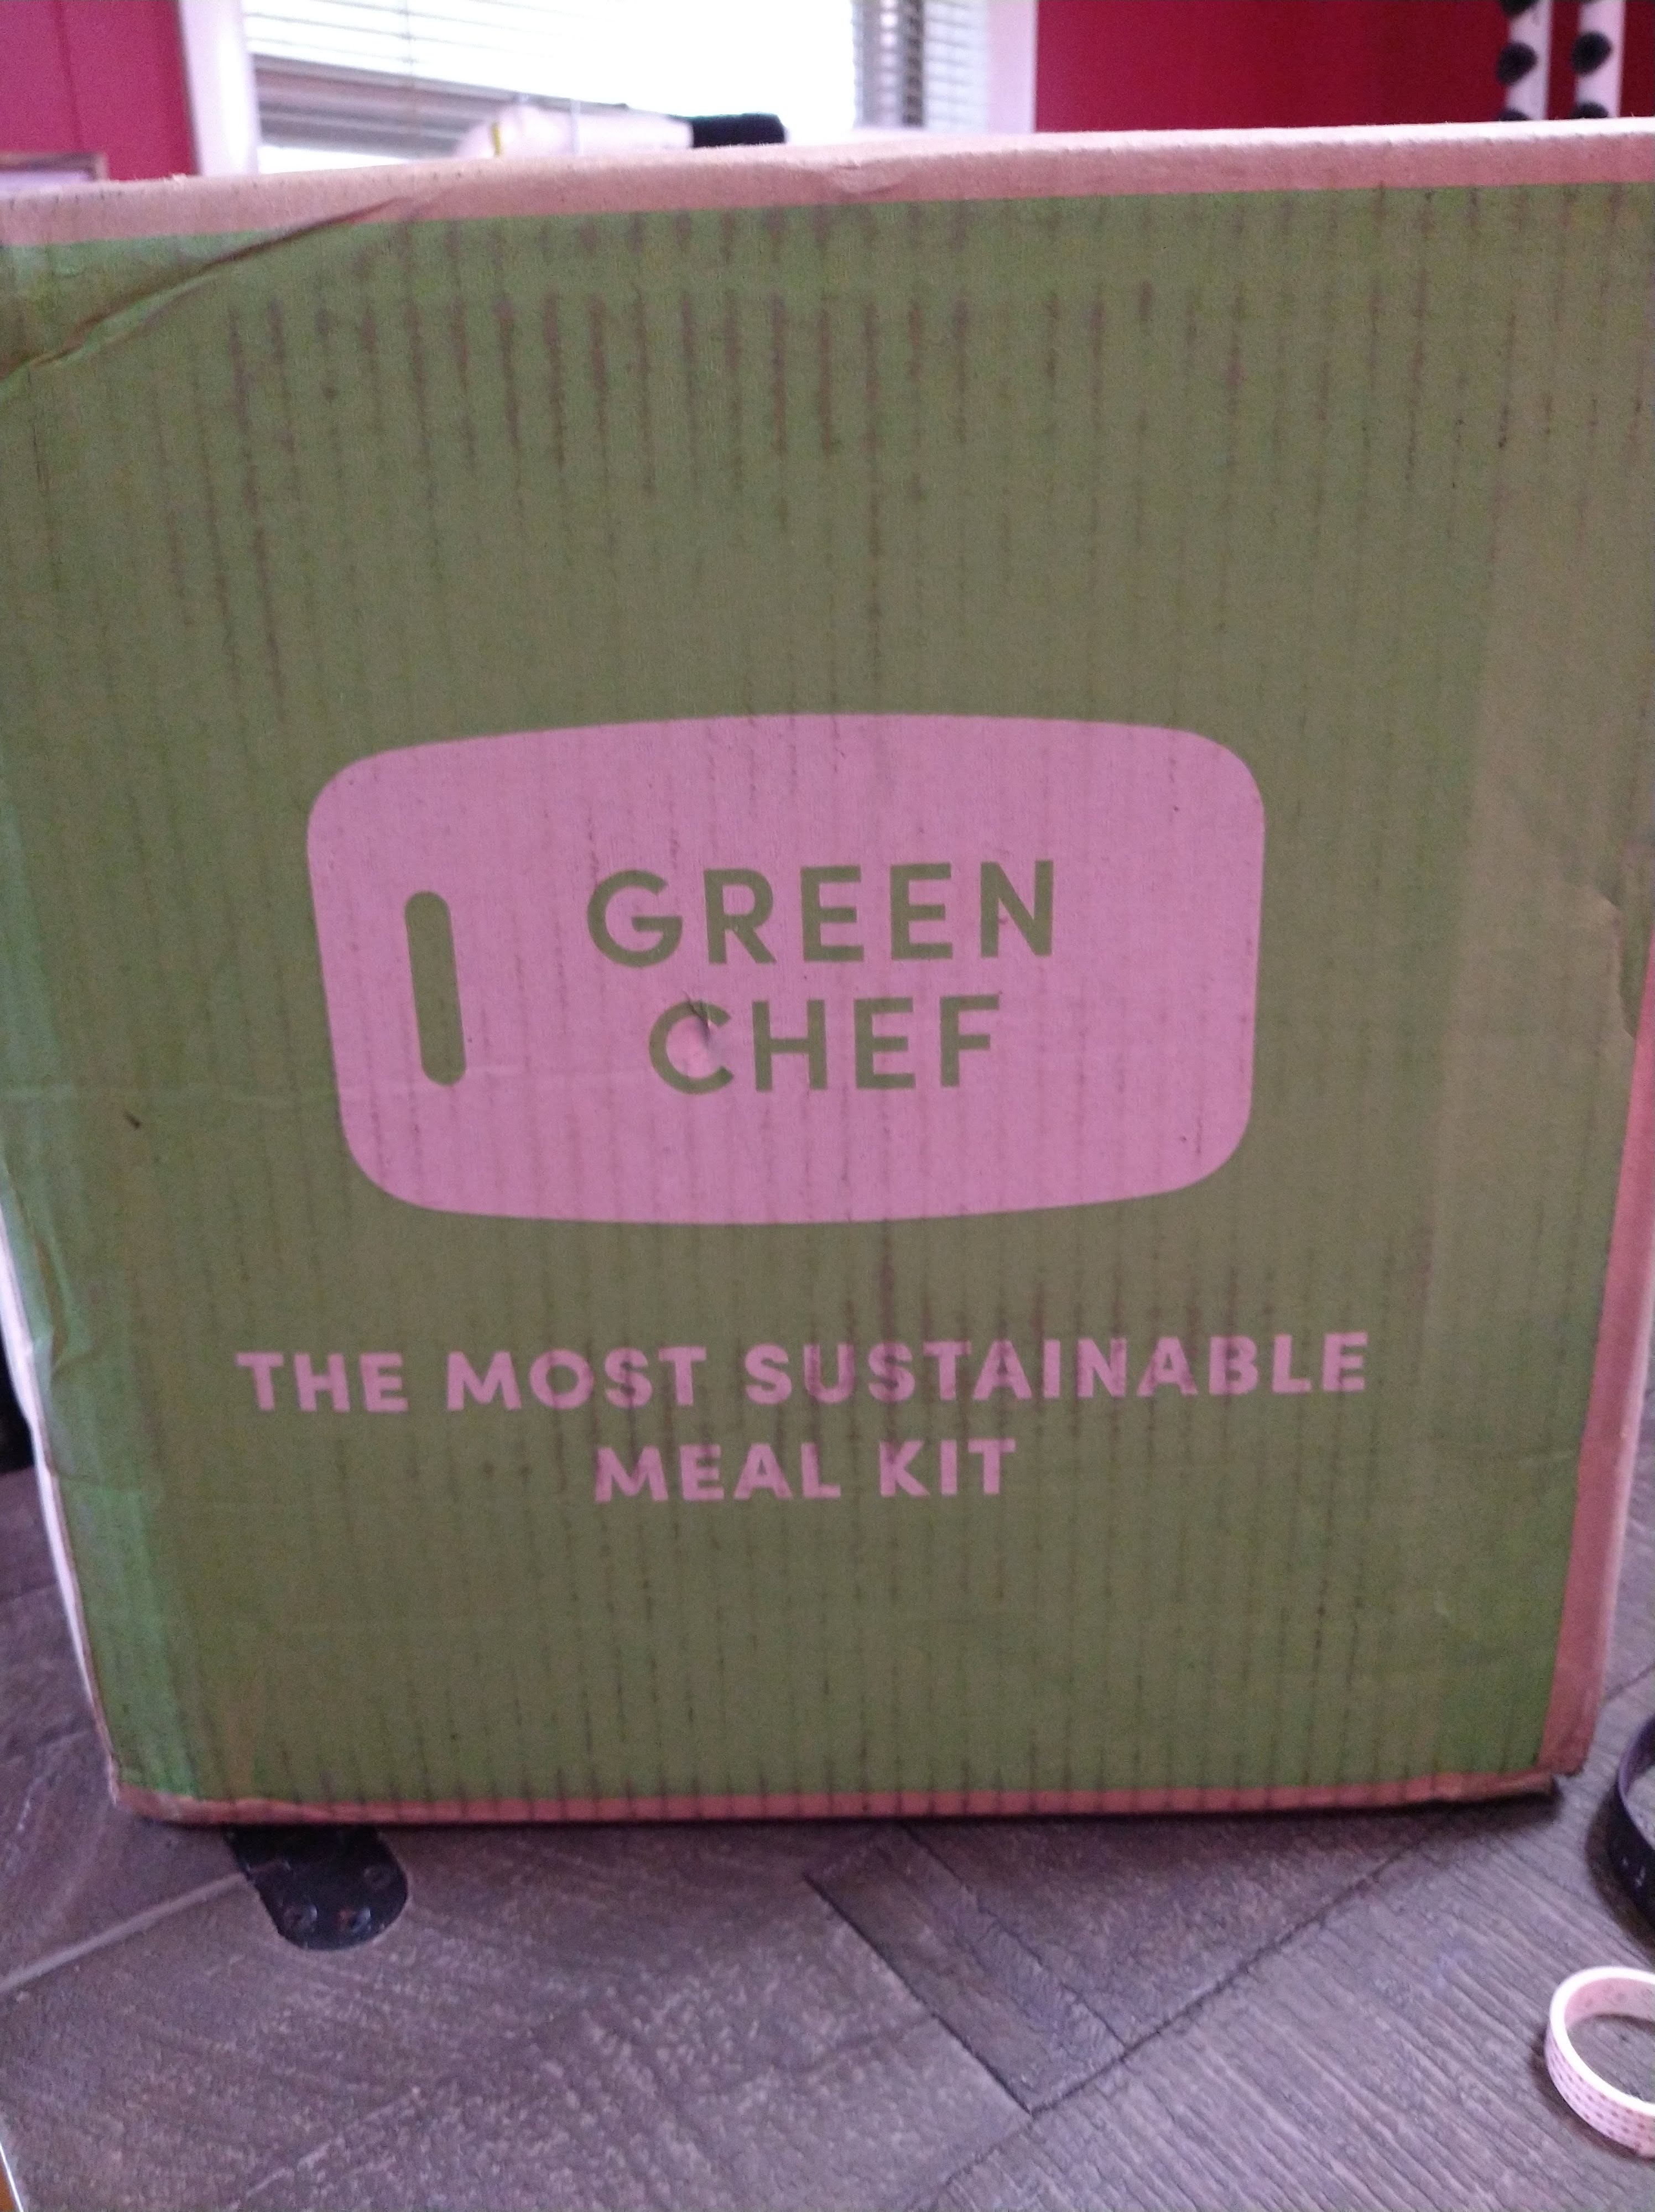
I received a referral code with my online shopping order from New York and Company (I shop with them a lot by the way) and just thought to myself “Why not?”. I wanted to try something new after not going to a restaurant for so long. We’ve had some take out, but it’s just not the same. I heard that Green Chef had really good quality ingredients and would make for a good “Date Night” type of meal.

The website will ask for your general information, of course. Sign up with you name and email address. Then you can pick what kind of meals as well as for how many people (2, 4, 6, 8, or 12). They have meal choices that include Plant-Powered, Balanced Living, and Keto + Paleo. Under each option there are more specific plans, like pork-free or vegan. I love the extra options to personalize the meal kit. I chose the Plant-Powered kit for 2. I am not vegan or vegetarian, but I have been reducing my meat consumption and increasing my vegetable intake in my diet. The website allows you to choose the meal a week before delivery from a list that changes every week. For an extra fee you can choose more meals and basically have your week covered. I wanted to stick with just 3 meals because I love to cook and enjoy my own meals.

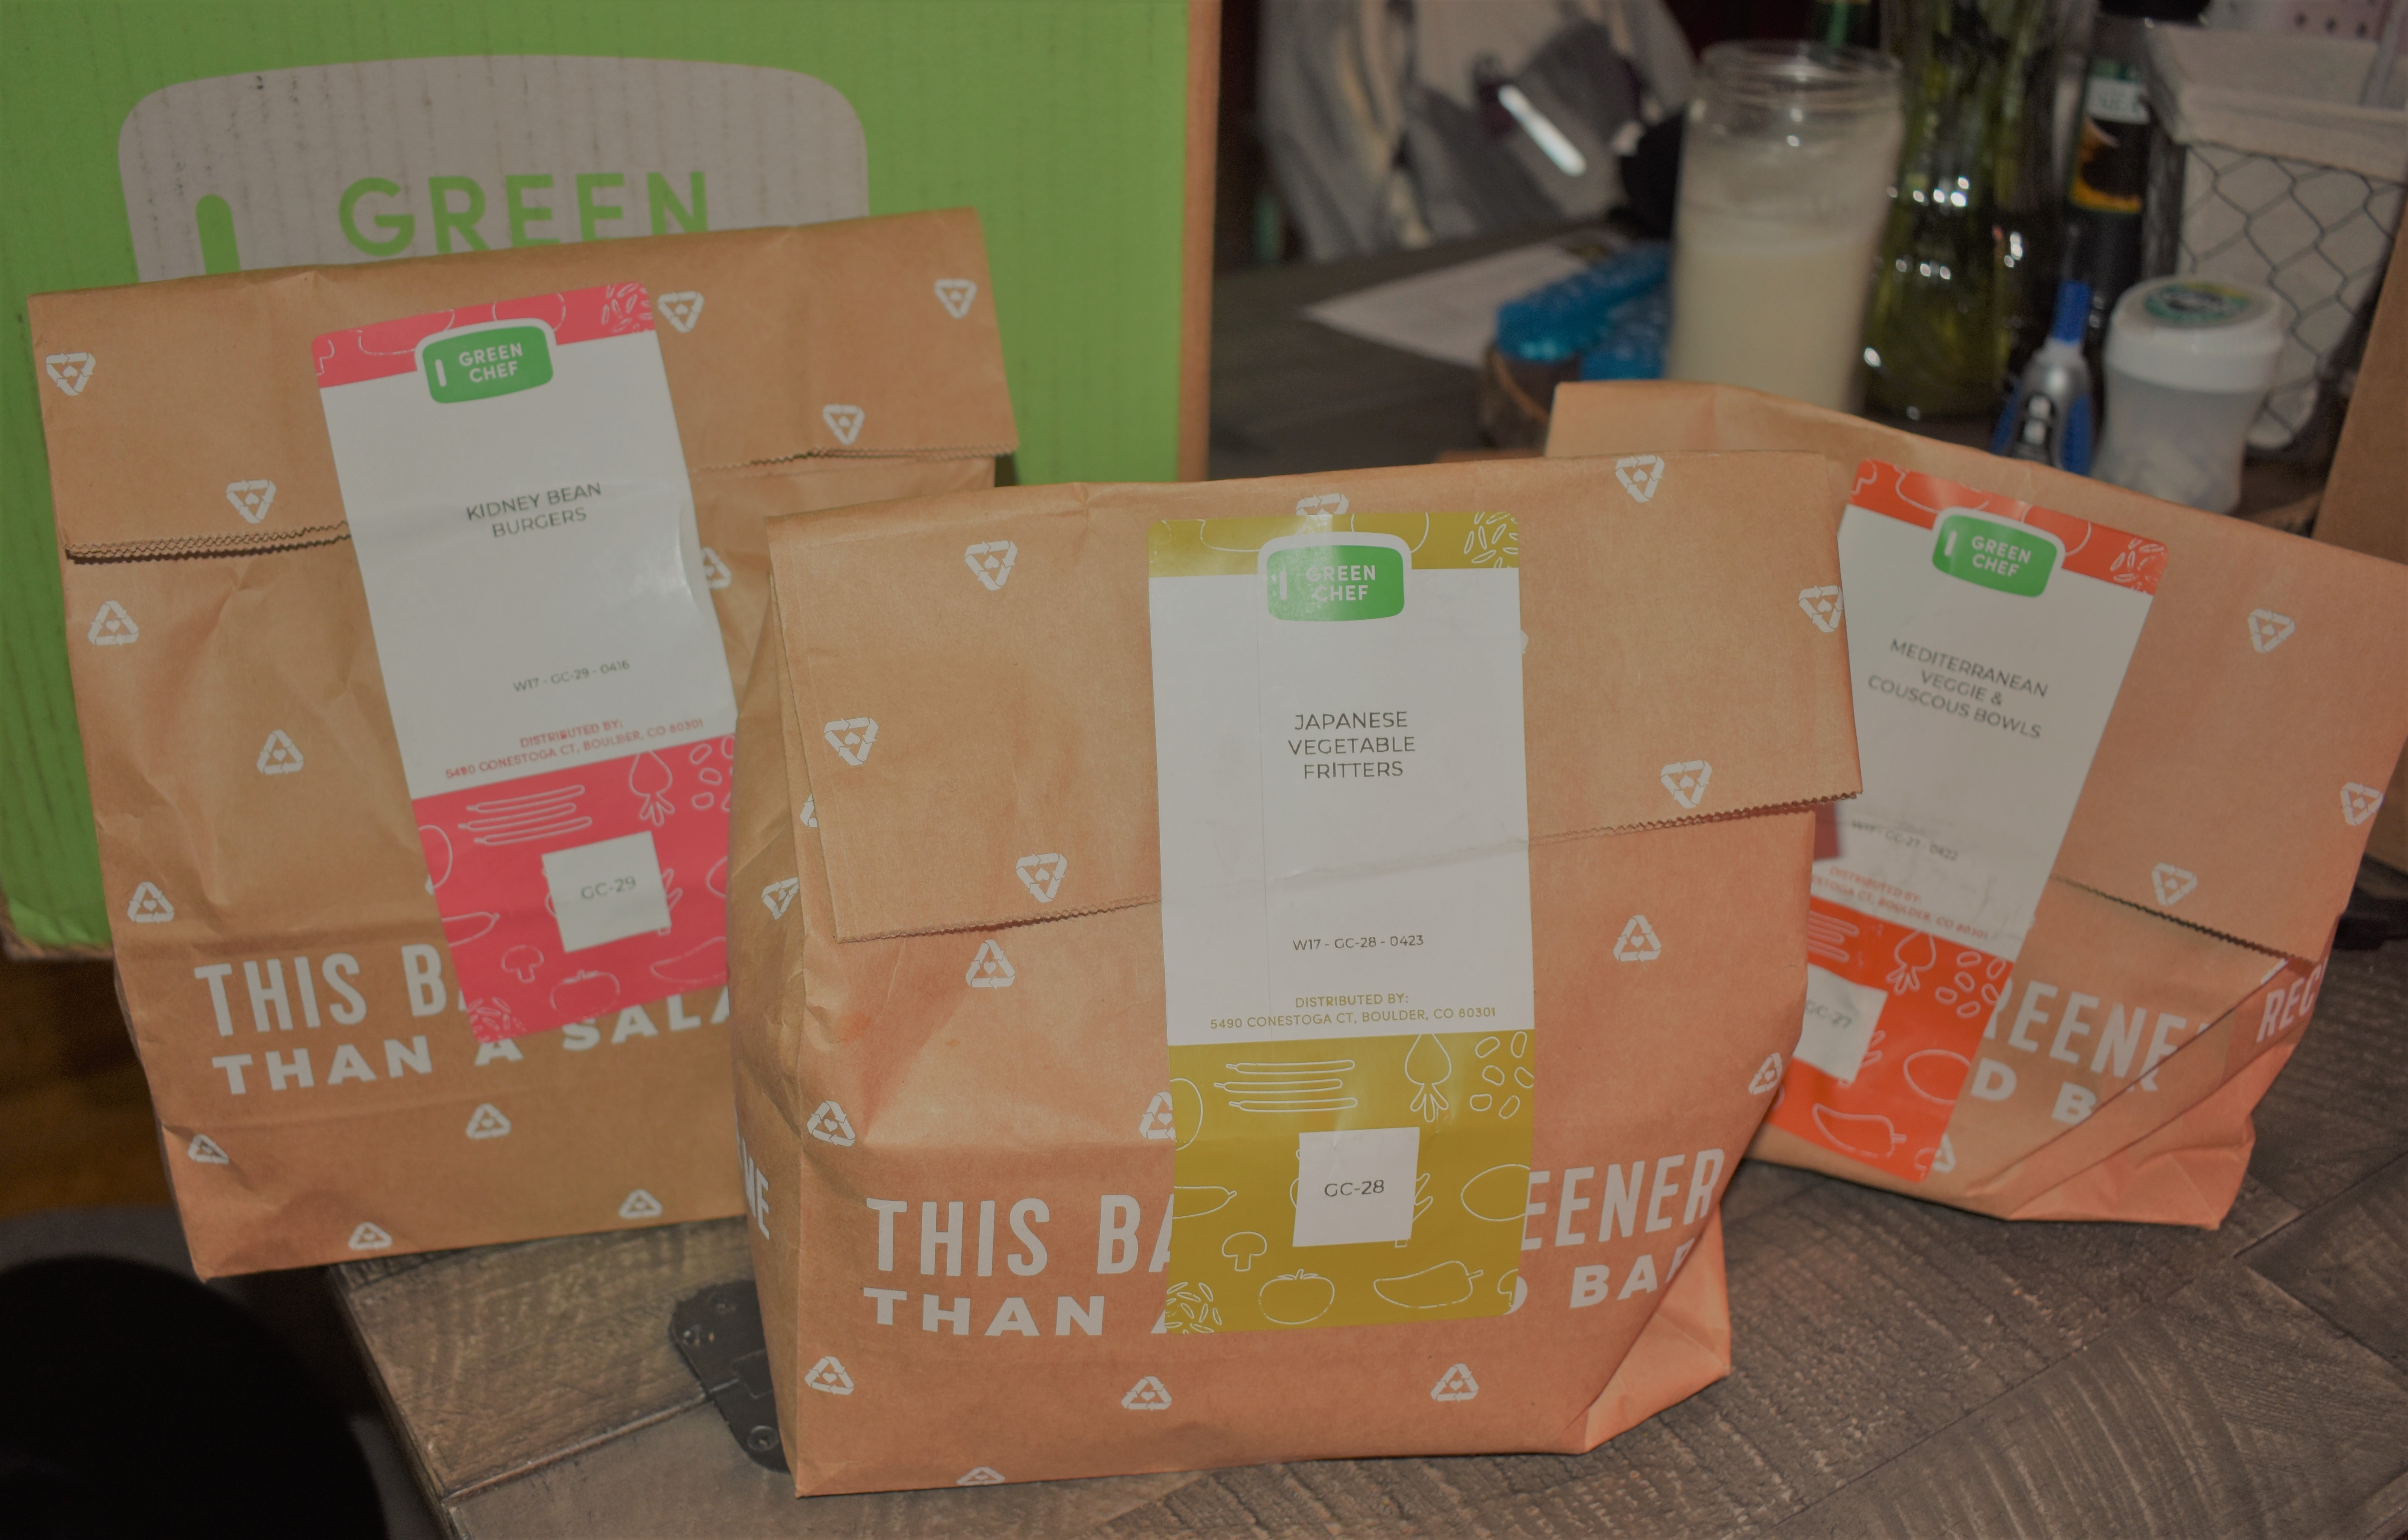
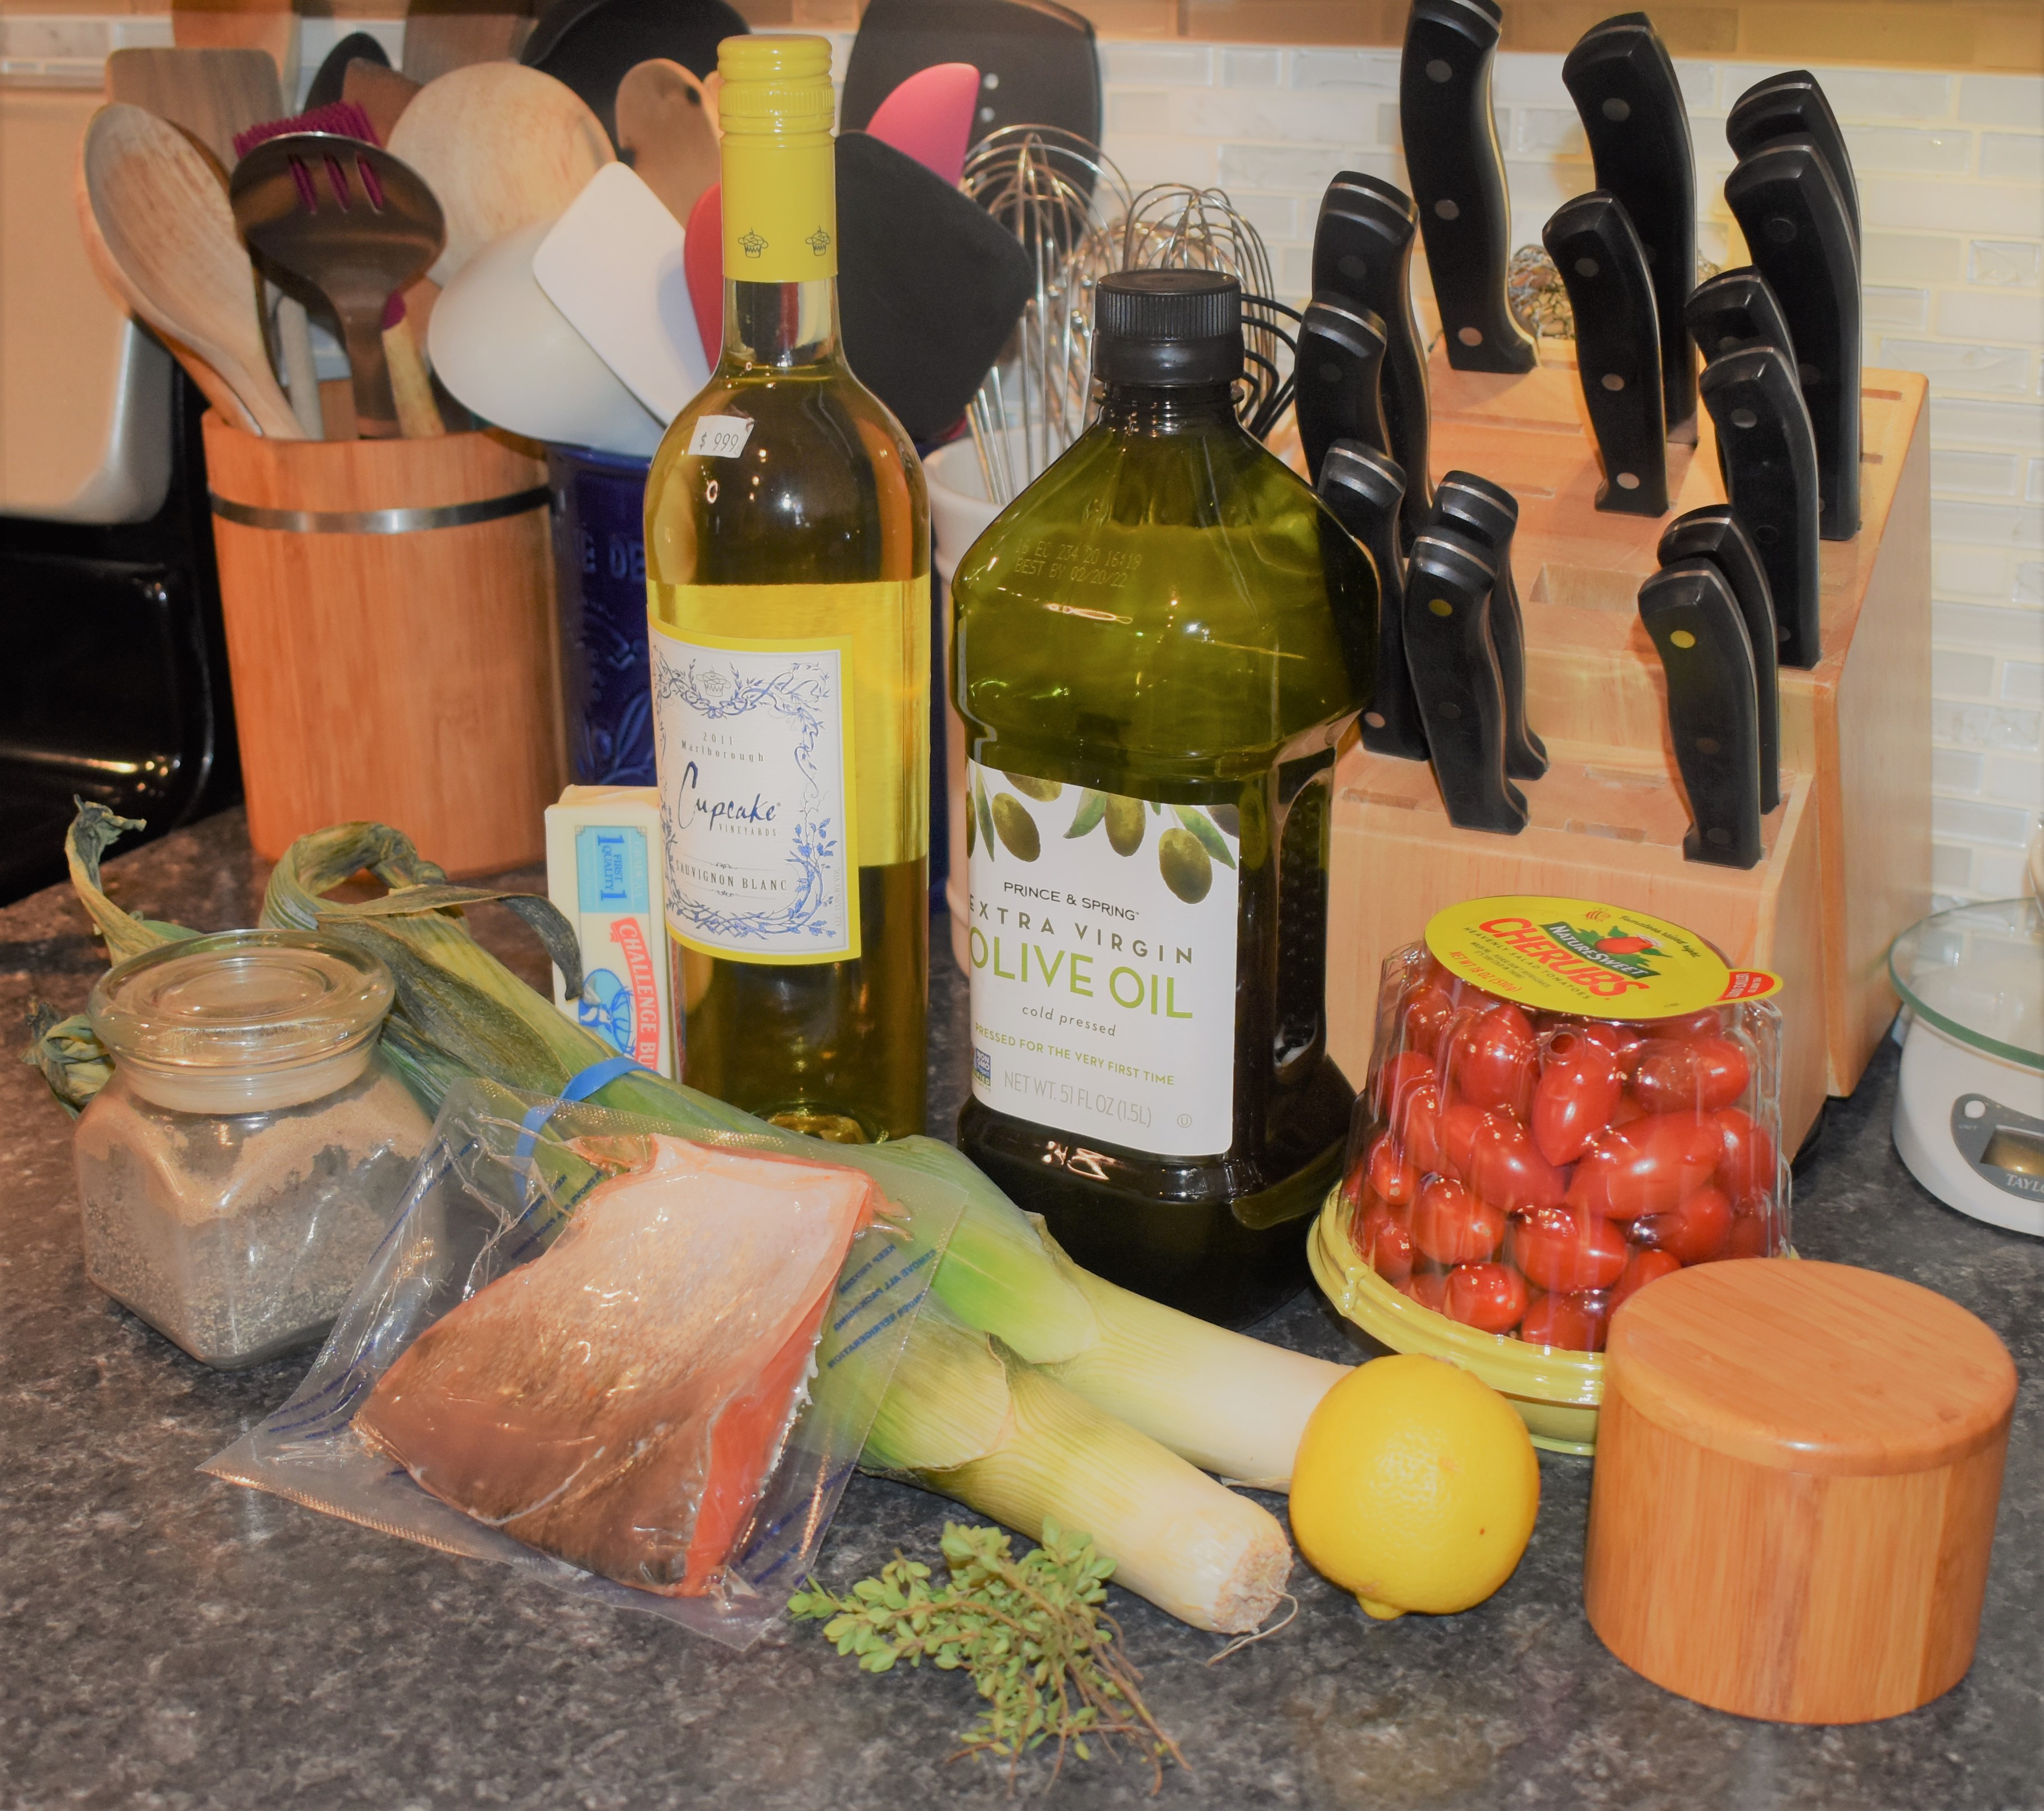
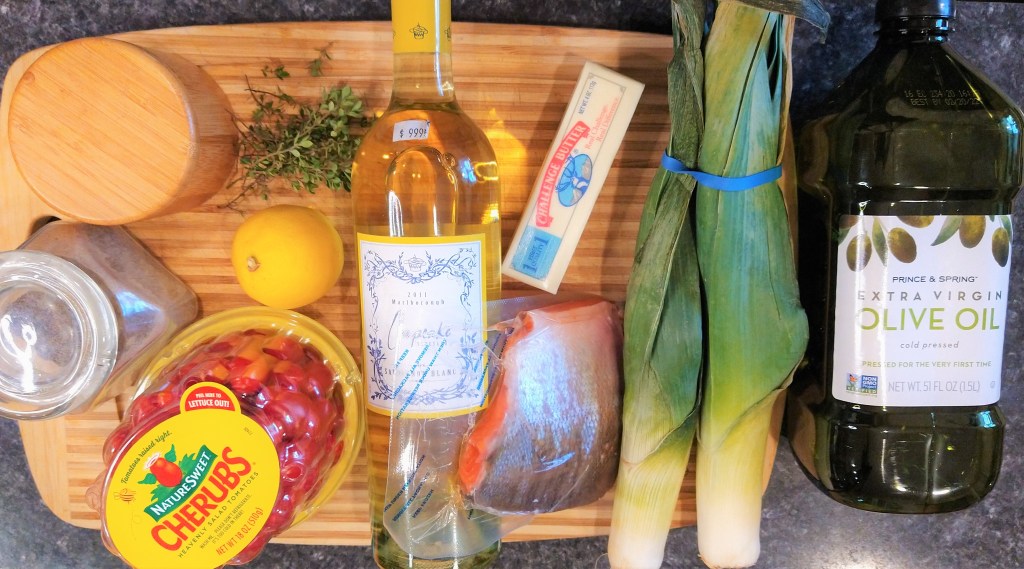
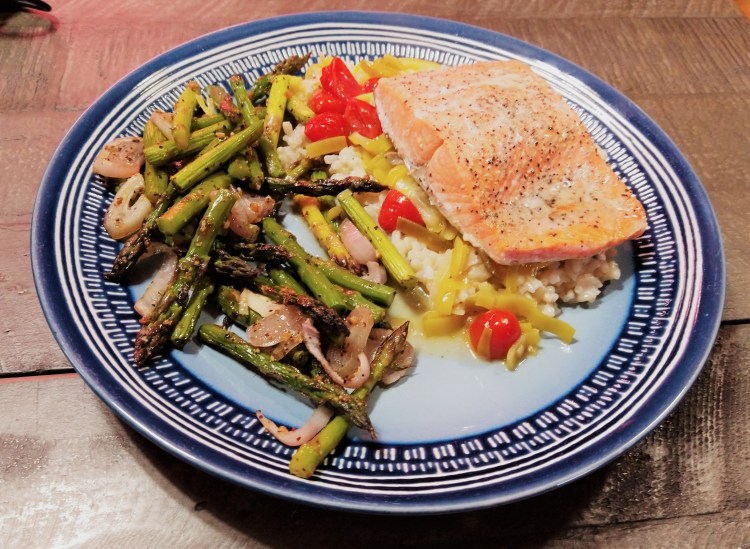
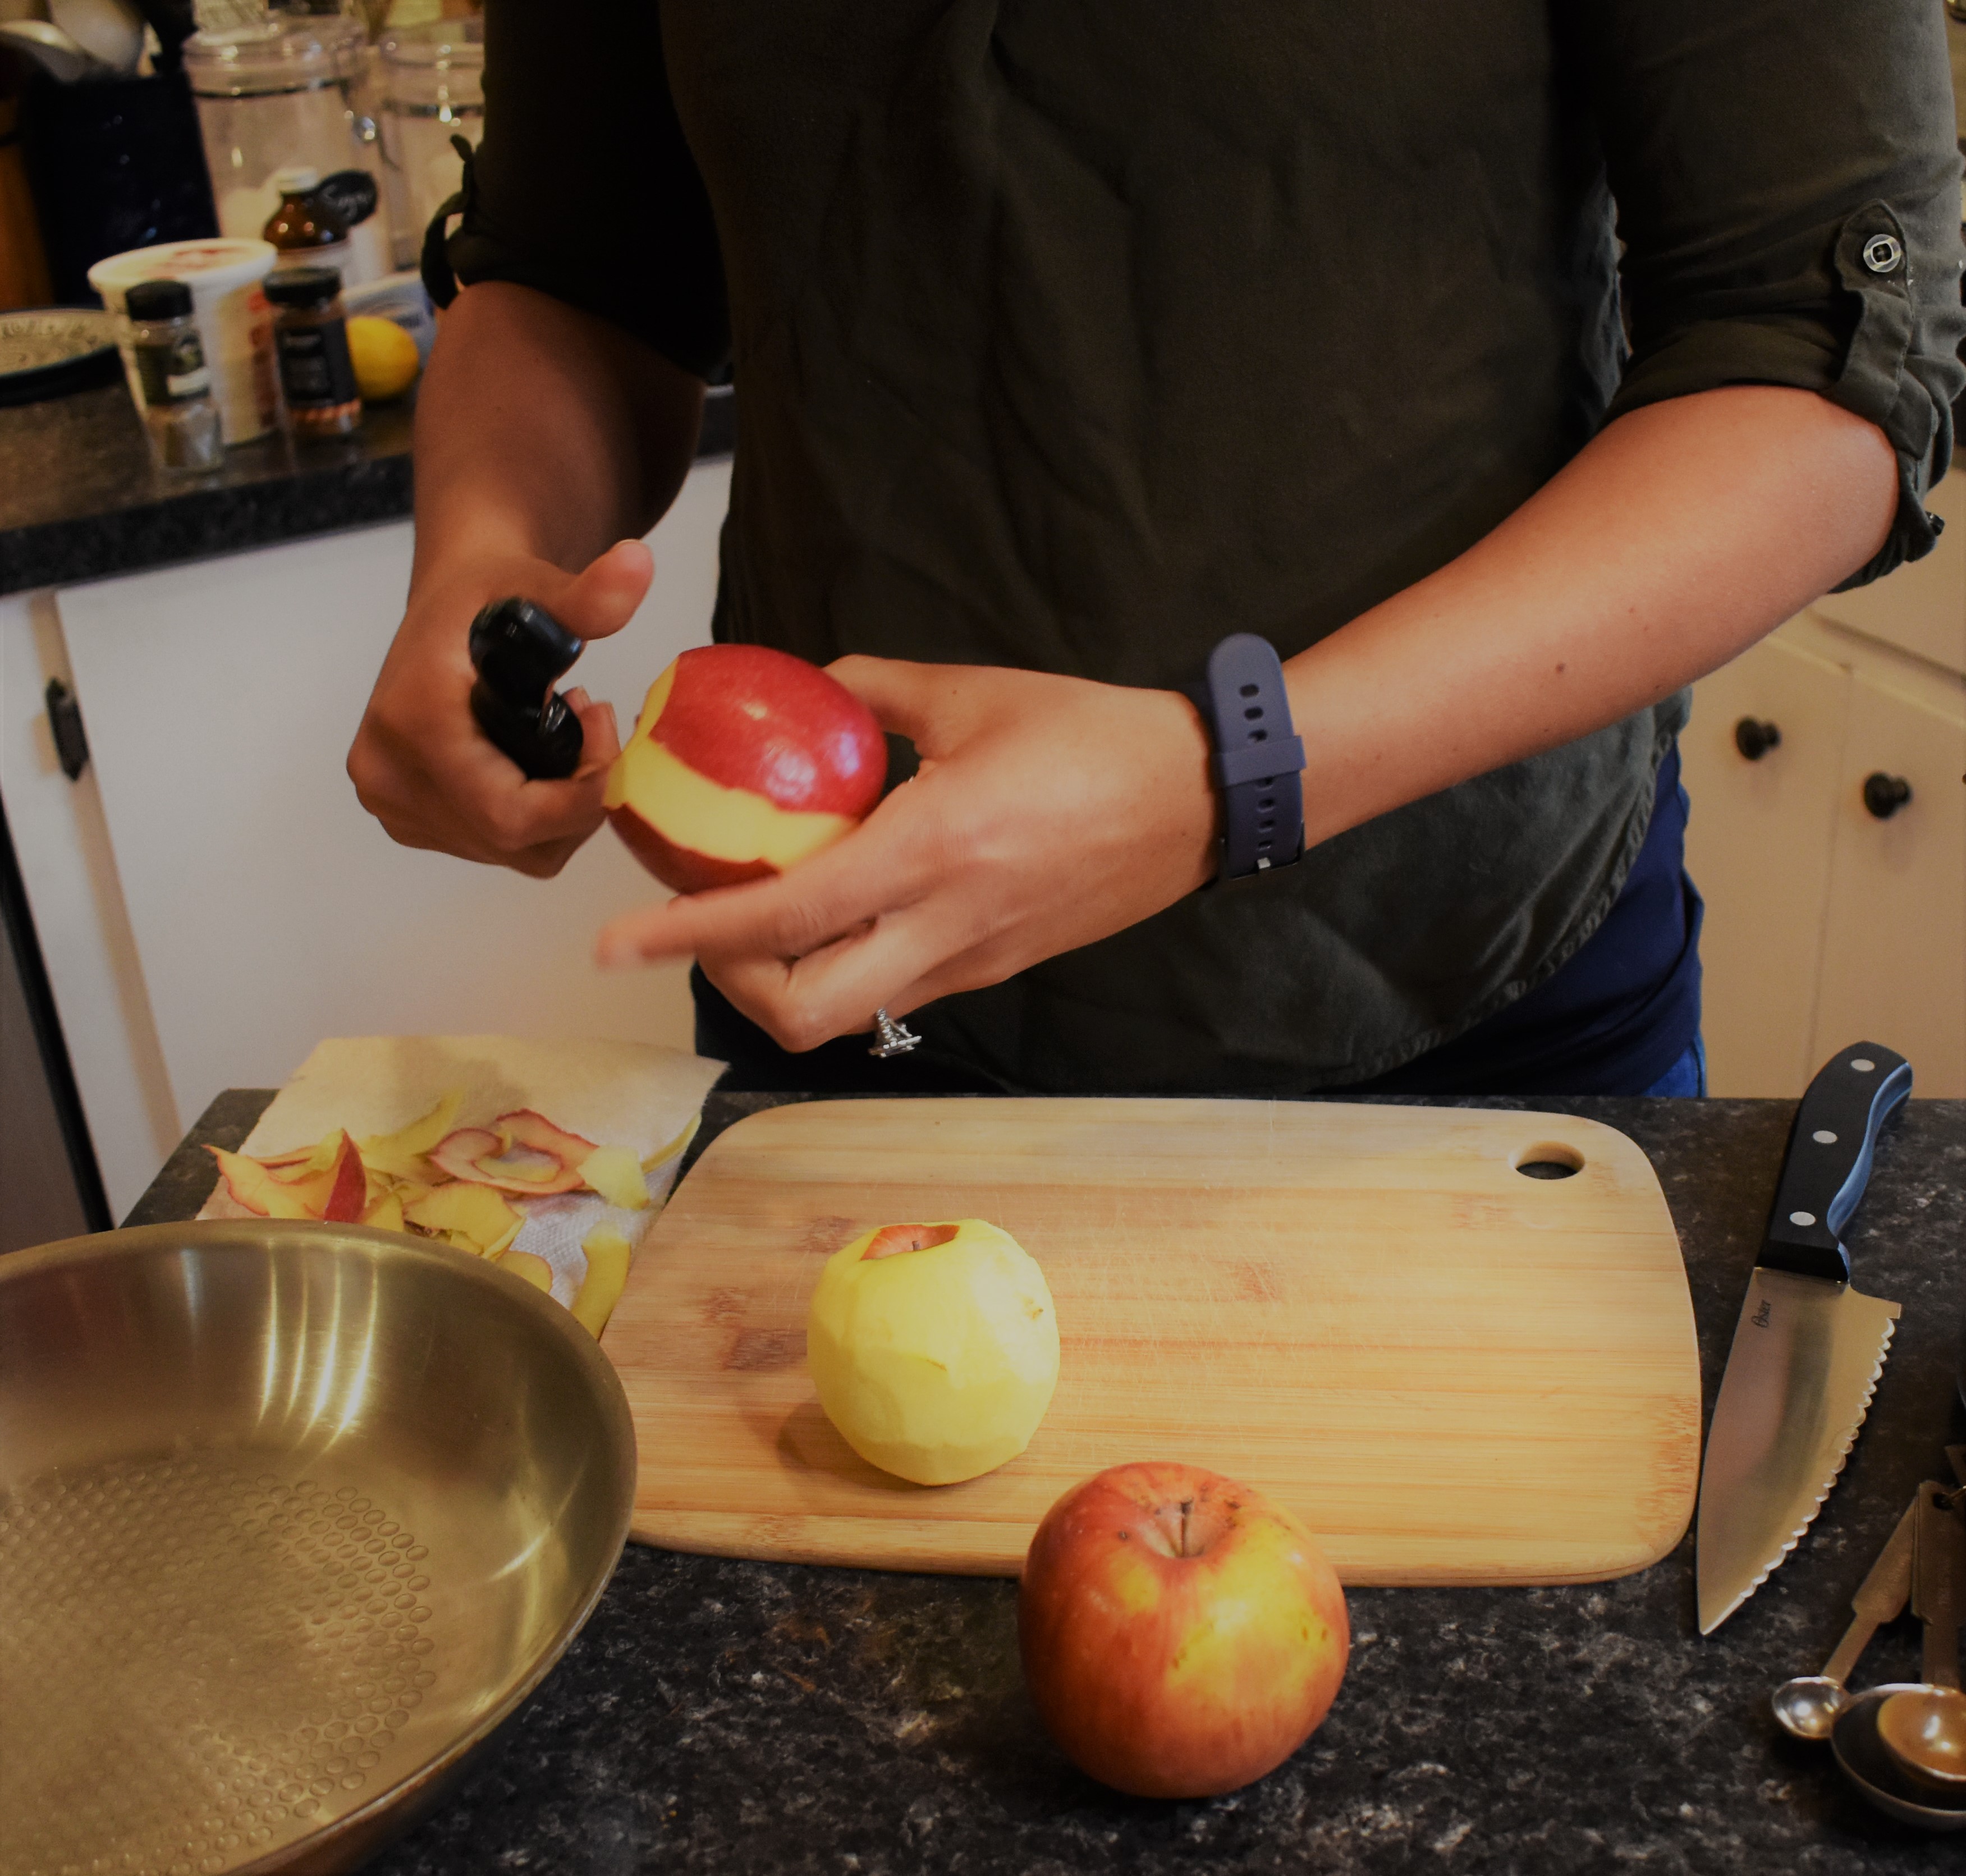
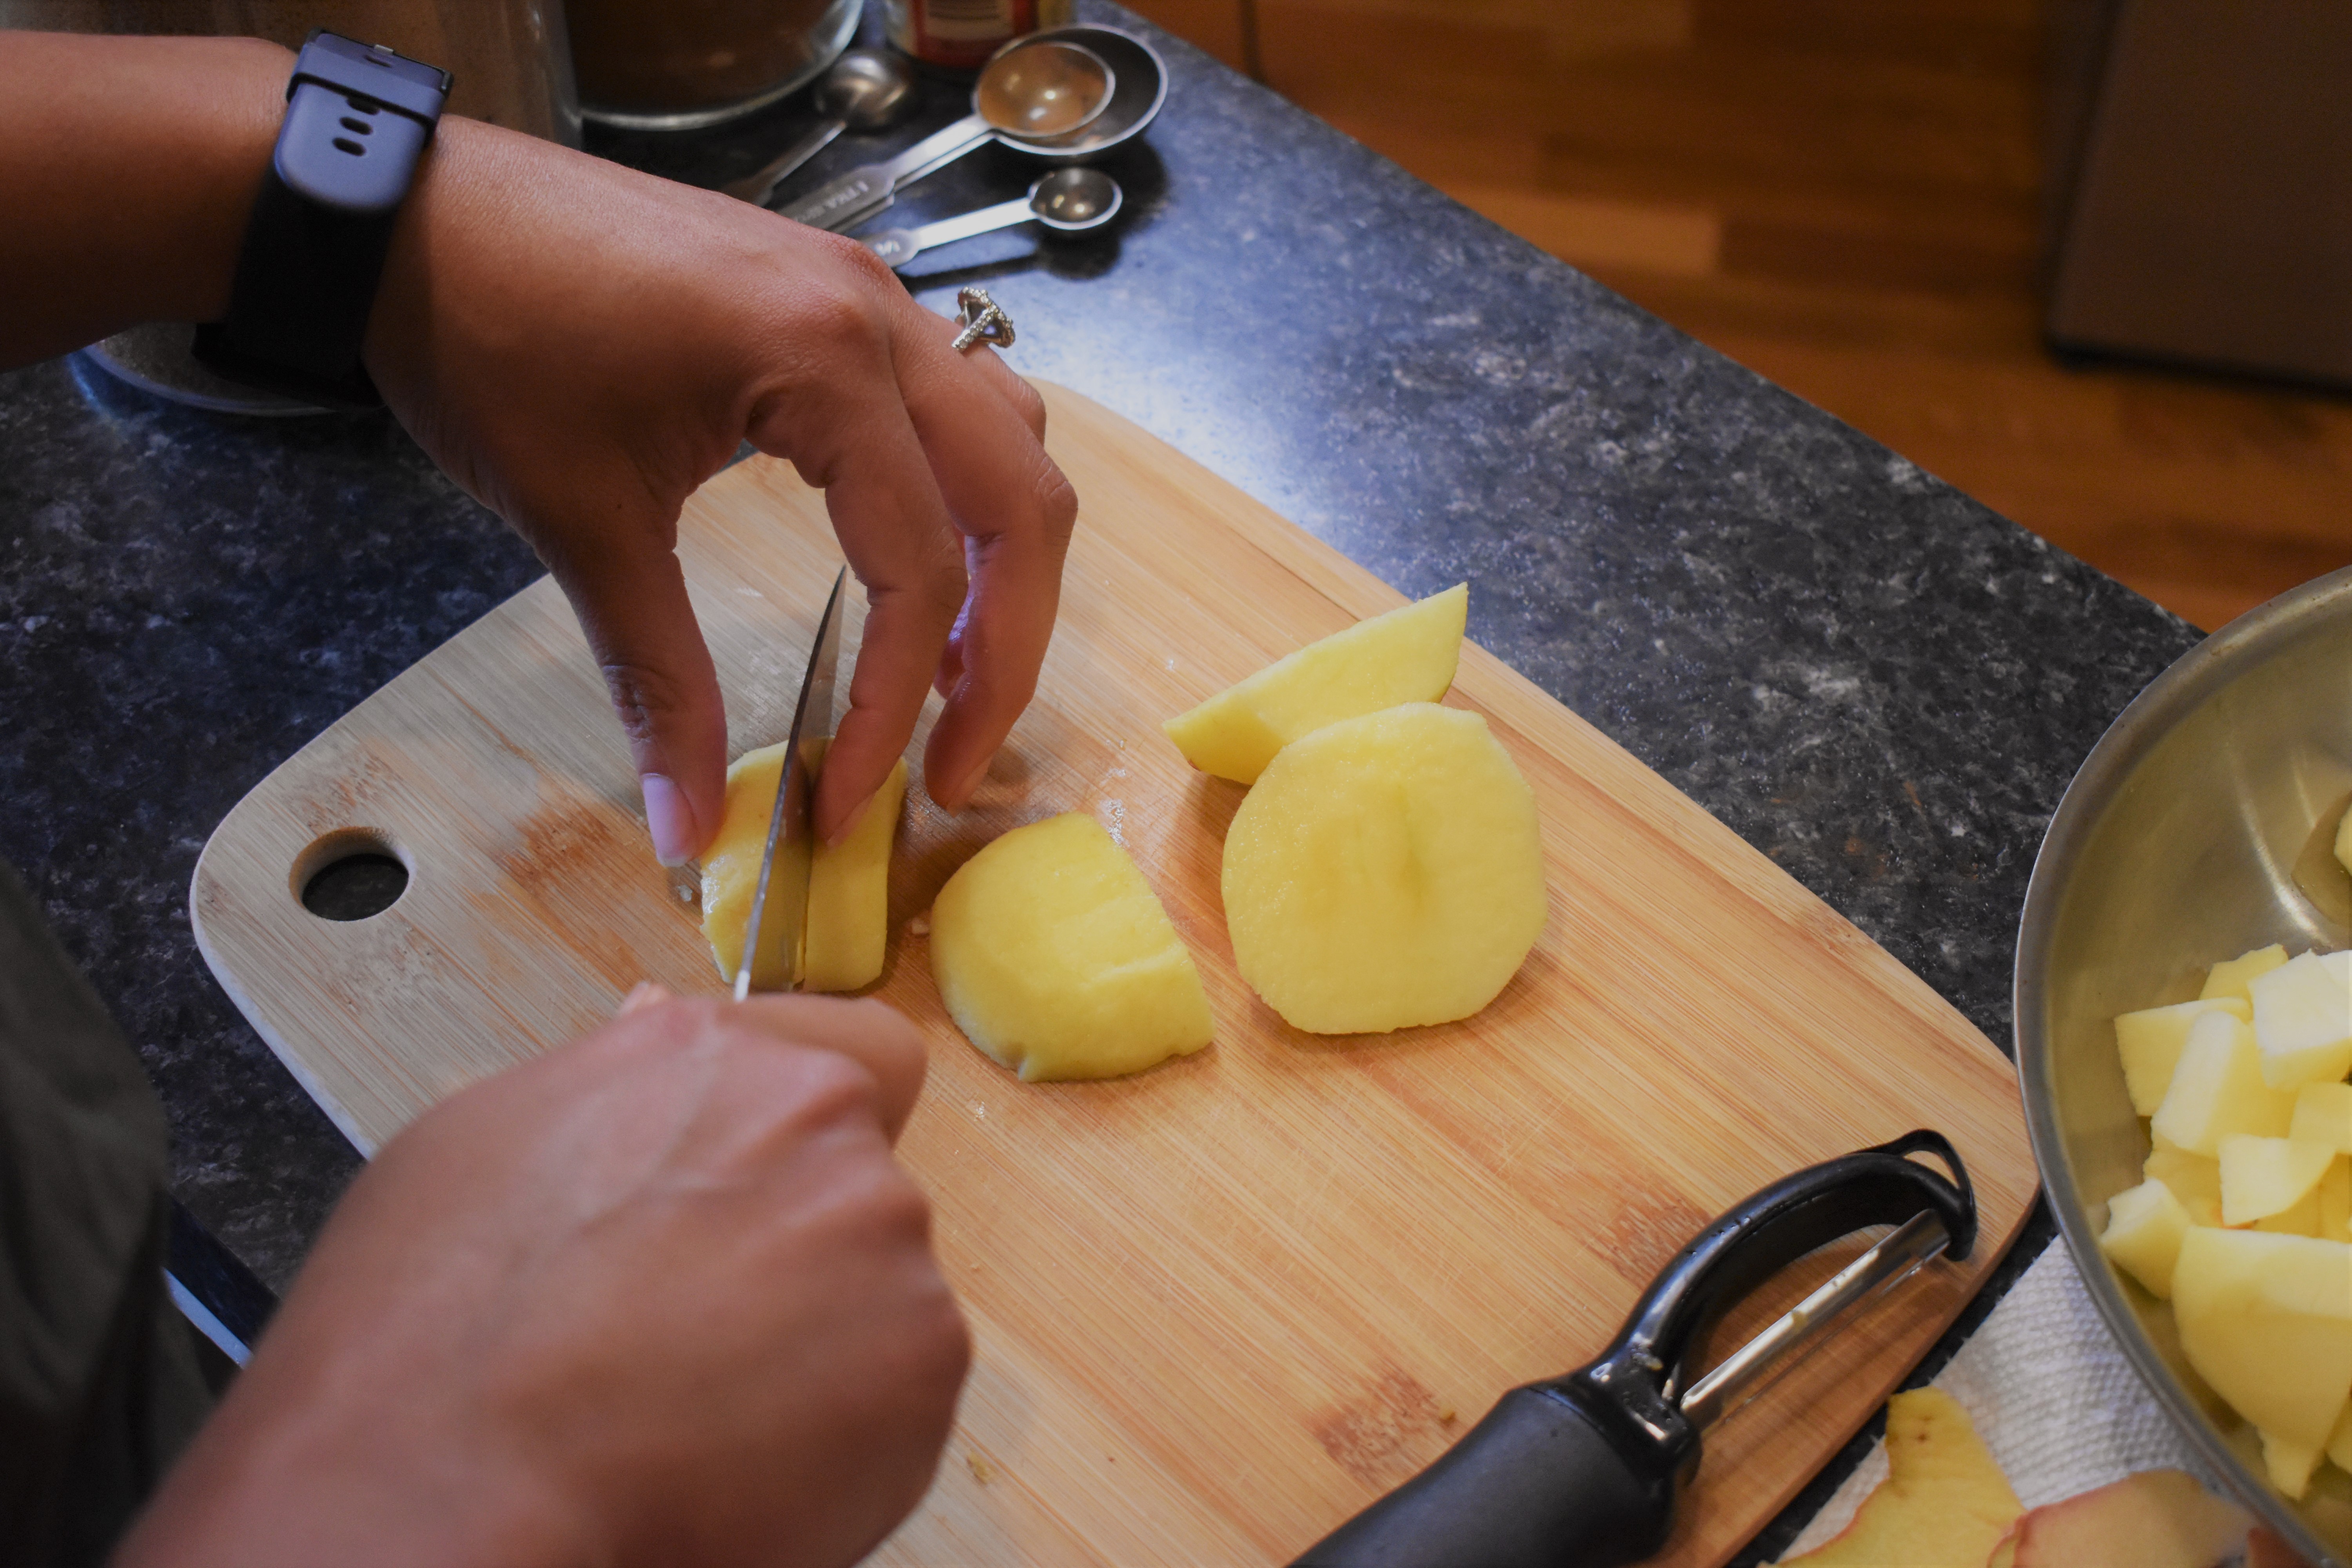
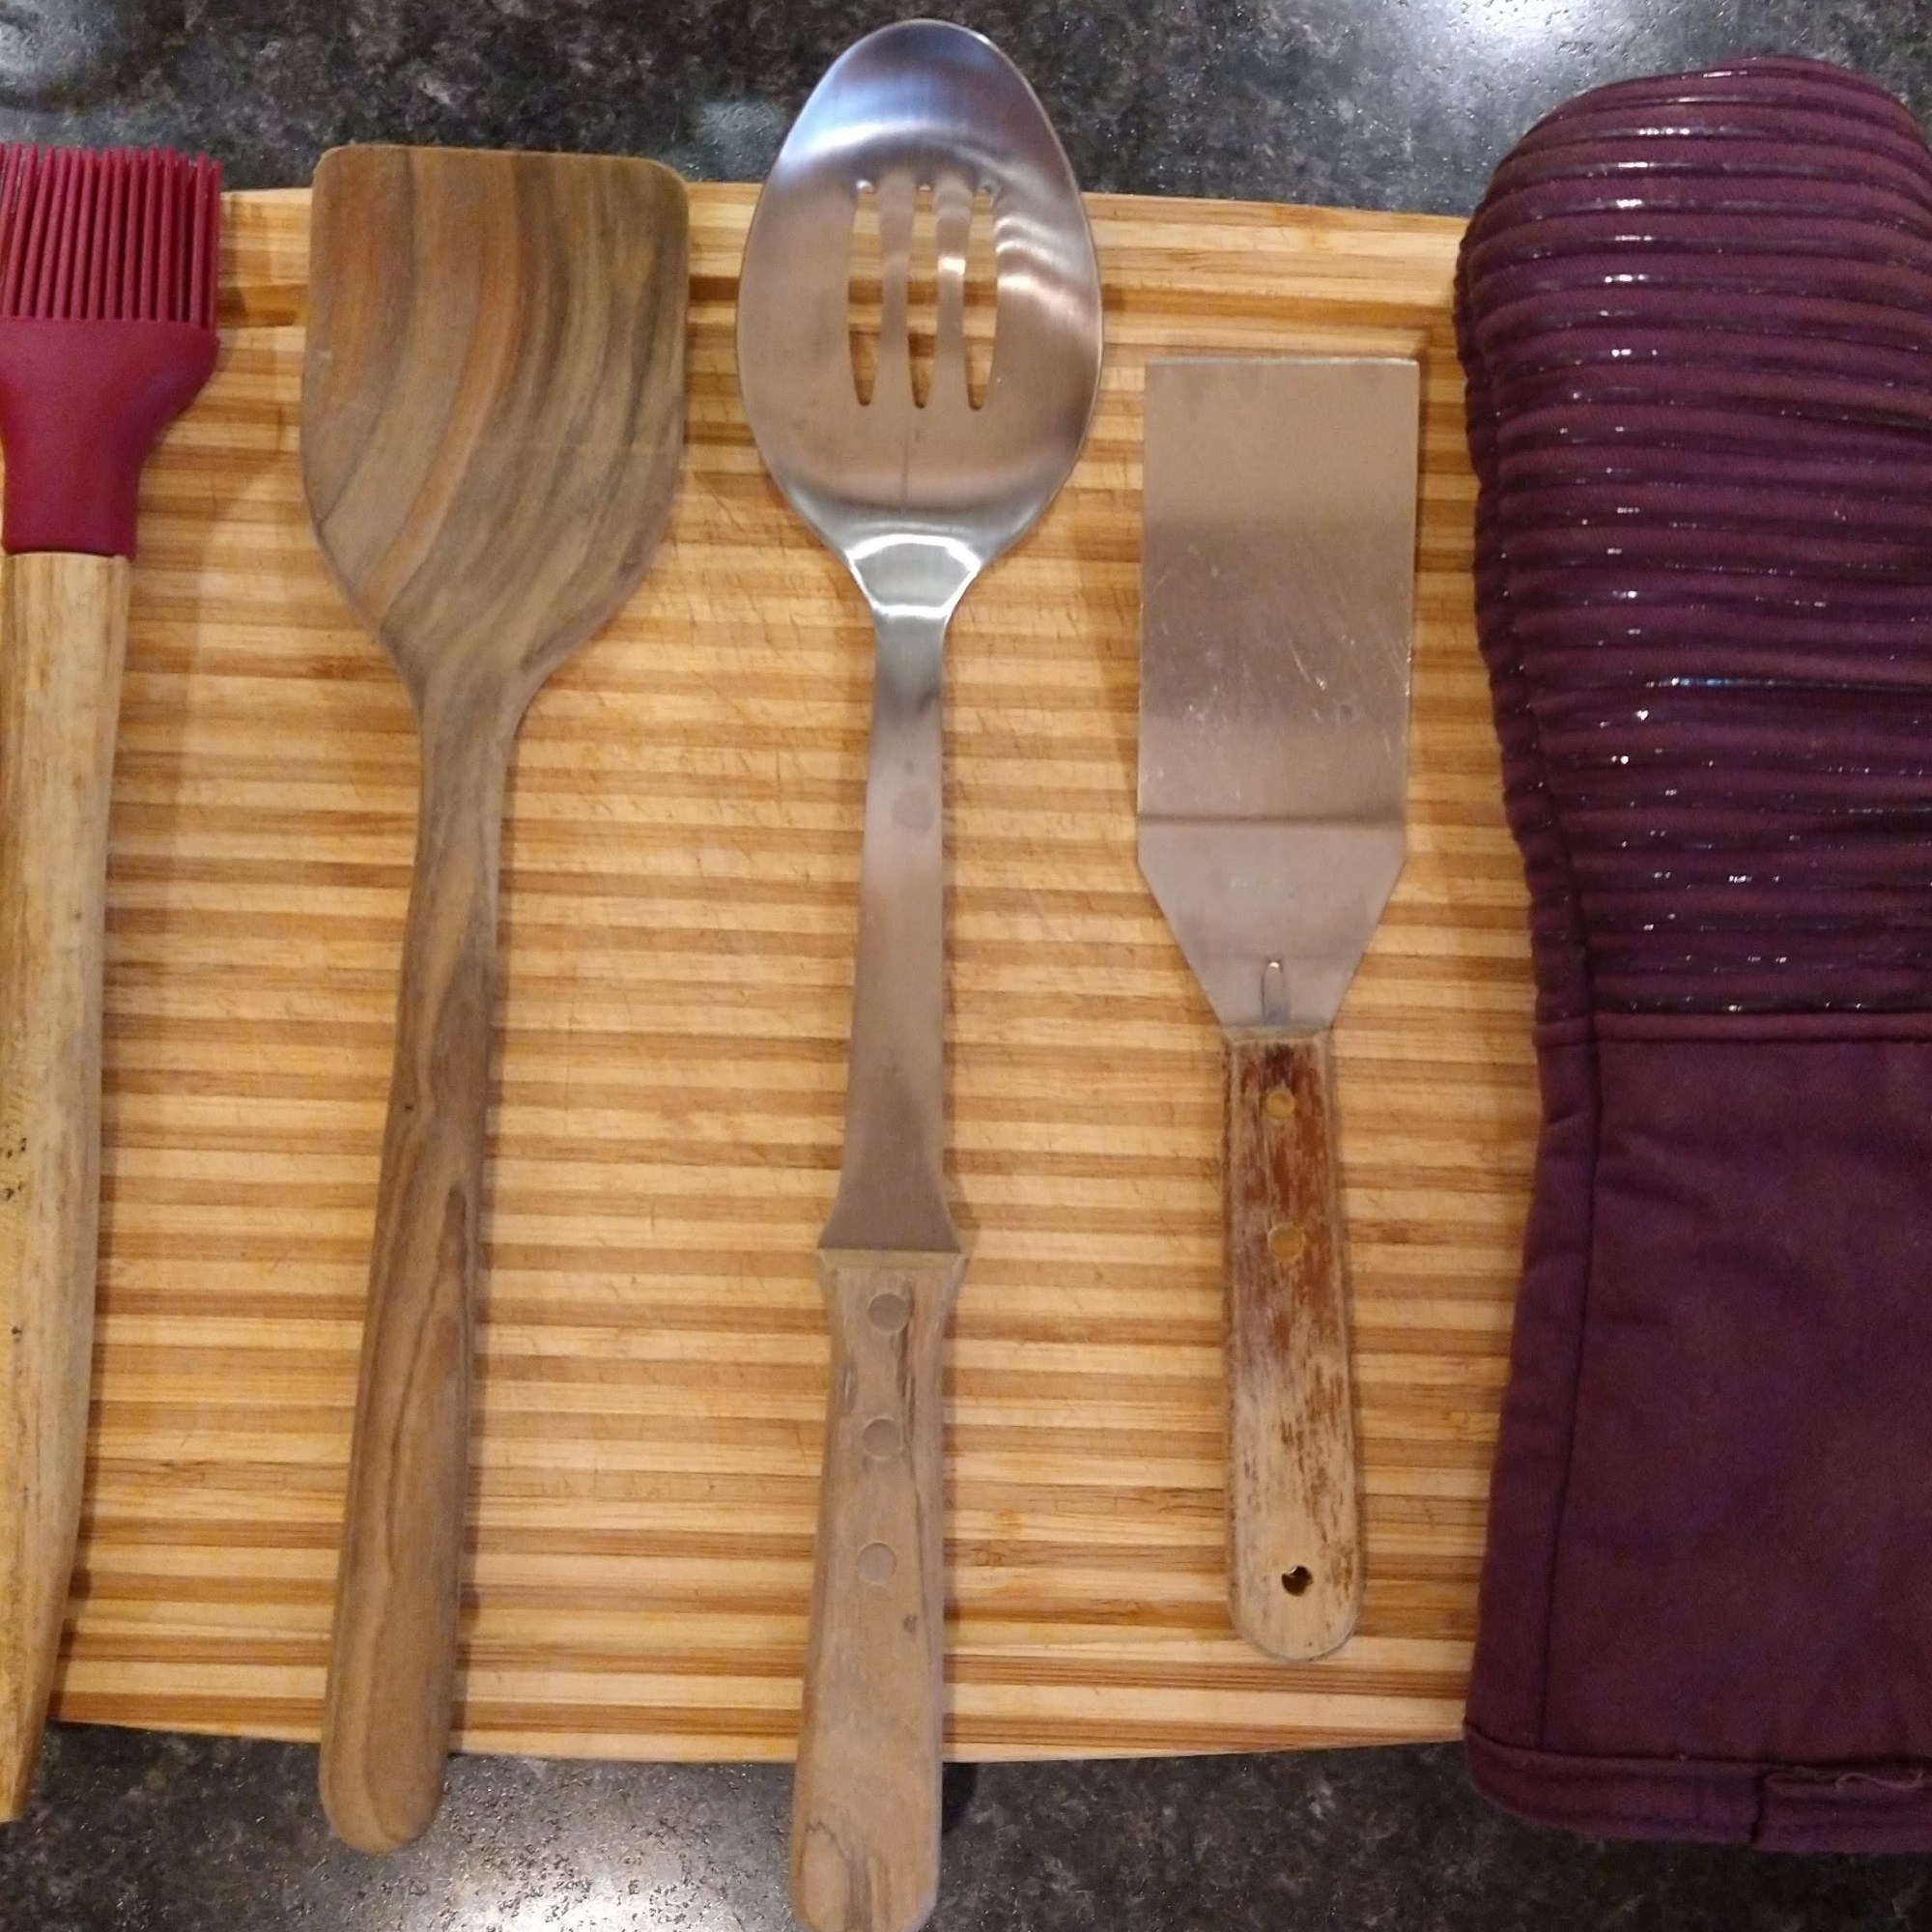
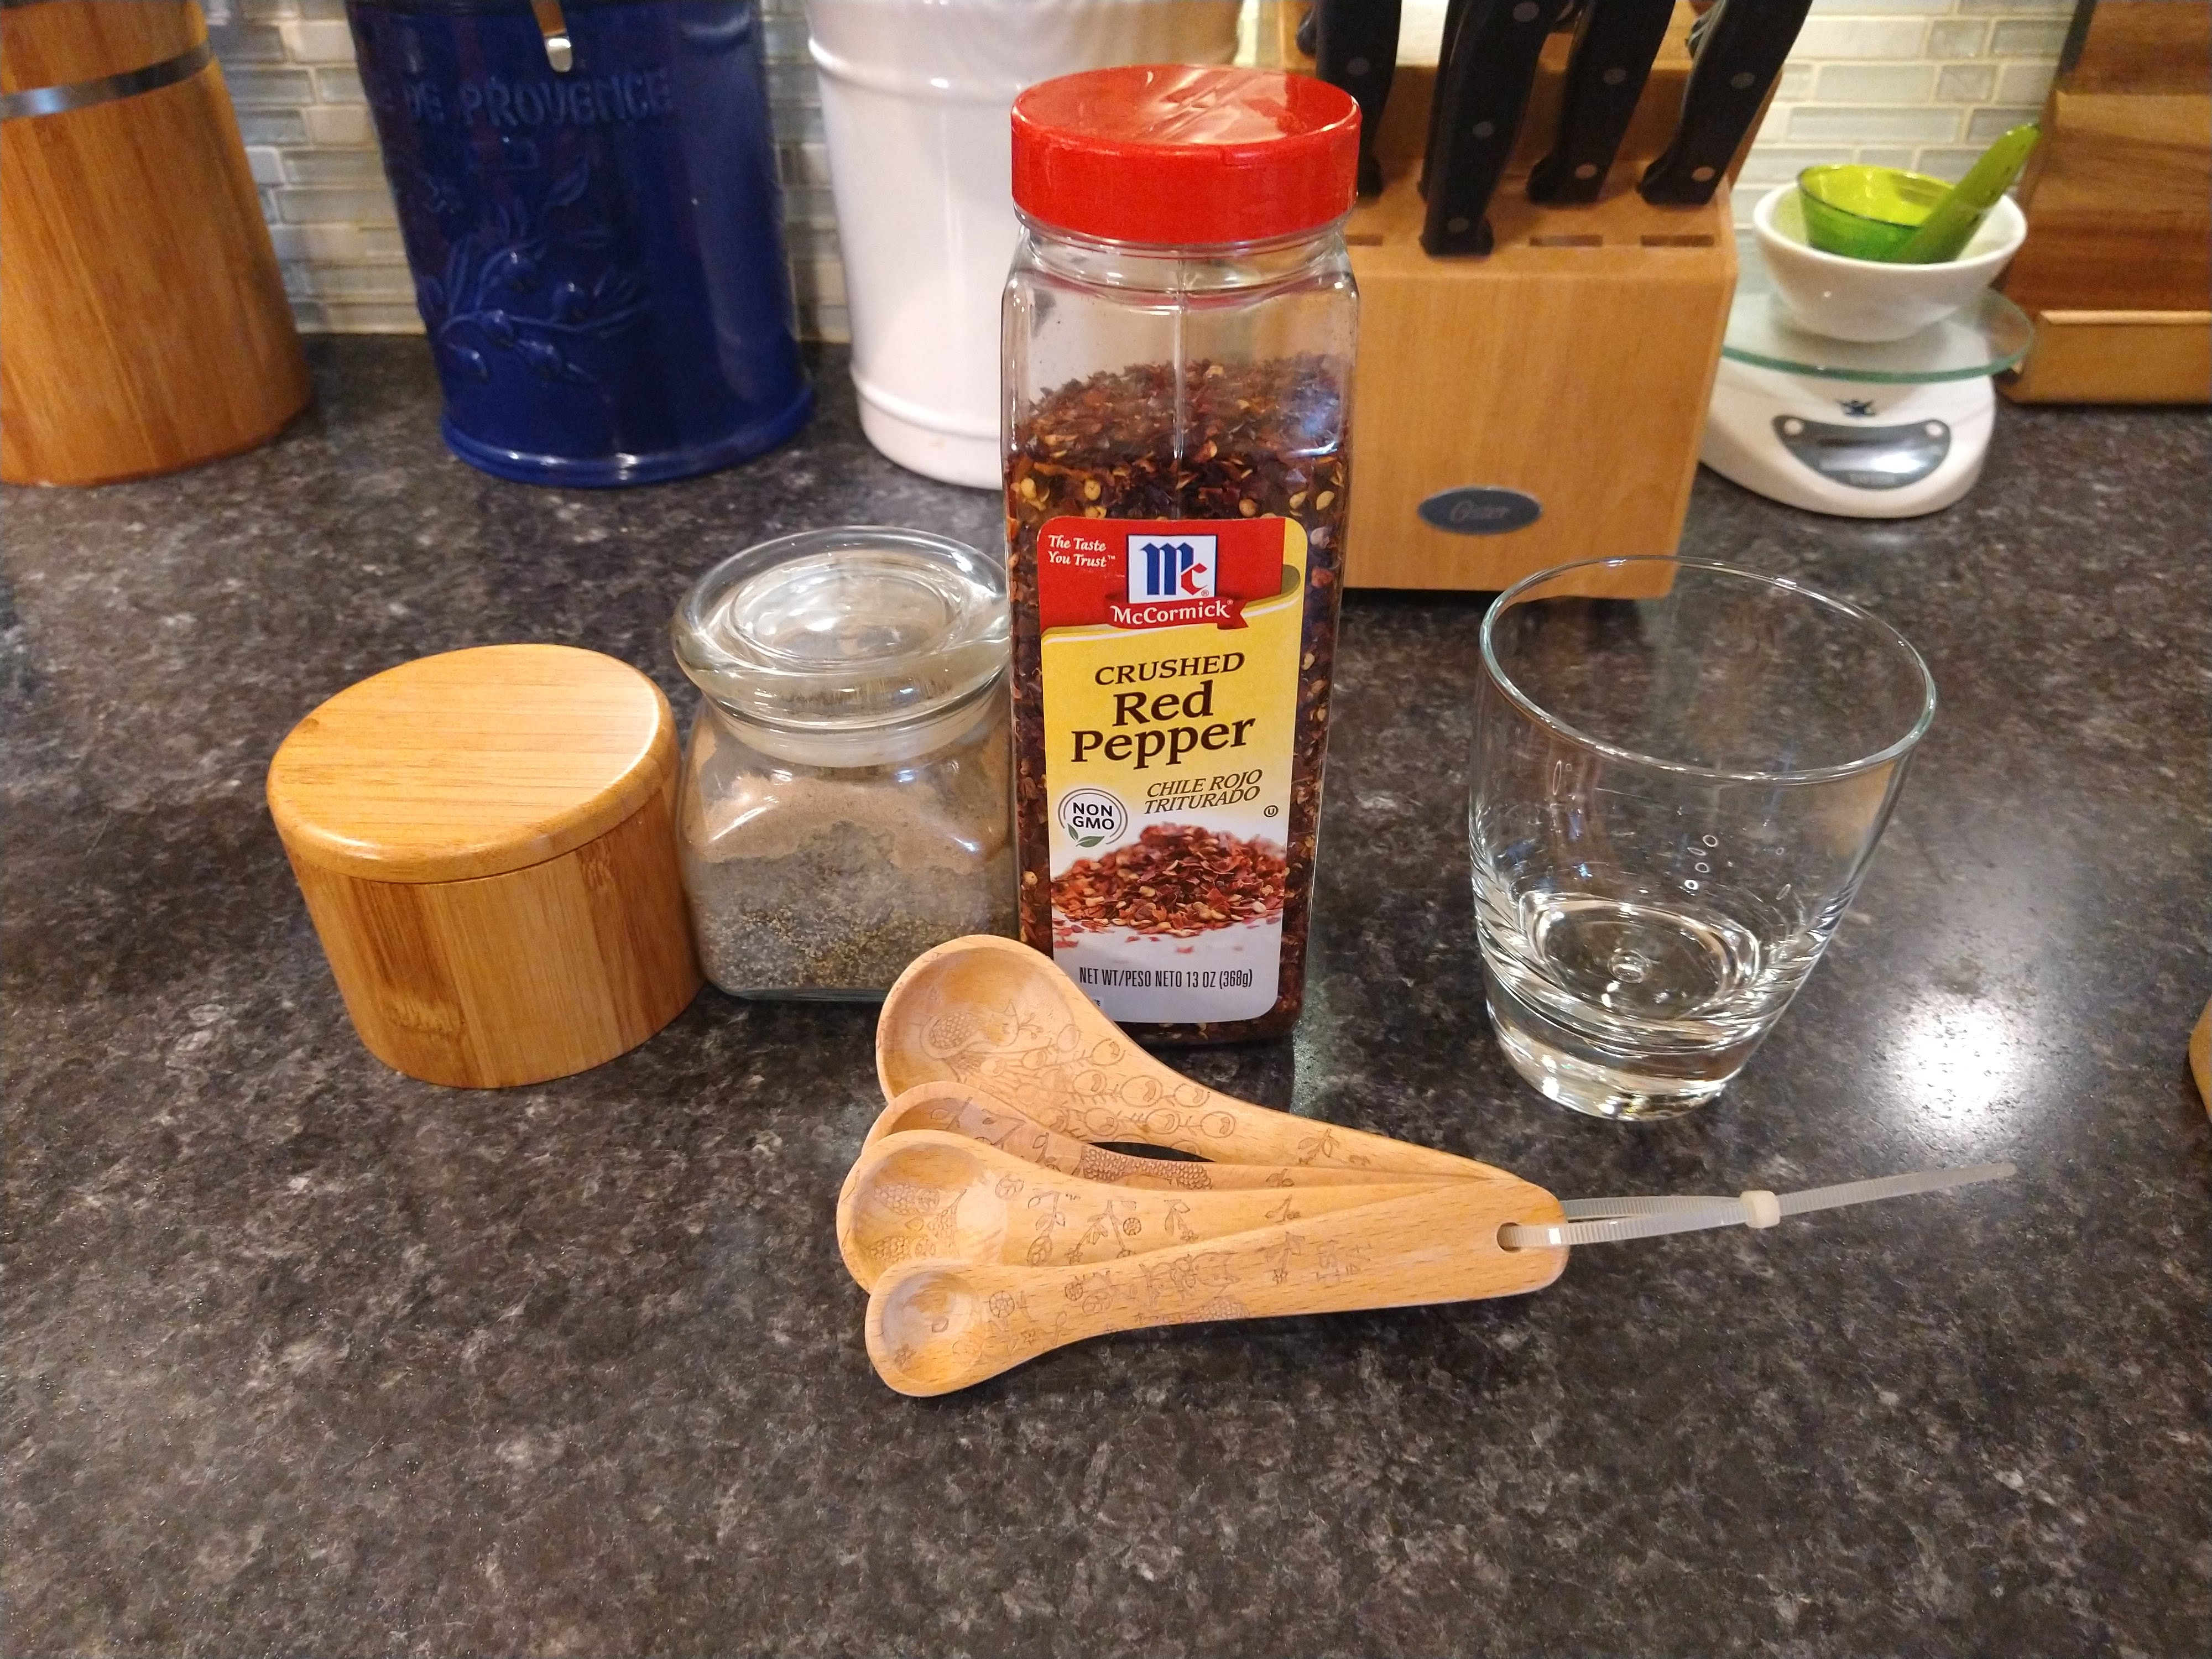
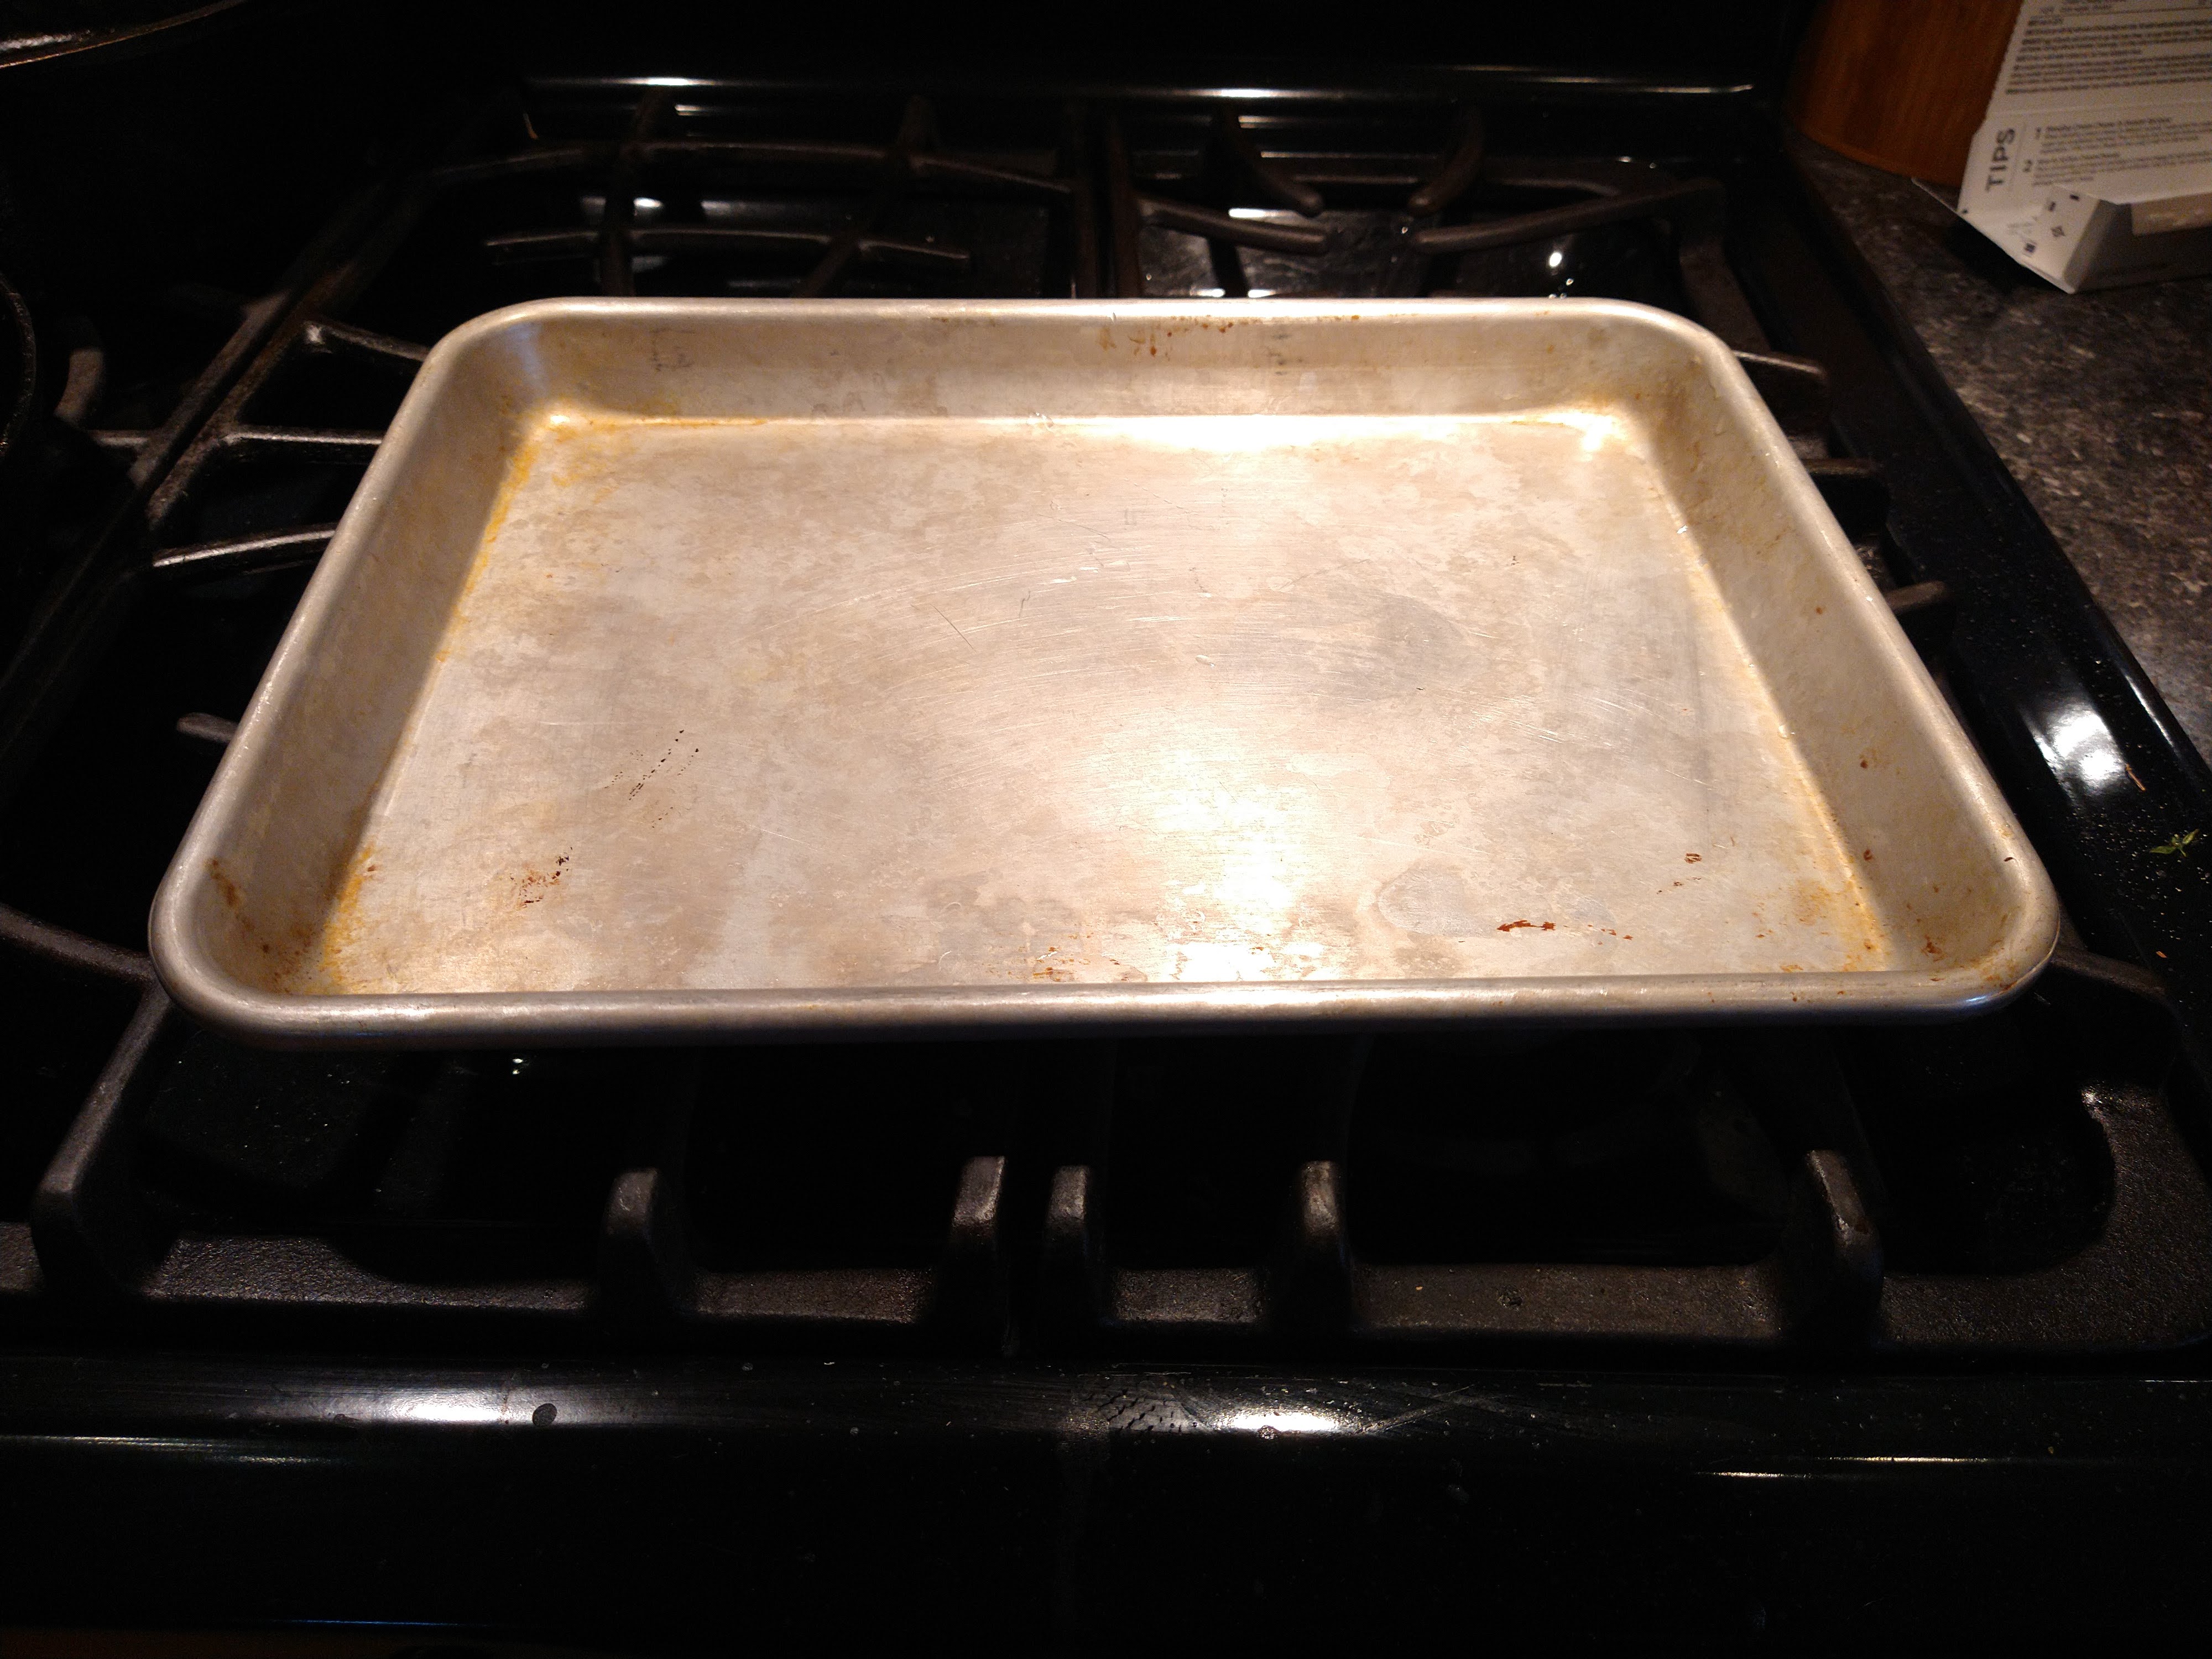
The meals are delivered on a Wednesday in my area. Each meal is packed in it’s own brown paper bag, and all the bags are in an insulated box with a couple ice packs at the bottom. The insulated box is made of cardboard and paper, so very easy to recycle. The ice packs can be reused, or emptied and recycled. Each bag is labeled as to which meal it is and comes with instructions. The instructions include a list of tools and extras (oil, salt, and pepper) that you will need. I love that a list like that is included. I can get everything out that I need before I start. The instructions also include a picture of how the meal is plated. The first step for each one is the ingredient prep followed by the cooking details. Nutrition details can be found on the website, calories are on the recipe card.

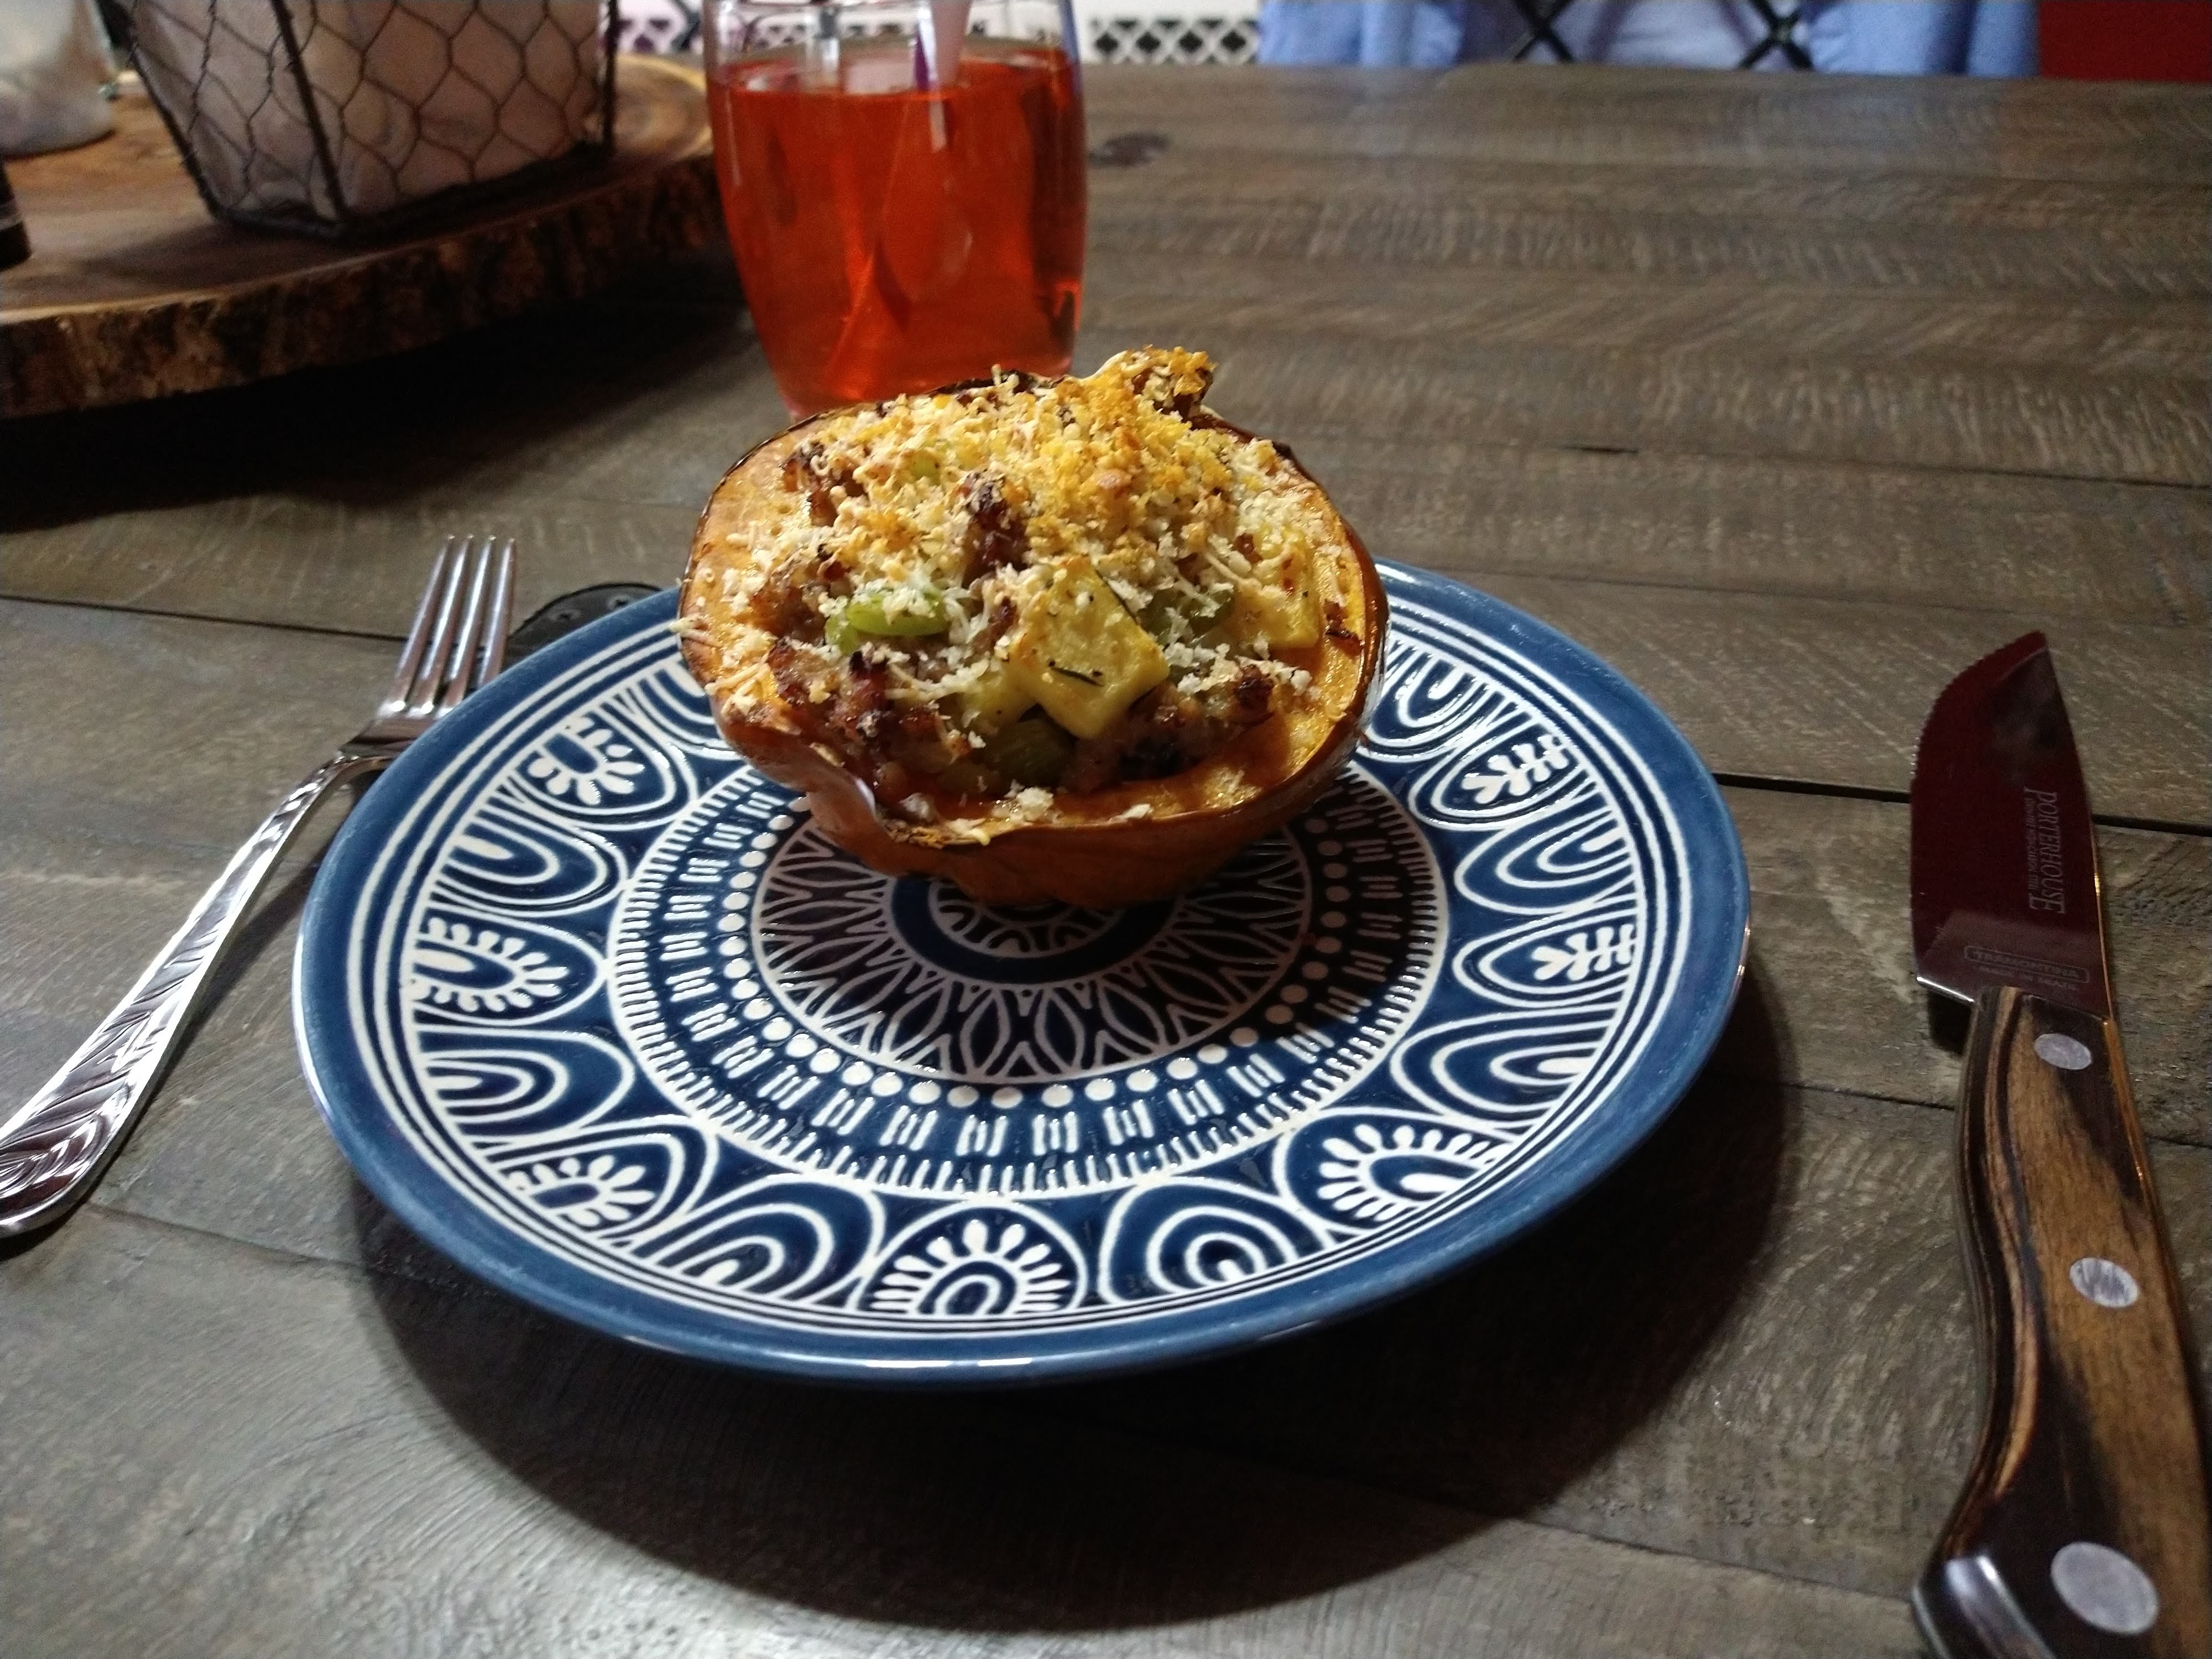
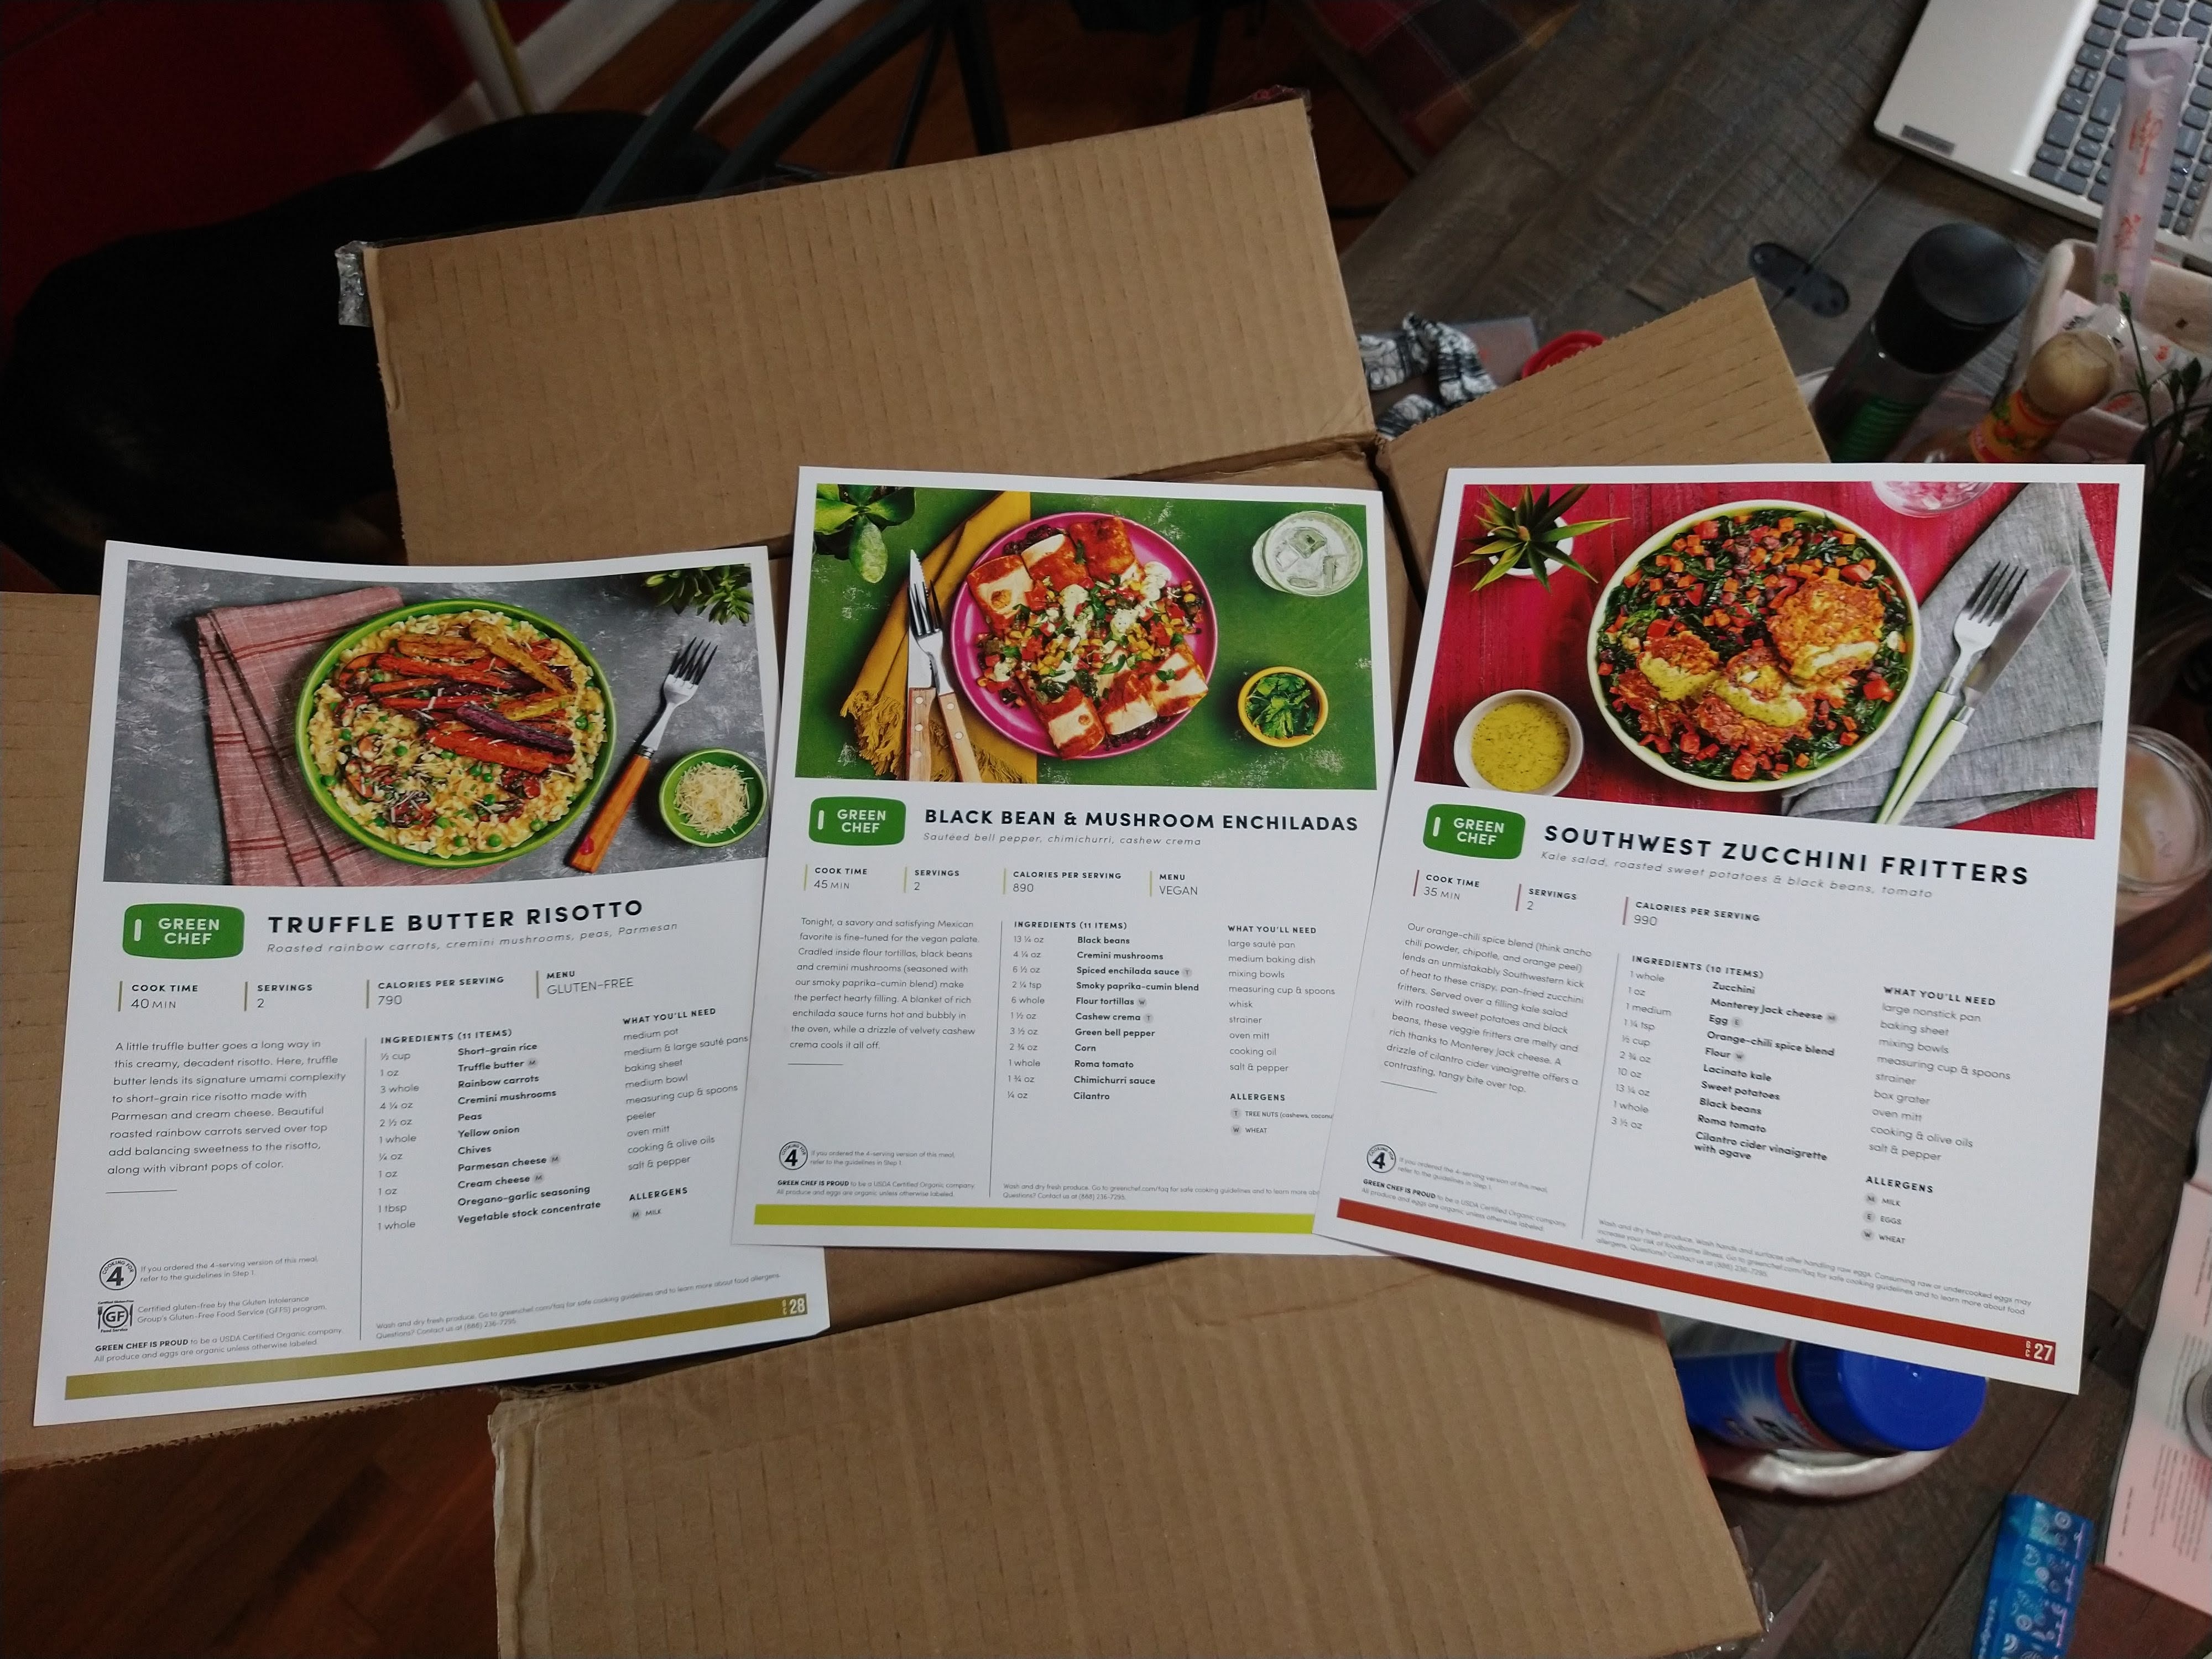
The first week included Truffle Butter Risotto, Southwest Zucchini Fritters, and Black Bean & Mushroom Enchiladas. The risotto (while not really quite a risotto) was my favorite meal for this week. It felt fancy and delicate, definitely worth the 40 minute cook time. The fritters were a close second, followed by the enchiladas. It was my first time having enchiladas and I really enjoyed them.

The second week included Butternut Squash Chili, Pesto Penne Primavera, and Zucchini & Ricotta Flatbreads. I wasn’t sure about any of these at first. When picking out the meals for the week I didn’t have strong feels towards any of them. They all came out really tasty and pretty easy to make. Each one reheated well too. The chili was lacking in seasoning, but i have the right ones in my cabinet. I would recommend chili powder, chili flakes, and cumin. It came with tortillas to toast in strips, which came out perfect. The flatbread was crunchy and enormous. The penne had a surprising sweetness to it that kept me excited for the next bite. I was delightfully surprised by each of these.

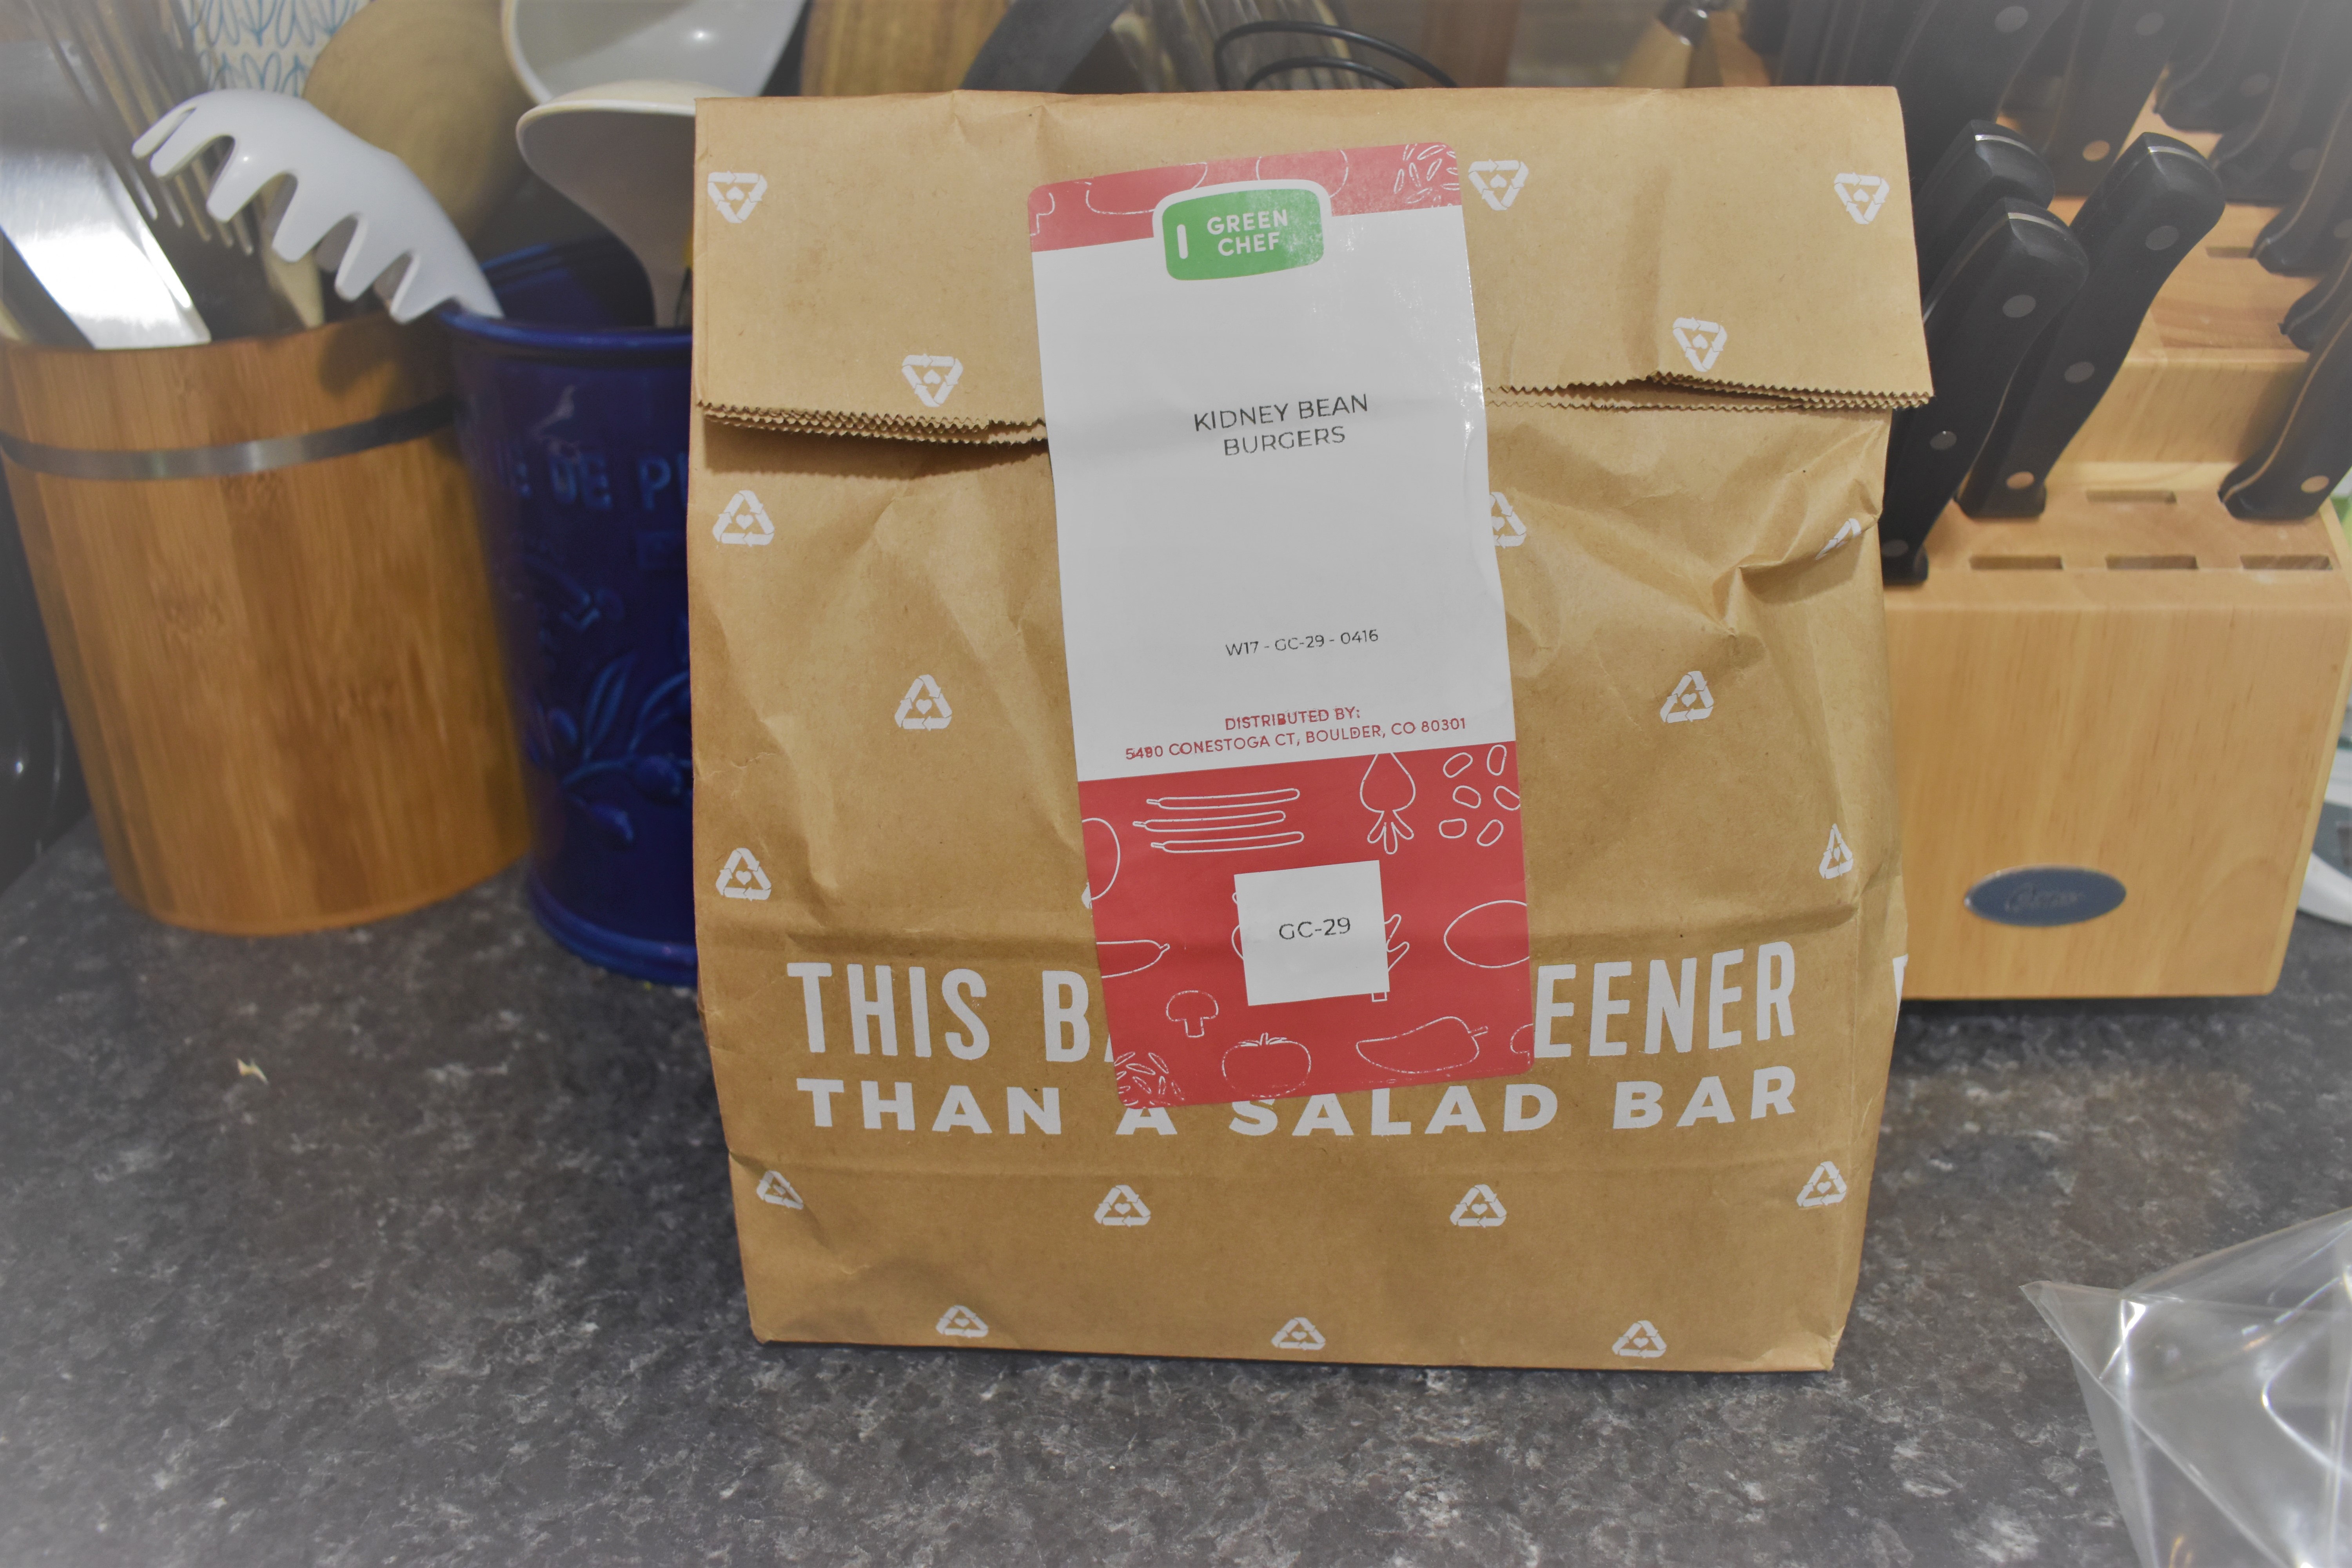
The third week included Mediterranean Veggie and Couscous Bowls, Japanese Vegetables Fritters, and Kidney Bean Burgers. I was most excited for the bean burgers. I’ve had several types of mock burgers in my life and am always up for trying another. The kidney bean burger was a great combination of beans, onion, and chia seeds. After refrigeration it held together nicely. I think cooking from half frozen might be even better as far as holding together in the pan. The recipe that is for two still makes 4 burgers, so leftovers were expected with this one. They still only send two buns. The fritters and couscous bowls were wonderful. It’s my second time with fritters and I’ve liked both so far. And the couscous bowl made me want to try more recipes with it as the main grain.

The fourth week included Cauliflower & Couscous Bowls, Cheesy French Onion Cauliflower, and Truffle Butter Risotto (because I liked it so much). This was my second couscous bowl and I am convinced that it is something I need to add to my usual meal rotation. The taste and texture of this dish was perfect for me. I added some garlic toast for more crunch (and because garlic bread is amazing). The cauliflower was nice, but my least liked meal so far. There is just something missing from the meal that I can’t quite place. It just didn’t come together for me. And I ordered the risotto again, because I love it so much. I think it’s the truffle butter that sends it over the top for me and I will always order it when it pops up. I didn’t know I liked truffles until this came up in my menu.

I am not a vegetarian or vegan, but I am reducing my meat intake. My partner is very agreeable to the changes I am making but would still prefer to have meat in his diet. SO for almost all of these I did serve some kind of animal based protein as an option with it. But by the 3rd week I pretty much skipped the meat entirely. Each meal is really great on it’s own and more than enough food for two. Even when I did not add meat we had some leftover for someone’s lunch the next day.

I enjoyed the meals that I received. They had good instructions, including what tools I would need along the way. My partner was able to cook the meals without me and he doesn’t cook very often. It was a nice detore from our usual meals. The change to routine was welcome and appreciated.

Because I still enjoy my own cooking and recipe ideas I did not get the meal kits every week. I had two weeks on and two weeks off. The break allowed me to be creative with my own cooking while looking forward to the next box.I did feel a little stress knowing that these meals MUST be cooked or the food would go bad, some of the items are already chopped and ready to be cooked. But it was so easy to pull out the bag and get dinner done in less than an hour. I could even leave it to my partner while I worked late or spent time in my garden. Each meal felt special, almost like going out to eat. The quality of the product was impressive. I wish someone else would do the dishes though.

I will continue to use Green Chef and really look forward to the meals to come. I think next time I might try a different menu, keep things interesting. So, if you want to try it out take a look at the link below. It’s a referral link that we both benefit from. And if you do order, let me know how it went. I think next time I’ll make a video of the cooking process, we’ll see.

https://chef.greenchef.com/plans?c=ES-RQBNVAVYH&plans_ab=true&utm_campaign=clipboard&utm_medium=referral&utm_source=raf-share-hpt

Food & Wine Magazine – Shallow Poached Salmon (A Review)

I am subscribed to the Food & Wine magazine, and I absolutely love getting it in the mail every month. A few days again I received the April edition and was immediately drawn to the poached salmon recipe. I enjoy salmon, but often cook it the same way every time, seasoned and seared in a pan with olive oil. The picture of this dish was so enticing that I knew I had to make it as soon as possible and tell all of you about it.

See link to the recipe here: https://www.foodandwine.com/recipes/shallow-poached-salmon-with-leek-beurre-blanc

I won’t go into too much detail on the recipe, because it is not mine. But I wanted to share my thoughts and experience with it.

The Process

I began by reading through the recipe. Reading through the entire recipe before starting will help you figure out what is going to be needed beforehand. This way you can better plan out the steps. For each step think about what tools are necessary. I made a short list of what would be needed before even starting to cook. You’ll also be able to see what ingredients you’ll need before starting. There is nothing more annoying than realizing you need something that you do not have, going back to the store, and getting stuck in traffic (in aisle or highway).

I was in luck, the only thing missing from my pantry was the cherry tomatoes. Once I had those all I needed was to defrost my salmon and get cooking. I picked up some asparagus to serve with the salmon, it’s in season and at a reasonable price. I used frozen salmon because I’m in a land-locked state and often don’t have good access to fresh salmon. They were also conveniently frozen in perfect portion sizes.

Ingredients and Tools

  • Salmon
  • Lemon
  • Leeks
  • Butter
  • Olive Oil
  • Cherry Tomatoes
  • Thyme
  • Rice
  • Asparagus
  • Knife
  • Cutting board
  • Bowls (2)
  • Plate
  • Scissors
  • Parchment paper
  • Spatula
  • Oven Mitt

Step 1

Heat up the oven to 500F. My oven takes nearly an hour to get to that temperature. There is also a discrepancy in my oven temperature, 450F is actually 500F in my oven. I found this out when I used a temperature probe. Turns out that it is pretty common for ovens to be up to 20% away from the set temperature. Since my oven takes so long to heat I was able to get everything prepped long before I needed it.

I started with the salmon. I took the fillets out of the packaging and patted them dry with paper towels. After putting them onto a plate I seasoned them with salt and pepper. I set this aside, washed my hands, and continued on to the rice and produce.

I chose brown rice to serve with the salmon. For this, I went by the package instructions. The rice needs to be started before the rest of the dish because of how long it takes to cook (15-20min). It should be finished by the time the salmon and sauce are done.

Thinly slice the lemon and leeks. They can go into separate bowls while waiting. I stripped my thyme off of the stems and set that aside in a glass. To the pan, I added butter and olive oil. I prepped my asparagus by chopping it into thirds, tossing it with olive oil, seasoning it with a spice blend, and placing it onto a sheet pan. I stuck the asparagus into the oven while it was still heating, it needs longer to cook than the salmon does.

Step 2

Once everything is prepped I began cooking. The butter and oil in the pan should heat up together before the lemons go in. Once melted and bubbly the lemons went in and cooked for 3 mins. Then I added the leeks and cooked them until they wilted. Last to go in was the thyme, salmon, and wine. The pan is then topped with parchment paper and brought to a simmer. Once simmering the whole pan can go into the oven and bake for 6-8 minutes (thicker fillets take longer). While that baked I cut the cherry tomatoes in half.

Once the pan is removed from the oven remember to always use an oven mitt to move the pan, it will be hot for a long time. I removed the parchment paper and took the salmon out of the pan. To the pan, add the rest of the butter and cherry tomatoes. I let this simmer on medium-high for 5 mins. The sauce thickened up nicely. By this time the asparagus was also done.

Step 3

Serve the salmon on top of the rice and spoon the sauce over top of it all. The asparagus can be served to the side of the salmon.

How was it?

I loved this recipe. The salmon was perfect, the lemon and leeks were amazing. The little cherry tomatoes were the perfect hint of sweetness. The rice soaked up the sauce and added texture to the dish. The original suggestion was to serve a salad, but with asparagus looking me fresh in the face at the store there was no question that I would be using that instead. The lemon could have been cooked through more (or maybe sliced thinner), it was just a little bit bitter. But when combined with the salmon in one bite it was delicious. I’m so happy to have another salmon recipe to go to. This looks so fancy on the plate, it’s sure to impress family and friends at your next dinner party (or Instagram post).

I do wish I had some garlic bread on the side. I served my dinner with the same wine that I used to cook the salmon, which is a great way to bring the whole meal together and get through that open bottle. If you don’t want wine, lemon water would also go well with this. Any light beverage would be fitting, something that won’t overpower the delicate flavor of the dish.

How long did it take?

This question is a little difficult to answer this time because my oven takes so long to heat up. So for me, the longest part was waiting for the oven. That took an entire hour.

I spent about 5 mins getting out my ingredients and tools. it took about 15 mins to prep the ingredients. The total cook time was 20 mins. In all the prep and cook time came to 40 mins. Not bad for a week-night dinner. It’s always nice when the time put in turns out such a great result.

But at what cost?

So what did this fantastic meal cost me? Let’s break it down

  • Salmon (4-6oz fillets)- $16.50
  • Leeks (3 in a bunch)- $2.98
  • Lemon – $0.57
  • Butter (almost 1 stick) – $0.87
  • White Wine (1 Bottle) – $9.99
  • Asparagus (2 bunches) – $3.00
  • Brown Rice – $0.40
  • Cherry Tomatoes – $2.98
  • TOTAL – $37.29
    • 4 servings, price per serving – $9.32

With the cost of salmon being so high, I would call this a special occasion meal. At any rate, it is delicious.

Let’s talk nutrition facts next. One serving (there are 4 here) comes to 350 calories. These calories are made up of 14g of fat, 18g of carbs, and 36g of protein.

Happy Cooking Everyone!!!

Let me know if this is something you like reading. Reviewing recipes is fun and I’m thinking about making a video to go with it.

Apple Cheesecake with Caramel Topping

I love cheesecake, and this is my favorite recipe. Cheesecake is a great dessert that can be altered easily to add different flavors.

Ingredient list for the dish

  • 4 blocks of cream cheese (8 oz blocks, 32 oz total, or 900 g)
  • 4 Large Eggs
  • 1/4 cup Sour Cream (120 g or 4.3 oz)
  • 1 cup Brown Sugar (200 g or 7.1 oz)
  • 3/4 cup White Sugar (150 g or 5.3 oz)
  • 3 apples (about 500 g or 1 lbs)
  • 8 tbsp butter
  • Cookies and/or Graham Crackers (400 g or 14 oz)
  • 11 oz Caramel Pieces (312 g)
  • 1/4 cup Milk
  • 2 tsp Ground Cinnamon
  • 1/2 tsp Ground Cardamom
  • 1 tsp Ground Cloves
  • 2 tbsp Flour
  • Lemon Zest of One lemon
  • Lemon Juice of 1/2 Lemon
  • 1/2 tsp Salt
  • 1 tbsp Vanilla Extract

Ingredients Sorted By Steps

Crust

  • 14 oz Graham Crackers or Cookies
  • 4 tbsp Butter
  • 1/4 cup Brown Sugar
  • 1 tsp Cinnamon
  • 1/2 tsp Cloves

Caramel Topping

  • Caramel Pieces
  • 1/4 cup Milk

Apple Filling

  • 3 Apples
  • 1/4 cup Brown Sugar
  • 4 tbsp Butter
  • 1tsp Cinnamon
  • 1/2 tsp Cloves
  • 1/2 tsp Nutmeg
  • 1/2 tsp Cardamom

Cheesecake Base

  • Cream Cheese (4 Blocks)
  • 4 Eggs
  • 3/4 cup White Sugar
  • 1/2 cup Brown Sugar
  • 1/4 cup Sour Cream
  • 2 tbsp Flour
  • 1 tbsp Vanilla Extract
  • 1/2 tsp Salt
  • Lemon Zest
  • Lemon Juice

Tools Needed

  • Springform Pan (9-10in)
  • Spatula
  • Wooded Spoon
  • Measuring Spoons
  • Measuring Cups
  • Zester / Microplane
  • Vegetable Peeler
  • Food Processer
  • Stand Mixer
  • Bowls
  • Cutting Board
  • Knife

The Process

To start you should take out all of the ingredients and tools you will need. Make sure that if you have a stand or hand mixer that it works. Check the food processor to see if that works too. The apples and lemon need to be cleaned and dried before starting. The cream cheese needs to be a room temperature as well. You could microwave the cream cheese if it is too cold to work with, but it’s best to let it come to temperature on the counter top. If you are going to use the microwave take it out of the wrapper and put into a microwave safe bowl. The microwave 30 sec at a time until the cream cheese is soft.

The Crust and the Pan

  • Turn on the oven to 325 F (160 C)
  • Prepare the springform pan
    • Attach the bottom to the pan and lock into place
    • Spray with nonstick spray on the bottom and sides
    • If you want a perfect release, line the sides with parchment paper
      • Cut a long strip that is as wide as the side of the pan is tall. It should be long enough to wrap around the inside of the pan.
  • For the crust
    • Melt the butter. You can use a microwave, 30 sec at a time until melted.
    • Add cookies or graham crackers to the food processer and pulse until they are fine crumbs.
      • If you don’t have a food processer you can use the plastic bag method.
      • Put cookies into a sealable plastic bag and get as much air out as possible. Use a rolling pin or your hands to crush the cookies until they are crumbs. It will not be as fine as with the food processer.
    • Add the spices, salt, and butter to the crumbs in the food processer and pulse until combined. It should feel like damp sand.
      • If you don’t have a food processer put the cookie crumbs, melted butter, spices, and salt to a bowl and mix until well blended.
    • Pour the crust mixture into the prepared springform pan. Press the mixture into the bottom and up the sides (about 1/2 inch). It should be somewhat firm.
    • Bake the crust for 25 mins.
    • Set aside to cool.

The Apple Filling

  • Peel and chop apples into small pieces. Add the apple to a pan
  • Cut up the butter and add that to the apples.
  • Add the spices and sugar to the apples.
  • Cook apples on low heat until the apples are soft and the sugar has created a syrup around the apples.
  • Put the apple filling onto the prepared crust. Allow to cool while making the cheesecake base.

Cheesecake Base

  • Put the room temperature cream cheese into the mixing bowl and start the mixer on a low speed. Slowly move up to a medium speed. Use the paddle attachment. Mix until smooth.
    • Using a hand mixer is fine. Mixing by hand is not as recommended because that would suck to get through.
  • Add the sugars (white and brown) and beat until smooth. Stop machine and scrap down sides occasionally.
  • Once the cream cheese and sugar has been beaten add the eggs one at a time, beating well between each egg.
    • Eggs should be cracked into a separate bowl before being put into the cheesecake mixture.
  • Add the sour cream, flour, vanilla, lemon zest, lemon juice, and salt. Continue to mix until smooth.
  • Pour mixture onto the prepared crust and apple mixture.
  • Bake for 1hr and 30min. Once that is over turn off oven and prop open with a wooden utensil to cool for 1hr. After that hour allow to cool for 5hrs on the countertop.

Caramel Topping and the Finished Product

  • After the cheesecake has cooled it can be topped with the caramel.
  • Add the caramel pieces and milk to a microwave safe bowl, I prefer glass for this.
  • Microwave for 30sec then stir. Continue microwaving at 30sec intervals until the mixture is smooth.
  • Pour the caramel mixture on top of the cheesecake. Refrigerate the cheesecake until the caramel topping is completely cool.

So how was it?

I love this cheesecake. It is my favorite version of cheesecake, it’s a mix of apple pie and cheesecake. The apples are soft, sweet, and well seasoned. The cheesecake is creamy and light. The caramel on top makes it feel extra special. I normally don’t serve this with anything else, but a cup of coffee can help balance the sweetness.

Cutting into this cake can be frustrating. Even when cold it can stick to everything, the knife, your hands, the plate. There is a great way to cut the cake into servings without the need to wash (or lick) your fingers between each cut. You won’t even need a knife. Cheesecake is very soft, even the crust is not very tough to get though. For this procedure I used a pastry scrapper. This utensil is a large rectangle of metal, with a handle on one side. To start, cut a piece of parchment paper that is as long as the radius of the cake and a little wider than twice the height of the cake. Fold the parchment paper around the pastry cutter (blade side) and press the blade down into the cake. Do this until you have portioned out the entire cake (I cut 12 slices). The parchment paper will stay in the cake as the pastry cutter is removed. When serving have a pair of scissors to cut the parchment paper to separate the slices. Would anyone like to see a video of this process? Here is a link to a video demonstrating the process. They used wax paper and a knife, but my knife went right through the paper. https://www.youtube.com/watch?v=x2axAzDOtZ4

I found that cling film stuck way too well to the caramel, removing that layer completely, so the extra parchment paper sticking up from the cake kept the cling film away from the caramel.

How long did it really take?

Cheesecake takes a very long time. Each step can be time consuming, then there is the long bake time and cooling time. It took nearly 2 hours to bring the cream cheese up to room temperature. I spent 8 mins getting the rest of the ingredients and tools out. The crust was my first step which took 5 minutes to prep, and baked for 25 min. I continued with the process while the crust baked. The apples took 6 minutes to prep and 8 minutes to cook. This was active cooking time, while the apples cooked I stayed attentive to it instead of moving on to the filling. So, that was 14 minutes of cooking time. The filling took 16 minutes to prep and mix together. The apple mixture and cheesecake mixture were ready after 30 minutes, so the crust was out of the oven and cooling for 5 minutes while I was finishing that. The cheesecake then baked for 1 hour and 30 minutes, cooled in the oven for 1 hour, and cooled on the counter for 5 hours.

This brings us to 2 hours of inactive prep, 42 minutes of active prep and cooking time, 1 hour and 30 minutes of baking, and 6 hours of cooling. The topping took 3 minutes to prepare and another 2 hours to cool. All together that is 12 hours and 15 minutes. This is definitely something you’ll want to plan ahead of time. If you need the cake for an event, plan on cooking it the day before and allowing plenty of time to cool in the refrigerator before serving. Cut the slices while the cake is very cool, it’ll be less messy. It’s even less messy to cut partially frozen, but that is a whole other chunk of time that I did not do for this.

But at what cost?

This recipe has many ingredients, most of these things I had in my pantry and don’t buy frequently. Most of the spices are reasonable priced, with the exception of cardamom. Cardamom is often $7-18 for a 1.5 oz jar. I’ll go over the main ingredients and leave out common items and the spices.

  • Cream Cheese, 4 packs of 8 oz – $7.68
  • Eggs, 4 – $0.56
  • Graham crackers – $3.12
  • Apples, 3 – $2.19
  • Sour cream – $0.36
  • Caramel – $1.98
  • Milk – $0.14
  • TOTAL – $13.84 for 12 servings
    • $1.15 per serving (but who eats just one slice of cake?)

What about the nutrition facts? How dare I bring up nutrition in a dessert blog? Yeah, still gotta consider it sometimes. So, for those who are interested I have done the math. There are about 680 calories per slice. These calories are made up of 45g of fat, 62g of carbs, and 9g of protein. It’s a dessert, so that makes sense. To cut down on some of this you can use low fat cream cheese and reduce the amount of sugar in the recipe. I have a great version with lower fat and sugar if anyone is interested.

Final thoughts

I love this cheesecake, it’s my favorite version. It was one of the first recipes that I changed to suit my own tastes when I was younger. What you see here was years in the making. I learned so much from each change I made, writing down my impressions every time. Of course, if you don’t like apples they can be left out. Blueberries, strawberries, and raspberries make a great substitution. The crust can be nearly any kind of cookie you prefer. Cheesecake can be altered to suit many tastes. Once you have the base and the knowhow, anything is possible.

Over the course of a week I can eat the entire thing, and I will if I don’t have to share. If you don’t finish the cheesecake within a week consider freezing the extra slices. They can be wrapped in clingwrap and frozen individually for easy serving later. When defrosting, remove the clingwrap while it is still frozen, it’s too messy once defrosted.

So let me know what you think about it in the comments, and I’ll have my video out soon!

Happy cooking everyone!!!

Thoughts on cooking something new

When I am in the kitchen I feel most myself. I feel like I have everything under control, even if I really don’t. I search for long periods of time for new recipes to try. I often cook the same things over and over again. The food is good, so I do it again. I know the method and recipe, so I do it again. It is comforting, so I do it again. But to try something new is always a treasure. Going through the list of ingredients and reading the instructions are the more tedious parts. It’s the cooking and the making of it that I most love. I can create something new from a few simple steps.

My favorite recipes use fresh produce and herbs. I’m not a big fan of canned goods or box mixes. While they taste fine, it will never come close to that same feeling I get with fresh food. Prepping the produce gives me time to consider the best way to cook the food in front of me. It also allows for time to think about day. What did that day bring me, or if it’s morning, where will it take me? The time taken to prepare food is not a burden to me, it’s a much needed self reflection.

I love cooking and I want to help others to learn to cook. I want to write recipes in a way that are easy to follow and include helpful tips or substitutions. So hopefully I’m on my way to that goal with these posts.

Stuffed Acorn Squash

I love squash, and acorn squash is delicious. But an acorn squash can look intimidating. So let’s have a look at a great recipe.

Ingredient List for the Dish

  • 3 acorn squash (about 4 lbs or 2 kg)
  • 1 lbs. mild sausage (0.5 kg)
  • 1 Onion (about 0.25 lbs or 0.2 kg)
  • 1 apple (1.5 cups or 0.25 lbs or 0.2 kg)
  • 4 cloves garlic (2 tsp jarred minced garlic)
  • 3 ribs celery (1.5 cups or 0.25 lbs or 0.2 kg)
  • 1 tbsp. fresh thyme
  • 1 tbsp. fresh sage
  • 1/3 cup panko crumbs (40 g)
  • 1/3 cup parmesan cheese (40 g)
  • 1/4 tsp red pepper flakes
  • salt
  • black pepper
  • olive oil

Tools for the Job

  • Oven
  • Knives
    • chef’s knife
    • small knife for peeling if not using a peeler
  • Cutting board
  • Bowls 4
  • Slotted spoon
  • Wooden spatula
  • Regular spoon
  • Dutch oven
    • or other large pot
  • Baking pan
  • Brush
  • Grater
  • Peeler
  • Spatula
  • Oven mitts

The process

If you have the counter space have your tools out and ready to be used. Also, get out your ingredients. Produce needs to be cleaned and ready to use. It is helpful to prep celery right after purchase. That would include cutting off the root end, washing each rib, and cutting them down to a manageable or snackable size. I cut mine down to fit into my storage containers. This kind of prep will lead to a smooth cooking experience. Frantically looking for the right tool while the food is cooking is not very fun.

  • Set the oven to 400F (200C) and check the rack position before the oven is hot. It should be in the middle of the oven.
  • Prepare the acorn squash.
    • Start by cutting the acorn squash in half. I usually cut through the stem and pointy end.
    • Scoop out the seeds and stringy parts, discard this.
    • Cut a small amount off of the other side to stabilize the acorn squash.
    • Place the squash on the baking pan, hollow side up. Brush the inside of the squash with the olive oil. Sprinkle with salt and black pepper.
    • Bake for 30 min. This can be done while preparing the stuffing ingredients.
  • Prepare the onion and celery
    • Cut the stem end of the onion off and then cut the onion in half through the root end. Place the onion down on the cutting board with the larges surface area facing down. With the knife tip facing the root end make several cuts through the onion. Then make similar cuts through the onion with the knife perpendicular to the root end.
    • The celery should be cut length ways down the middle of the rib, and then across to produce small pieces.
    • Place both of these ingredients into a bowl.
  • Prepare the apple, garlic, sage, and thyme
    • Peel the skin off the apple and chop into small cubes. I like to cut around the core and go from there.
    • Remove the skin from the garlic cloves. Crush garlic with the knife and chop into small pieces.
    • Remove sage leaves from the stem. Roll them together on the cutting board and slice. Remove the leaves from the stem of the thyme and add it to the sage. Cut through all of it, stopping to mound up the herbs to chop through again.
    • Put all of this into the next bowl.
  • Optional Prep: Put 1/4 tsp of salt, black pepper, and red pepper into a small container to add to the stuffing. This is not a requirement but may help those who are forgetful.
  • Prepare the panko crumbs and parmesan cheese
    • Grate parmesan cheese. You can use buy grated cheese and use that. Grate until you have 1/3 cup and put into the next bowl.
    • Measure out 1/3 cup panko crumbs and add to the bowl with the cheese. Stir together.
    • Optional: add extra sage and thyme to this mixture.
  • Putting the stuffing all together
    • Brown the sausage in the Dutch oven over medium-high heat. This should take 6-10 mins. Remove when cooked though to the waiting bowl.
    • Add onion and celery to the Dutch oven. Depending on the sausage you might need to add olive oil. Turn down heat to medium and cook for 4 mins. The vegetables should be softened. The celery often looks a much brighter green.
    • Add the apple, garlic, sage, and thyme. to the Dutch oven. At this time you can also add the salt, pepper, and pepper flakes. Cook this for 4 mins.
    • Add the sausage back to the Dutch oven. Cook for 3 mins. Taste the mixture to check seasoning level.
  • Combing it all
    • Spoon stuffing into each acorn squash. Top with the panko and parmesan cheese mixture. At this point you have two options.
    • You can cook right away in the oven for 15 mins and enjoy immediately.
    • Or you can let it cool and store in the refrigerator until you are ready to eat it. It can stay in the refrigerator for 3-4 days or be frozen for several weeks.
    • Reheating in a microwave is not recommended. The texture of the squash can change a lot and not be as desirable.

So how was it?

I enjoyed the end product of this dish. The squash was soft and sweet. The stuffing was savory and fragrant. The fresh herbs make a huge difference in a dish like this. The oils are released when being chopped and change the scent of the whole room when put into the Dutch oven. The combination of sage, apple, and pork is a classic that I will always enjoy. The acorn squash is like a delicious bowl of tasty food and fun textures. Be careful, the does not soften and is not to be eaten. One of the squash halves was enough for dinner for me. But, it could pair well with roasted broccoli and rice. I knew I would only need one half for myself and one for my partner, so the rest went into the freezer for another day. I’m hoping that next year I’m able to grown my own acorn squash. It didn’t go well this past year, we had some issues with pests. I grew one tiny squash that I was still proud of.

How long did it really take?

Most recipes that are similar to this claim it as a 30-40 min recipe. Of course this depends on how confident you are in the kitchen. If your skill level is a little on the low side it will take longer. I spent 5 mins getting out all of my tools, ingredients, and cleaning my produce (my grater was hiding from me). I decided to cut up and sort all of the produce before cooking anything. So, I had the oven heating while I prepped the ingredients. It took me 25 mins to prep the produce and get it into the bowls for making the stuffing. I put the acorn squash into the oven (30min) just before starting to cook the sausage. The stuffing took about 20 mins to prepare. While the squash finish in the oven I cleaned up my dishes and mess from the prep work. When the squash cam out it took nearly 4 mins to fill each squash and top with the panko mixture. The acorn squash were very hot and difficult to more around. The squash then cook for another 15 mins to completion. That is 30 mins of total prep time and 45 mins of cook time. I tend to cut up my produce at a moderate pace, so it might match the pace of someone with less experience. If you have great knife skills you’ll save some time. The total time from start to finish was 55 mins.

But at what cost?

Was that heading dramatic? Yes, and I’m good with that. But what is the cost of this dish? Product price can change based on the season and the region, but I’ll show you what I paid for most of this

  • 3 acorn squash — $4.65
  • 1 lbs. mild sausage — $3.48
  • 1 Onion — $0.79
  • 1 apple — $1.00
  • 4 cloves garlic — $0.50
  • 3 ribs celery — $0.70
  • 1 tbsp. fresh thyme — $1.00
  • 1 tbsp. fresh sage– $1.00
  • TOTAL — $11.32 for 6 servings
    • $1.89 for each serving

I did not include the price of the ingredients I already have. Partly because I didn’t want to buy more and also because I forgot to just check while I was at the store (whoops). This is my first post so I’ll probably get better at doing this, who knows. I normally wouldn’t buy my herbs, but the sage in my garden was not a fan of the cold weather and was not available. Parmesan cheese can get expensive, but it is worth the price to get a good one. Nothing compares to a real parmesan cheese with it’s salty goodness. If all you can get is shaky cheese, go for it (please don’t tell me you don’t know what shaky cheese is). Overall I think this price is pretty acceptable for a meal.

And what about the health facts? There is more than one way to calculate cost. It’s estimated to be 525 calories per serving (one half of the squash) with 32g carbs, 32g fat, and 28g protein. Of course this can vary with how much oil is used, the type of sausage, and the actual size of the squash. If you would like to reduce calories you can try replacing the pork sausage with turkey. Or even cutting the sausage in half and replacing it with rice or beans.

Final thoughts

I would make this again. There are several ingredients and steps to keep in order, but once the prep work is done everything flows smoothly. The blend of tastes and textures was a nice addition to my weeknight dinners. It feels fancy enough to be impressive to a house guest while not being too difficult to put together, especially because it can be made the day before and baked when needed. I would prefer a little more red pepper, I like the heat it provided to the dish. A good substitution could be sage sausage instead of the mild country sausage I used. I would consider maple, but it might be too sweet. Maybe I’ll try it next time and let you all know how it was. I’ve also considered doing a vegan version. Would anyone like that?

I only cooked up two servings for myself and my partner, we froze the rest. When going back to cooking the others it is best to let the squash defrost before cooking. Bake in the oven at 400F for 15-20 mins, this should be enough time. If you are not sure if it is done use a thermometer probe to check.

Happy cooking everyone!

Let me know if you tried it and what you thought about it.