
I love cheesecake, and this is my favorite recipe. Cheesecake is a great dessert that can be altered easily to add different flavors.


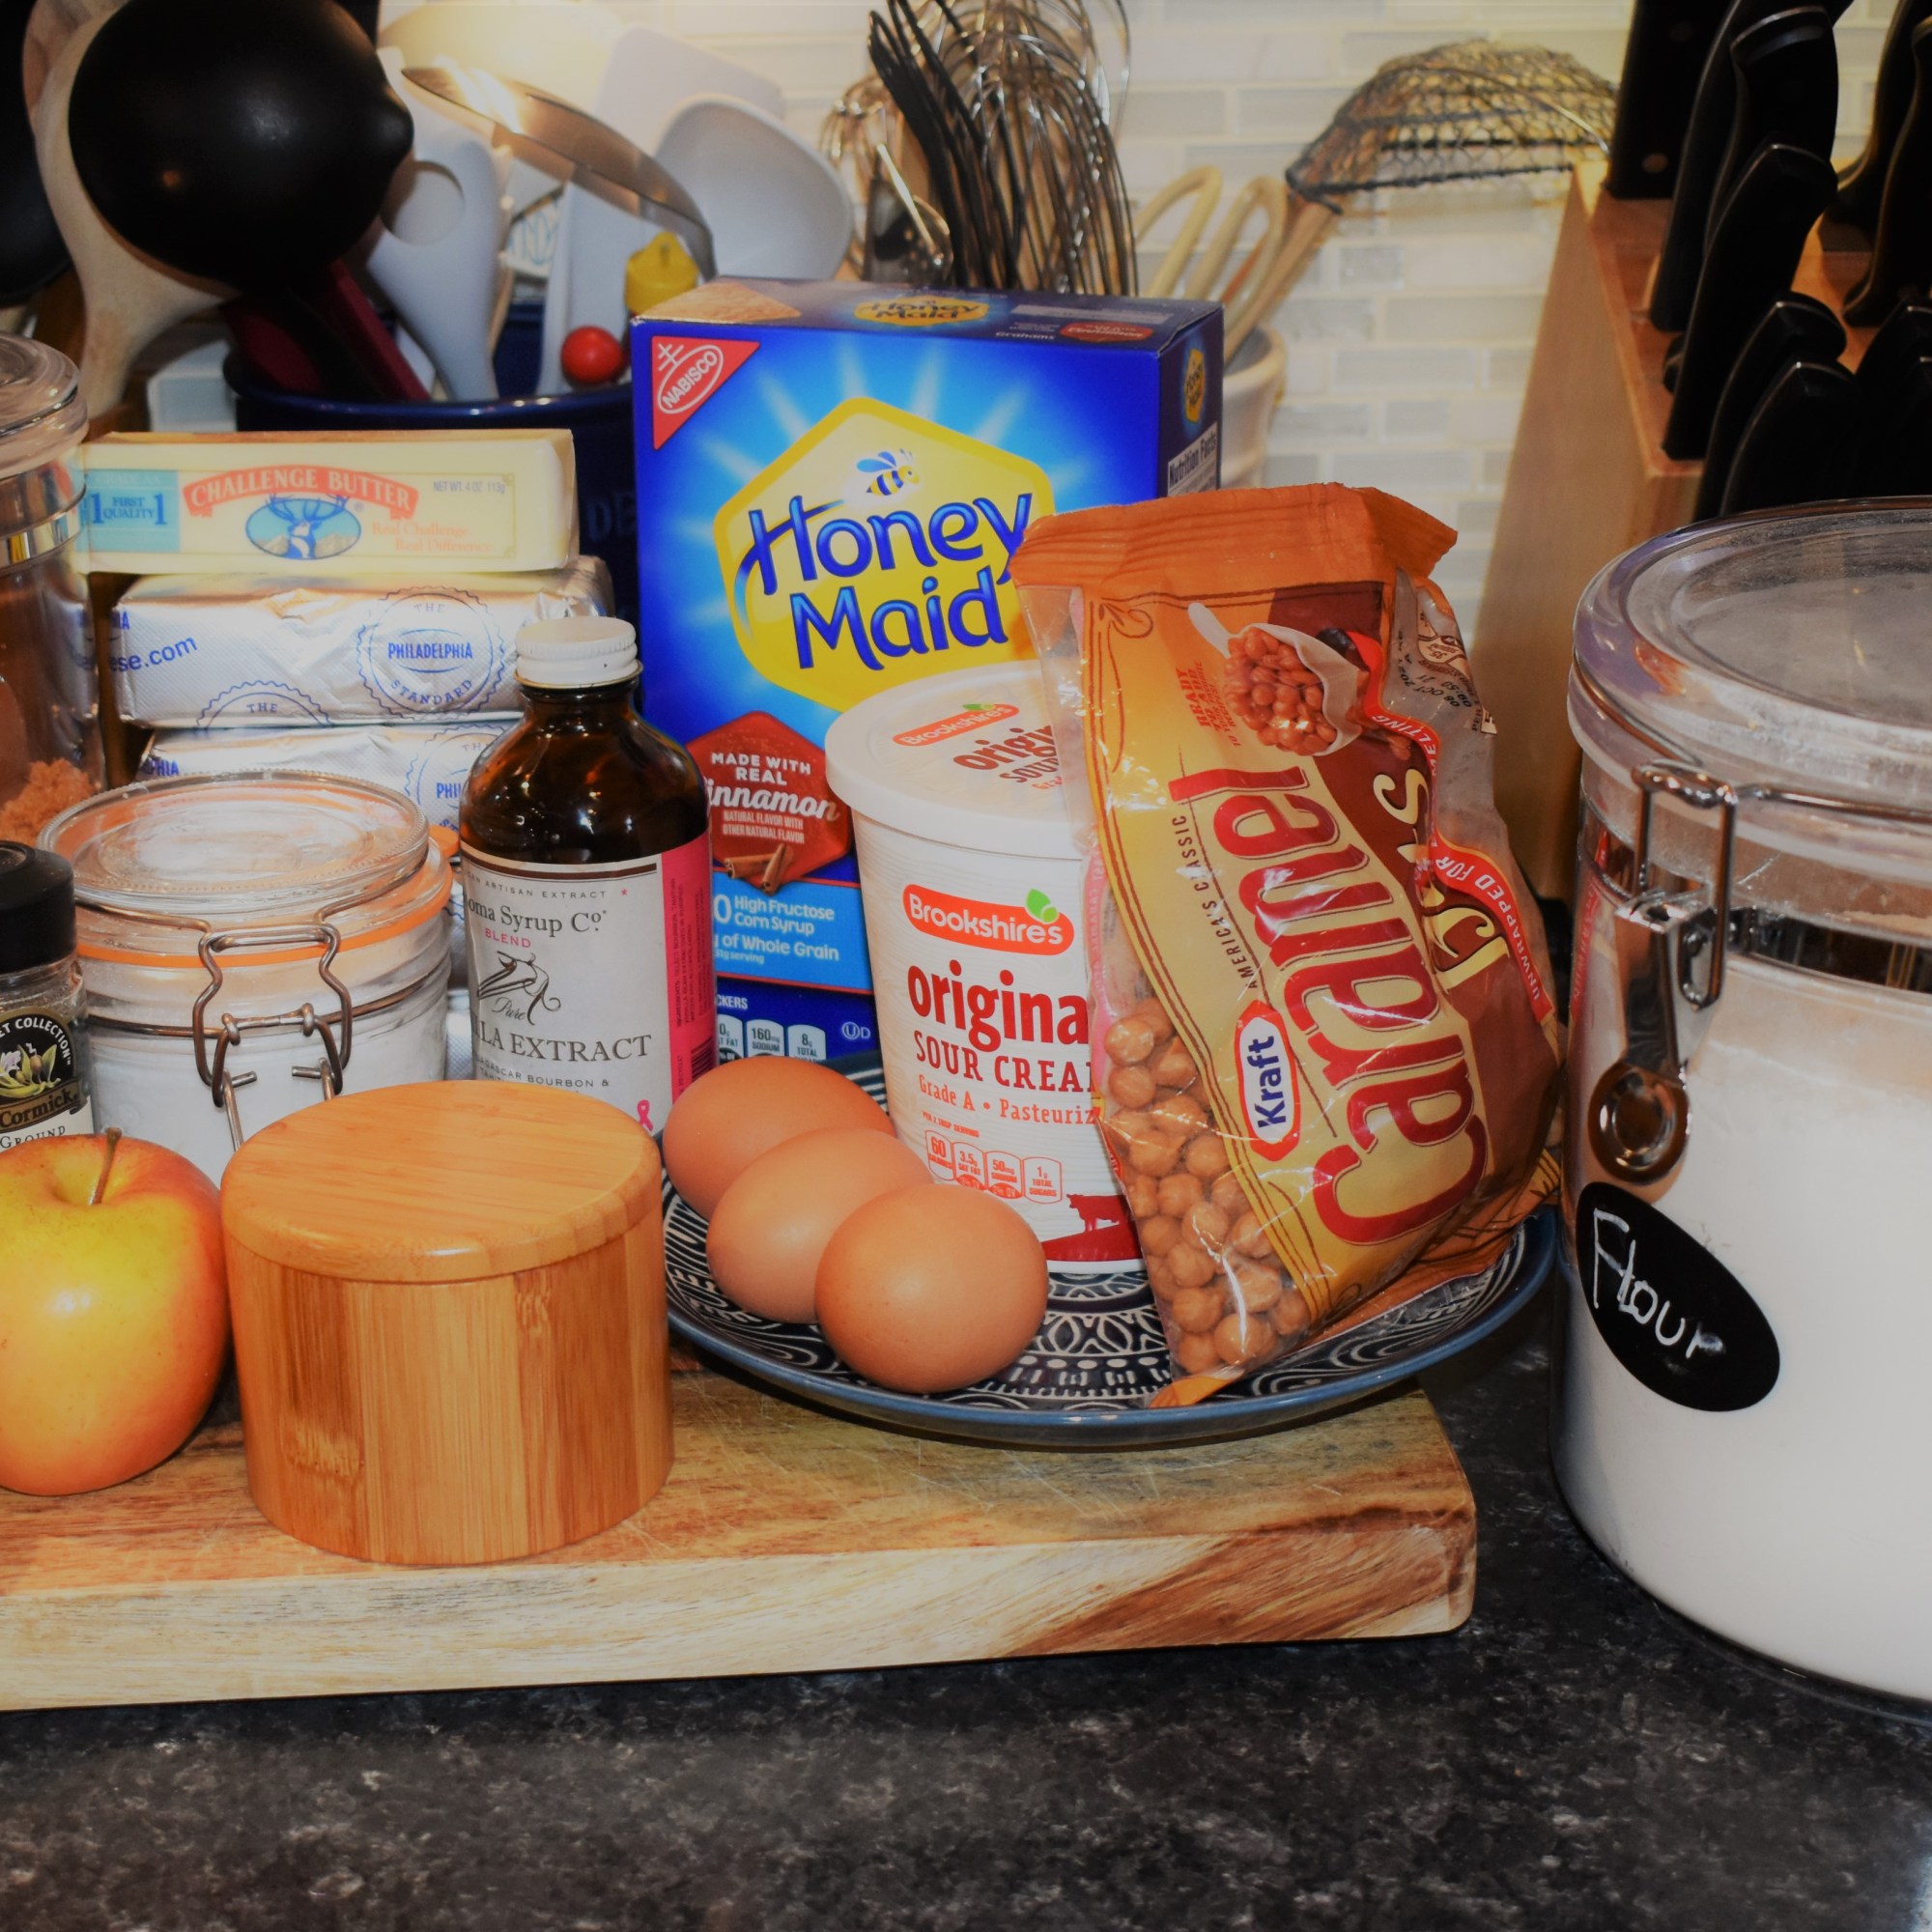
Ingredient list for the dish
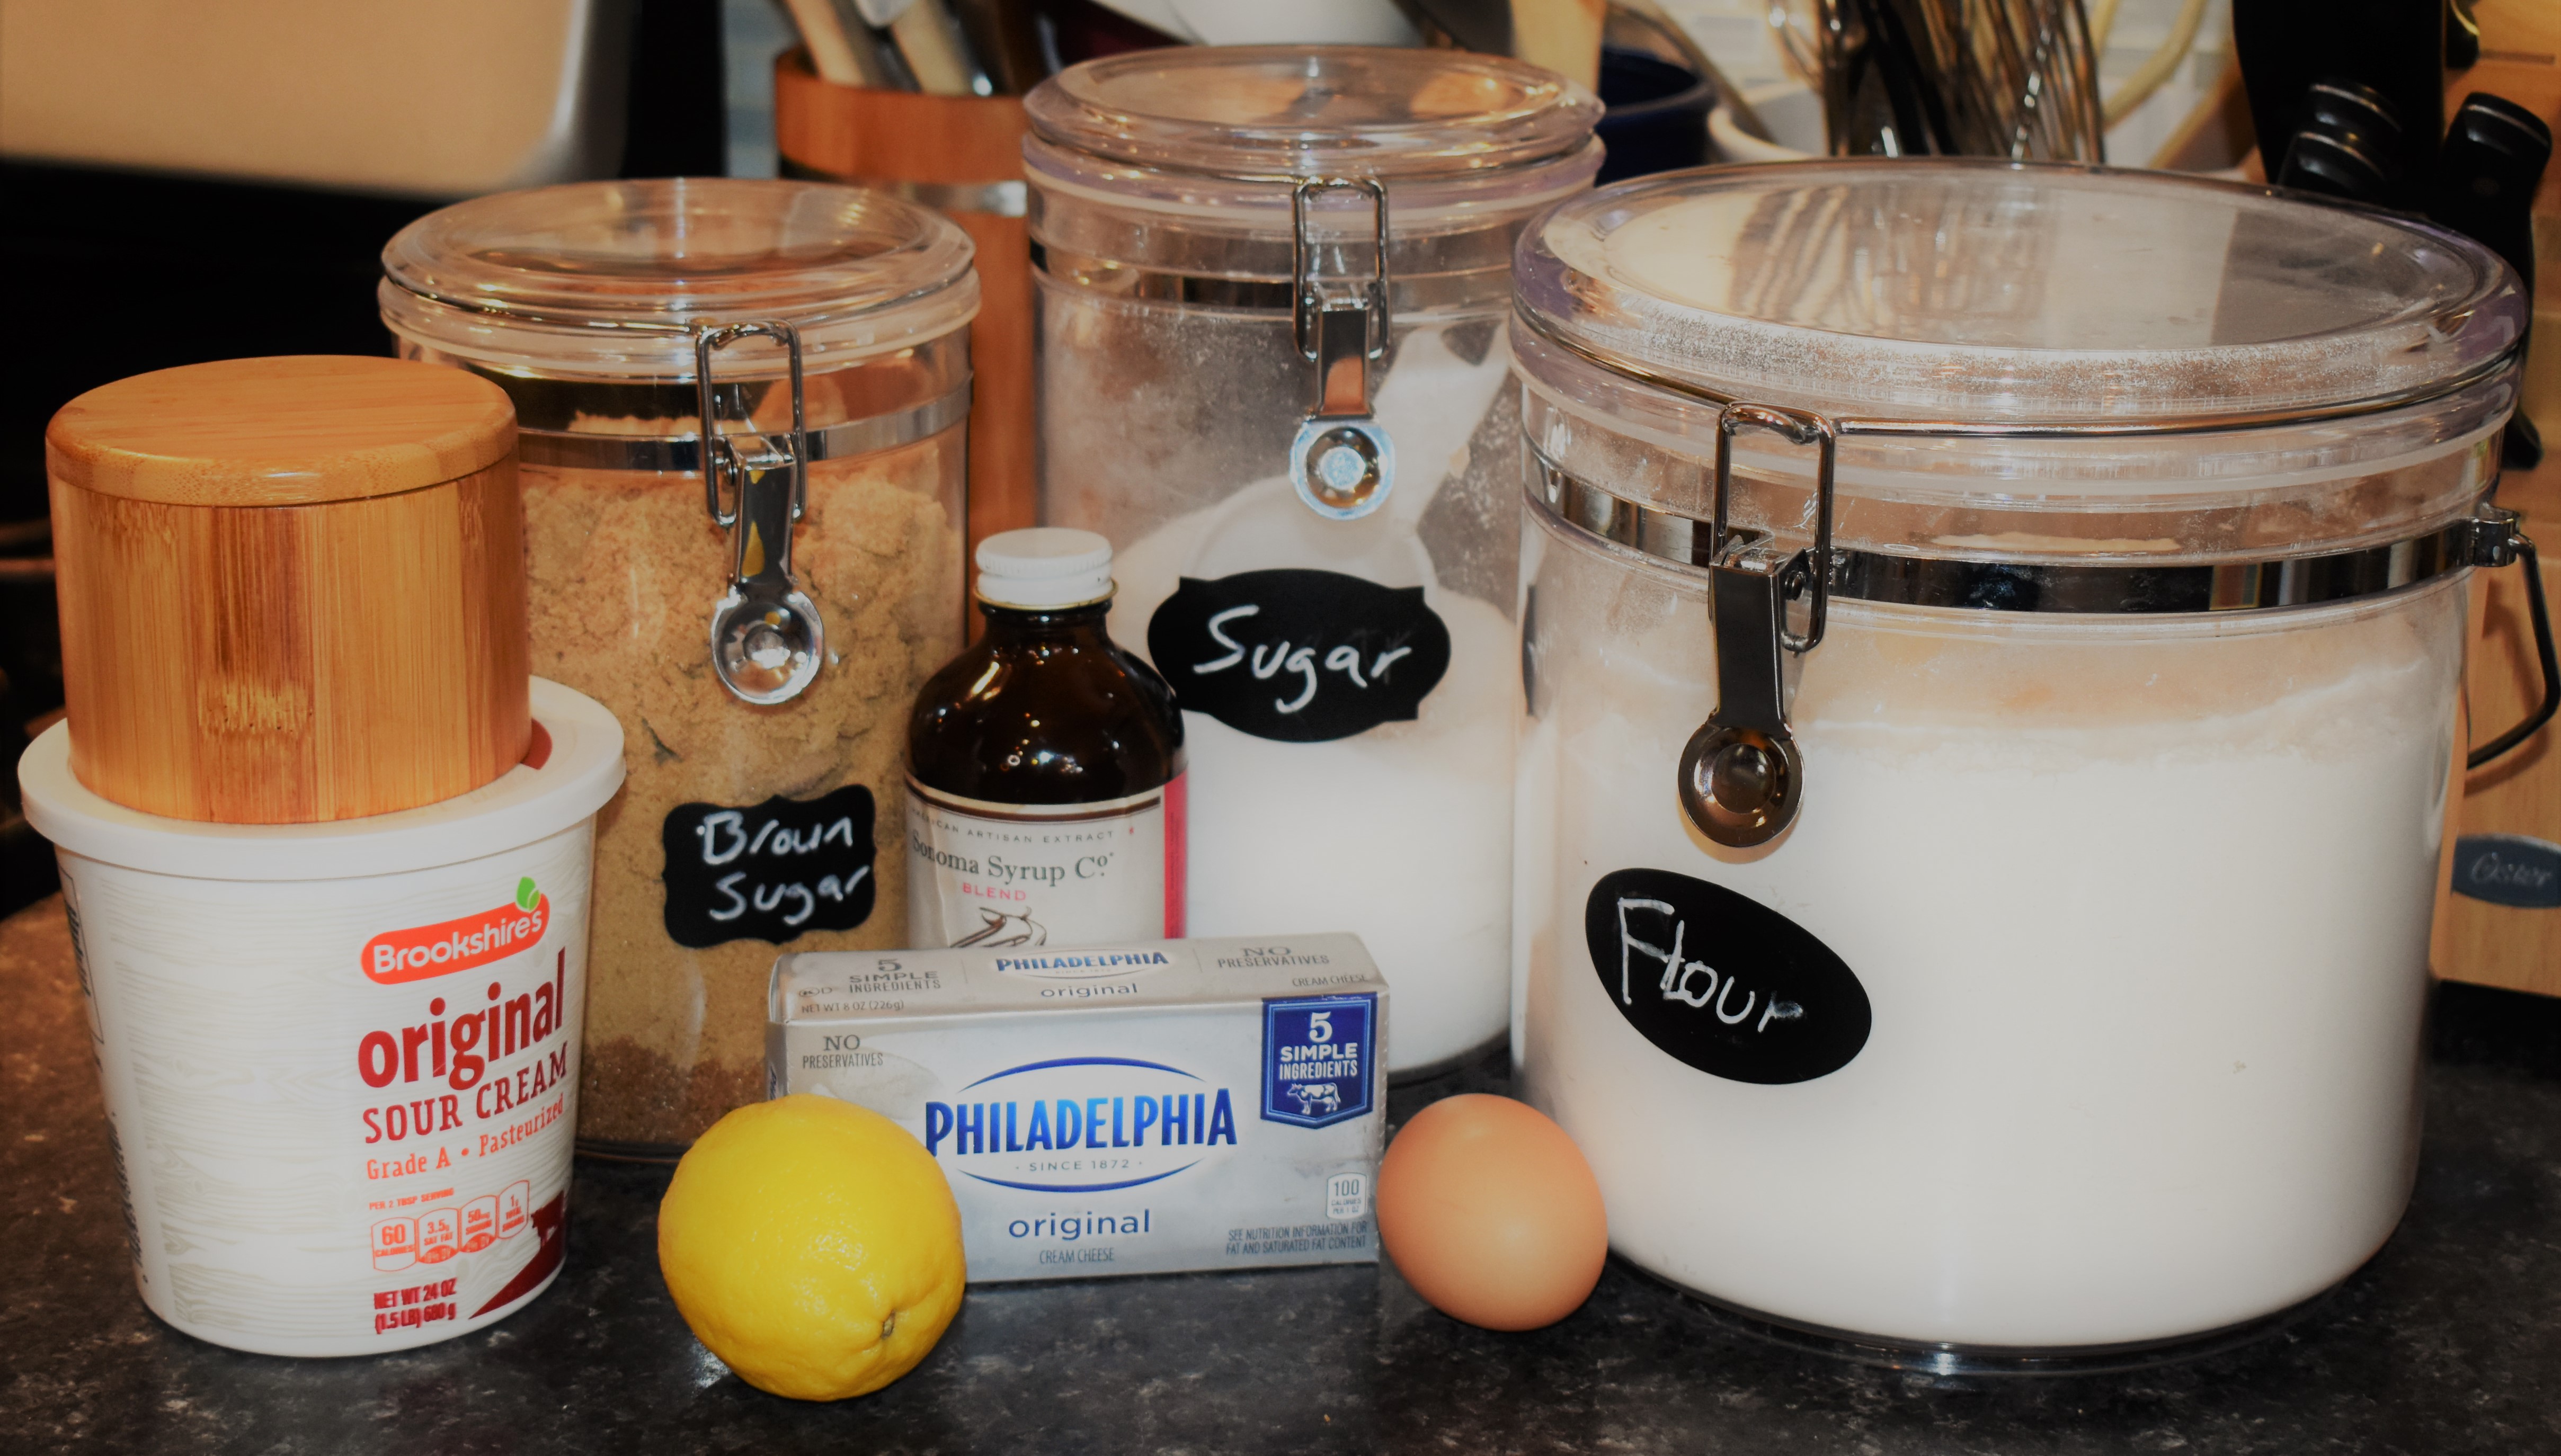
- 4 blocks of cream cheese (8 oz blocks, 32 oz total, or 900 g)
- 4 Large Eggs
- 1/4 cup Sour Cream (120 g or 4.3 oz)
- 1 cup Brown Sugar (200 g or 7.1 oz)
- 3/4 cup White Sugar (150 g or 5.3 oz)
- 3 apples (about 500 g or 1 lbs)
- 8 tbsp butter
- Cookies and/or Graham Crackers (400 g or 14 oz)
- 11 oz Caramel Pieces (312 g)
- 1/4 cup Milk
- 2 tsp Ground Cinnamon
- 1/2 tsp Ground Cardamom
- 1 tsp Ground Cloves
- 2 tbsp Flour
- Lemon Zest of One lemon
- Lemon Juice of 1/2 Lemon
- 1/2 tsp Salt
- 1 tbsp Vanilla Extract

Ingredients Sorted By Steps
Crust
- 14 oz Graham Crackers or Cookies
- 4 tbsp Butter
- 1/4 cup Brown Sugar
- 1 tsp Cinnamon
- 1/2 tsp Cloves
Caramel Topping
- Caramel Pieces
- 1/4 cup Milk
Apple Filling
- 3 Apples
- 1/4 cup Brown Sugar
- 4 tbsp Butter
- 1tsp Cinnamon
- 1/2 tsp Cloves
- 1/2 tsp Nutmeg
- 1/2 tsp Cardamom
Cheesecake Base
- Cream Cheese (4 Blocks)
- 4 Eggs
- 3/4 cup White Sugar
- 1/2 cup Brown Sugar
- 1/4 cup Sour Cream
- 2 tbsp Flour
- 1 tbsp Vanilla Extract
- 1/2 tsp Salt
- Lemon Zest
- Lemon Juice


Tools Needed
- Springform Pan (9-10in)
- Spatula
- Wooded Spoon
- Measuring Spoons
- Measuring Cups
- Zester / Microplane
- Vegetable Peeler
- Food Processer
- Stand Mixer
- Bowls
- Cutting Board
- Knife


The Process
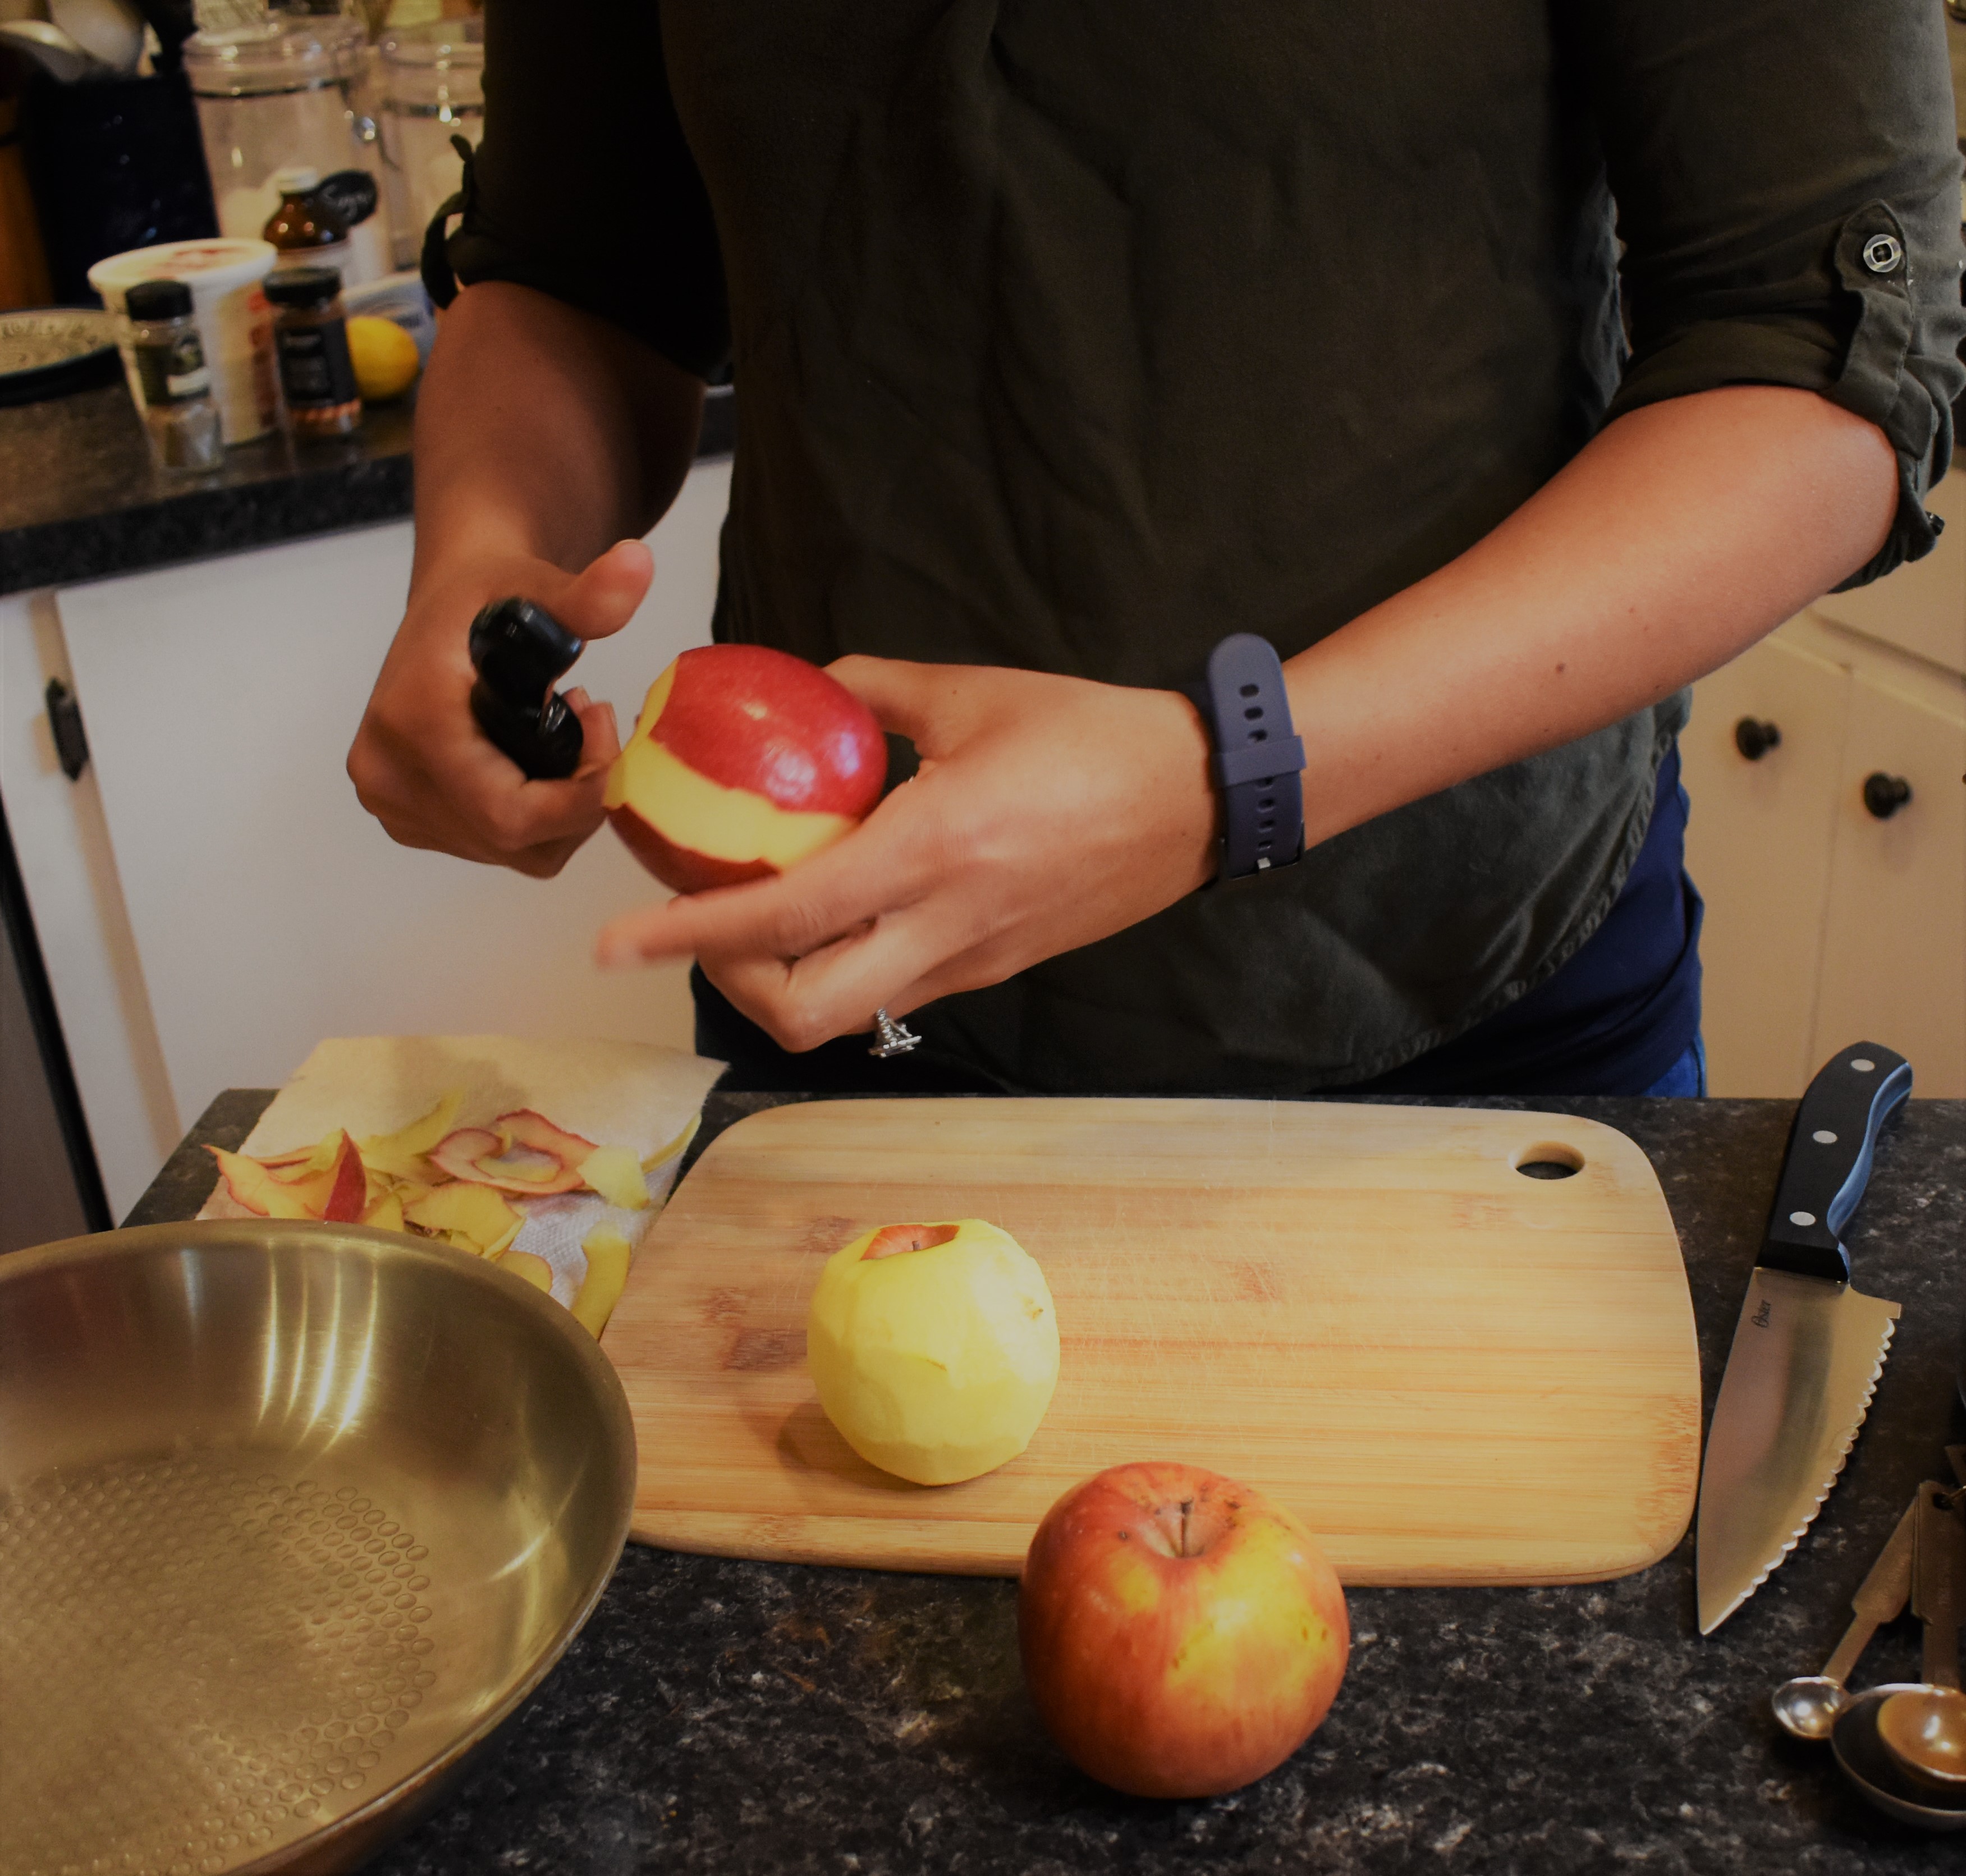
To start you should take out all of the ingredients and tools you will need. Make sure that if you have a stand or hand mixer that it works. Check the food processor to see if that works too. The apples and lemon need to be cleaned and dried before starting. The cream cheese needs to be a room temperature as well. You could microwave the cream cheese if it is too cold to work with, but it’s best to let it come to temperature on the counter top. If you are going to use the microwave take it out of the wrapper and put into a microwave safe bowl. The microwave 30 sec at a time until the cream cheese is soft.
The Crust and the Pan
- Turn on the oven to 325 F (160 C)
- Prepare the springform pan
- Attach the bottom to the pan and lock into place
- Spray with nonstick spray on the bottom and sides
- If you want a perfect release, line the sides with parchment paper
- Cut a long strip that is as wide as the side of the pan is tall. It should be long enough to wrap around the inside of the pan.

- For the crust
- Melt the butter. You can use a microwave, 30 sec at a time until melted.
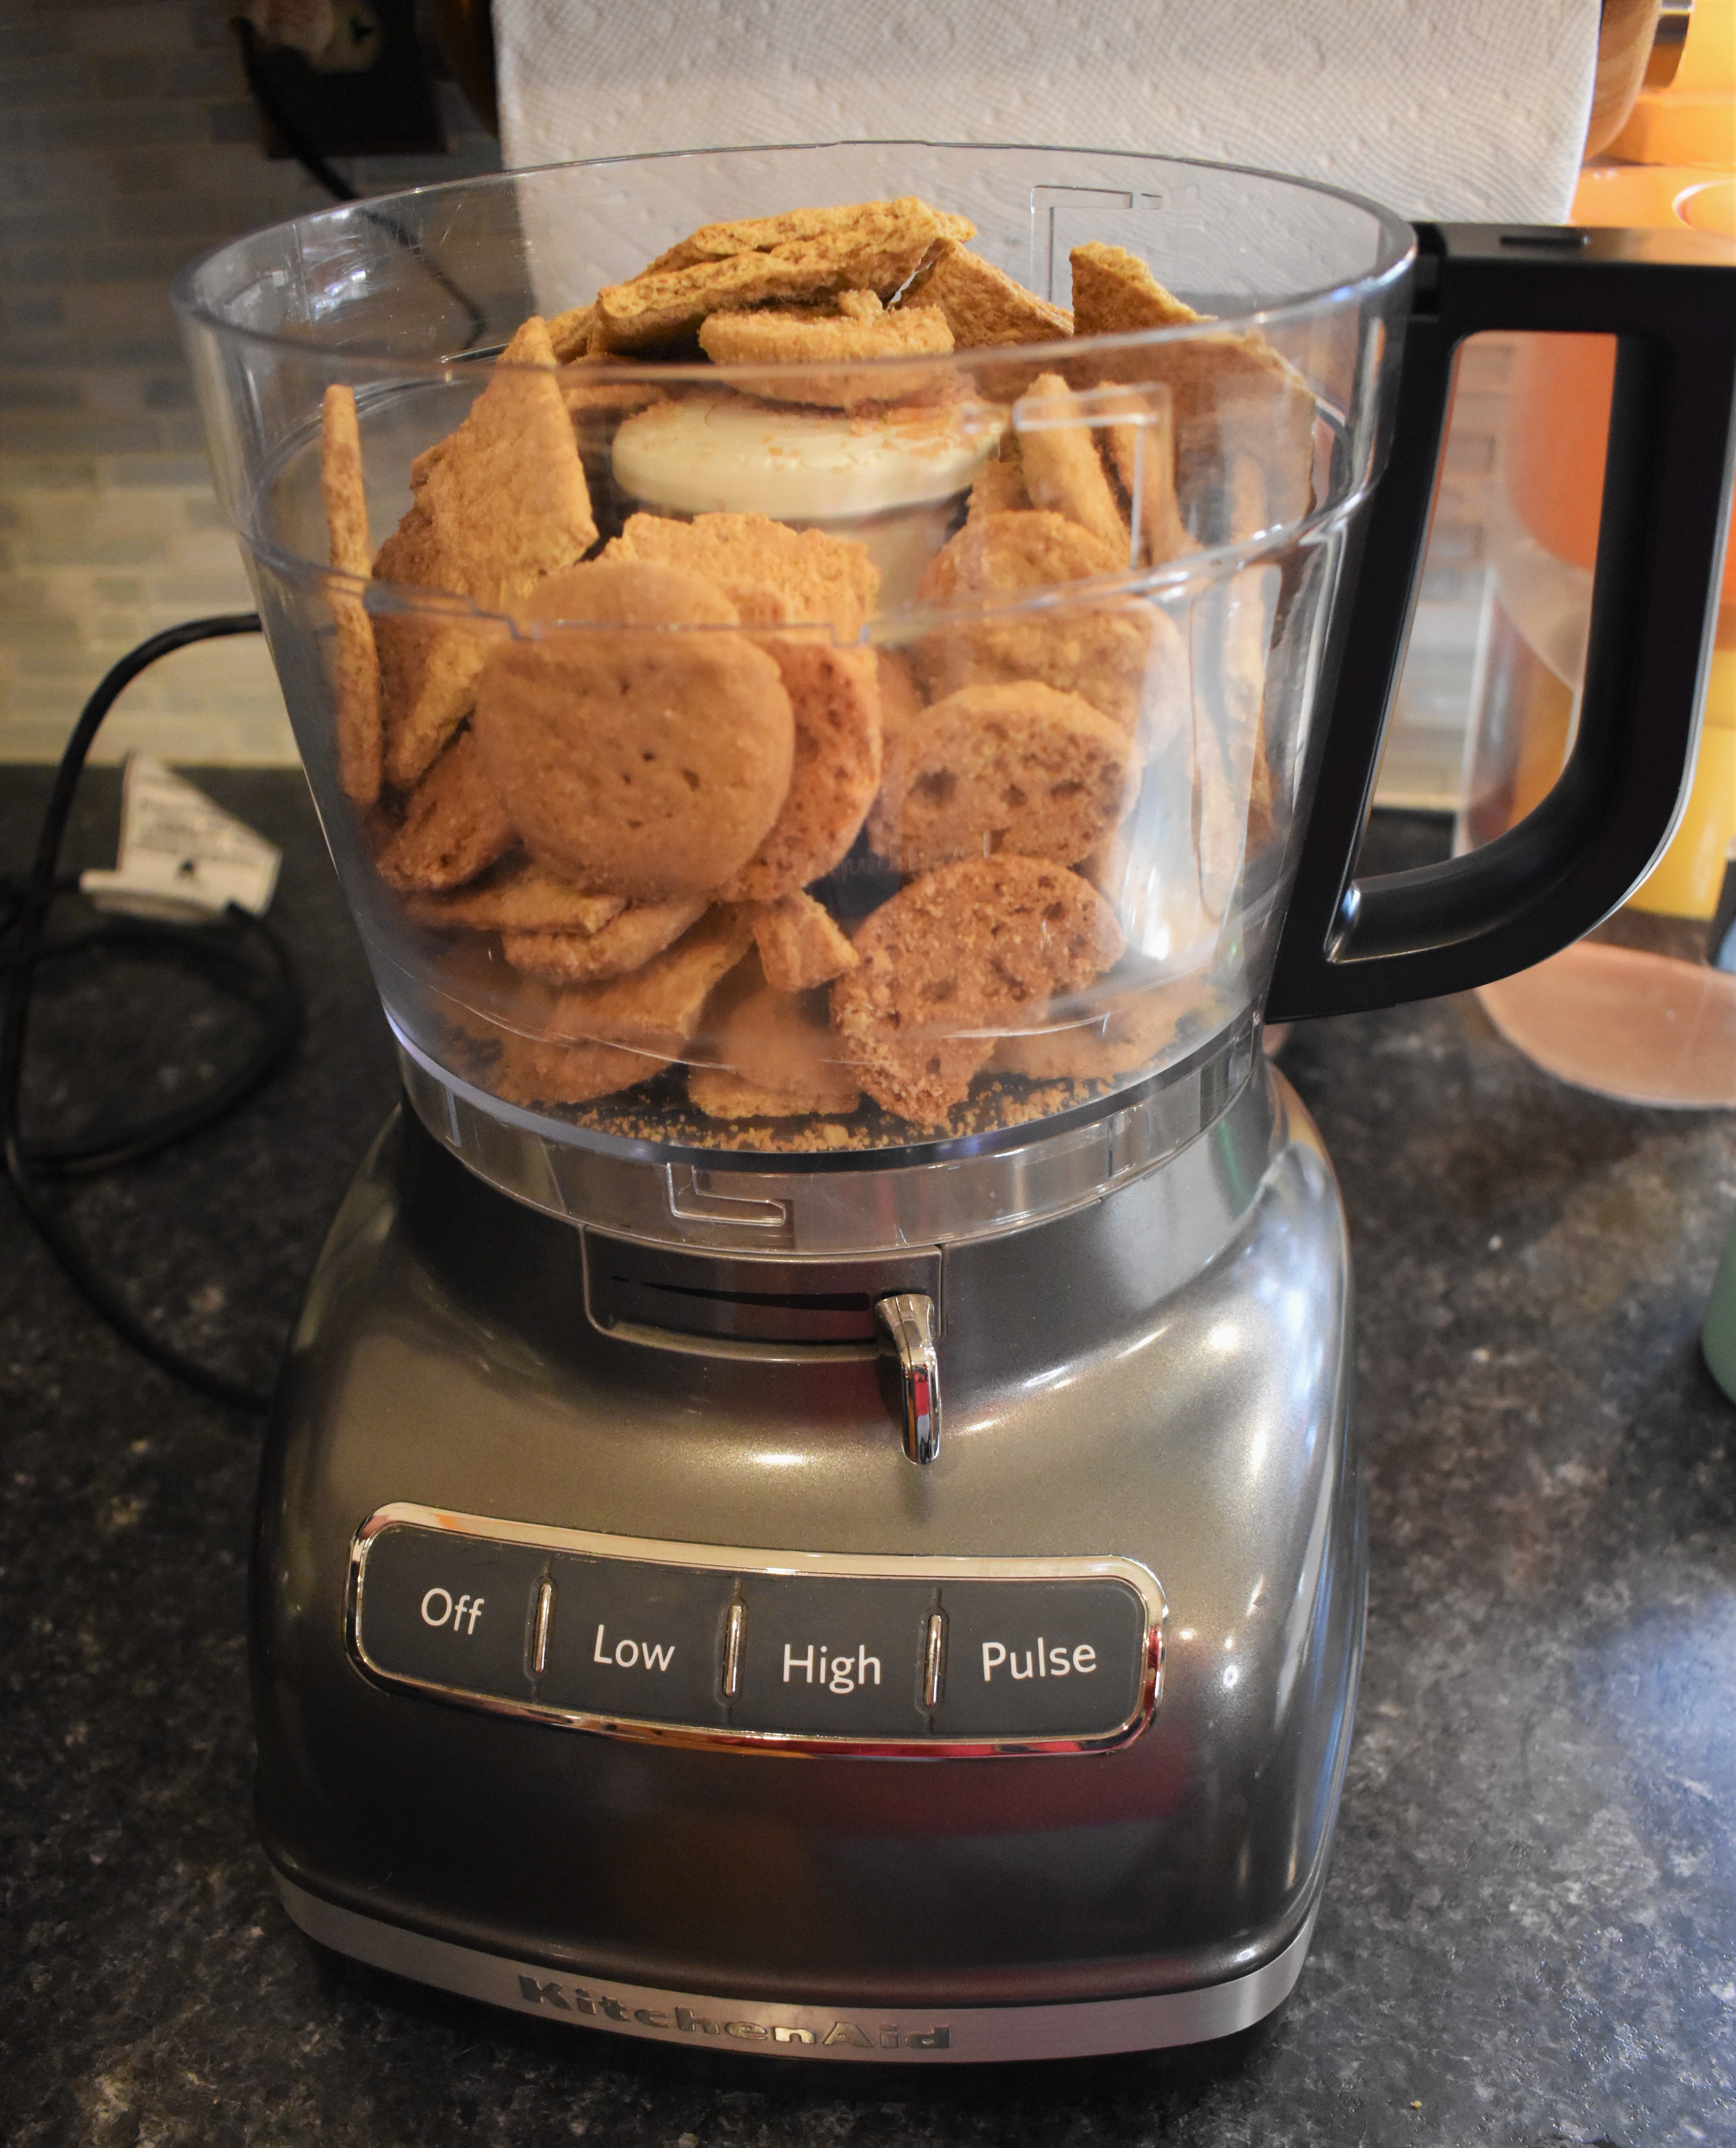
- Add cookies or graham crackers to the food processer and pulse until they are fine crumbs.
- If you don’t have a food processer you can use the plastic bag method.
- Put cookies into a sealable plastic bag and get as much air out as possible. Use a rolling pin or your hands to crush the cookies until they are crumbs. It will not be as fine as with the food processer.
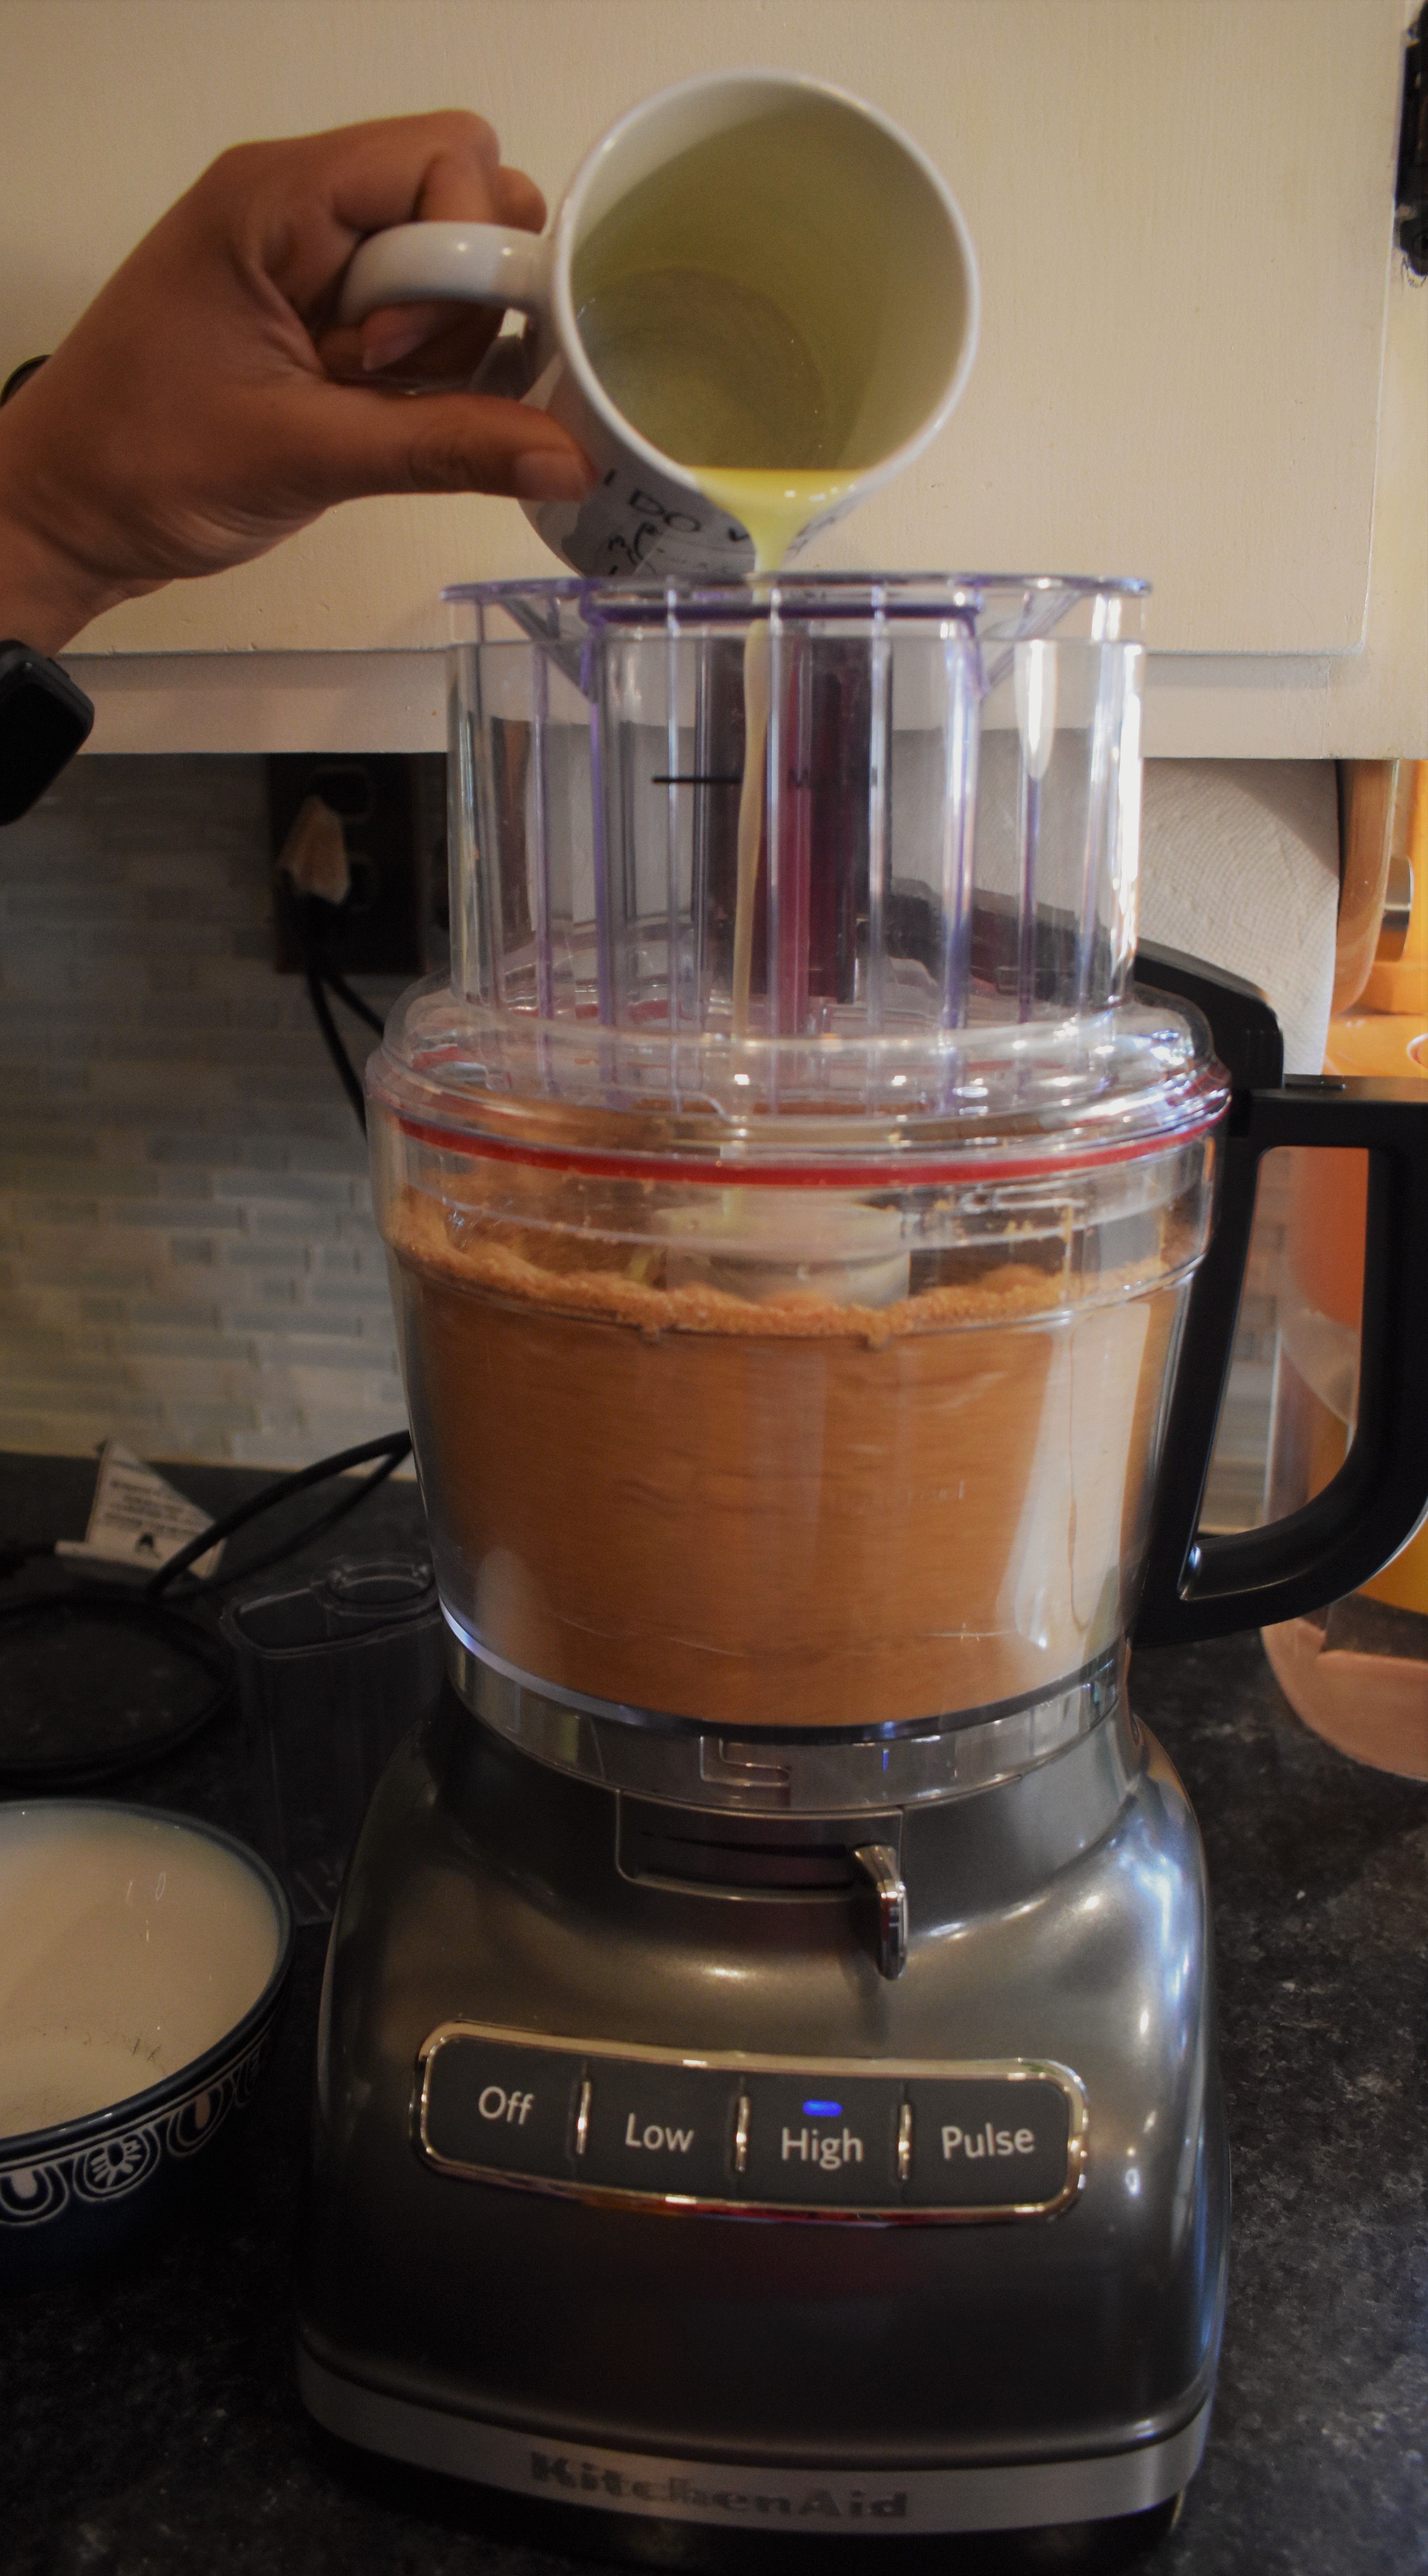
- Add the spices, salt, and butter to the crumbs in the food processer and pulse until combined. It should feel like damp sand.
- If you don’t have a food processer put the cookie crumbs, melted butter, spices, and salt to a bowl and mix until well blended.
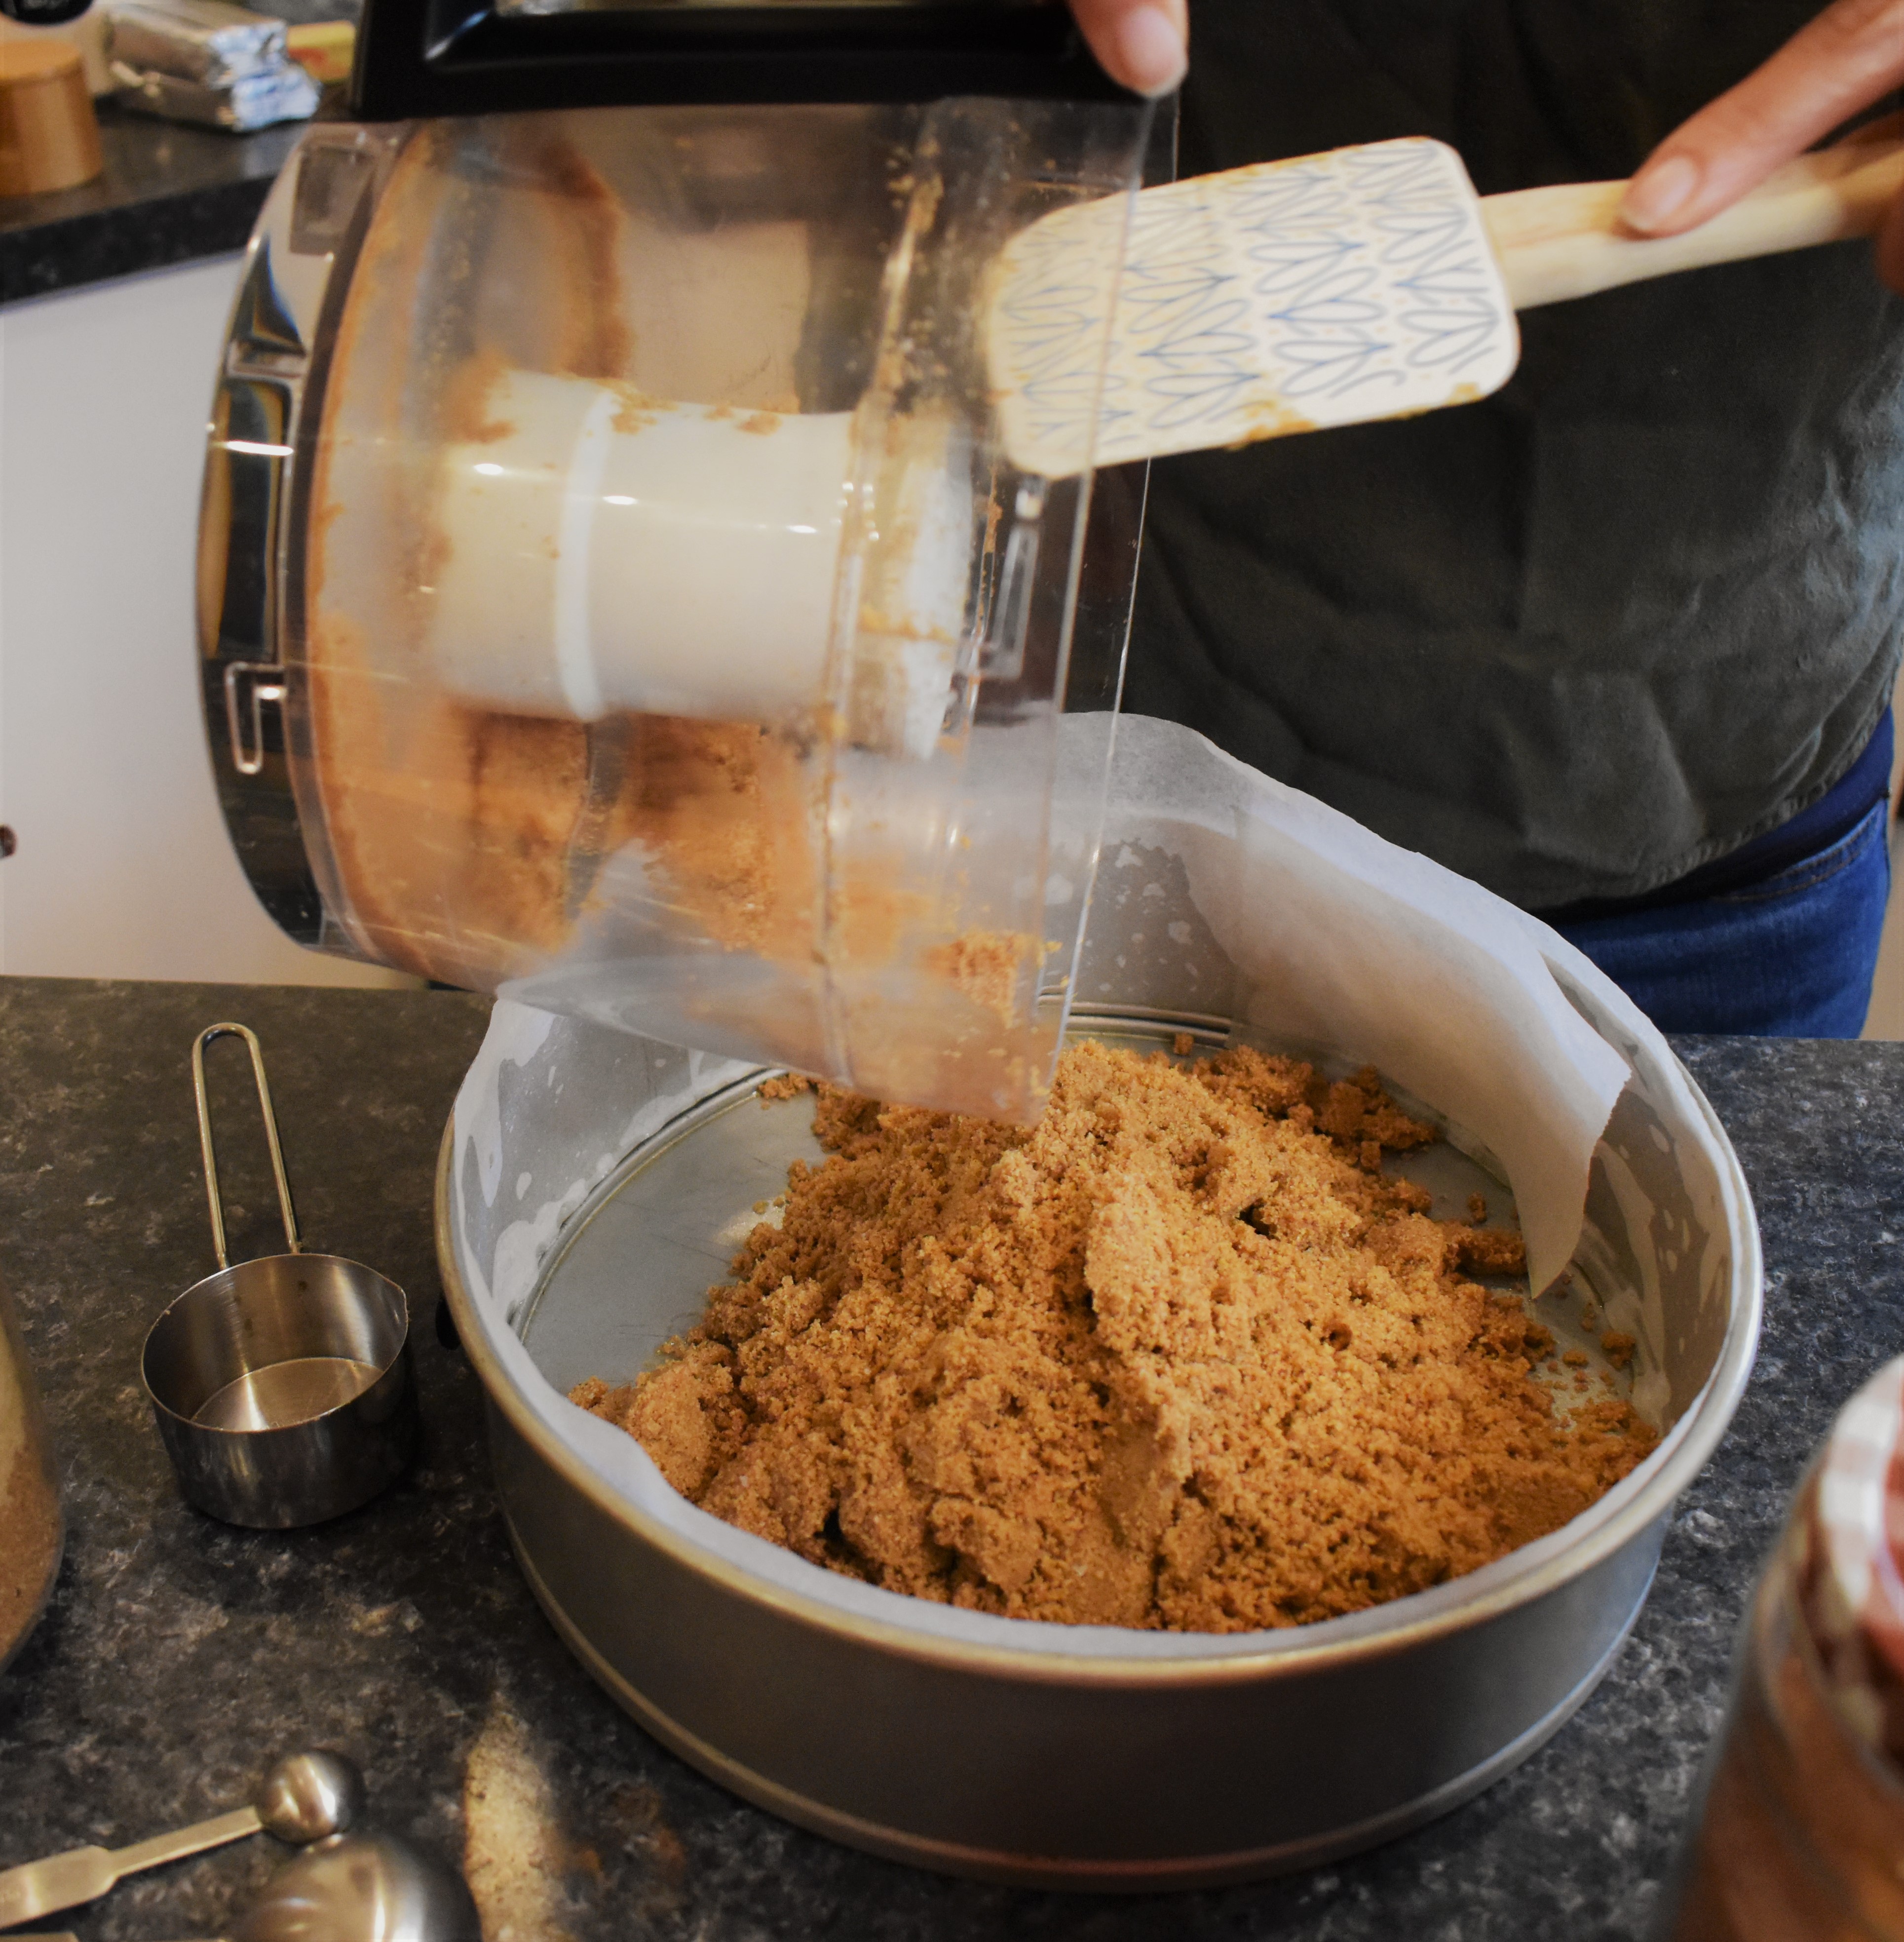
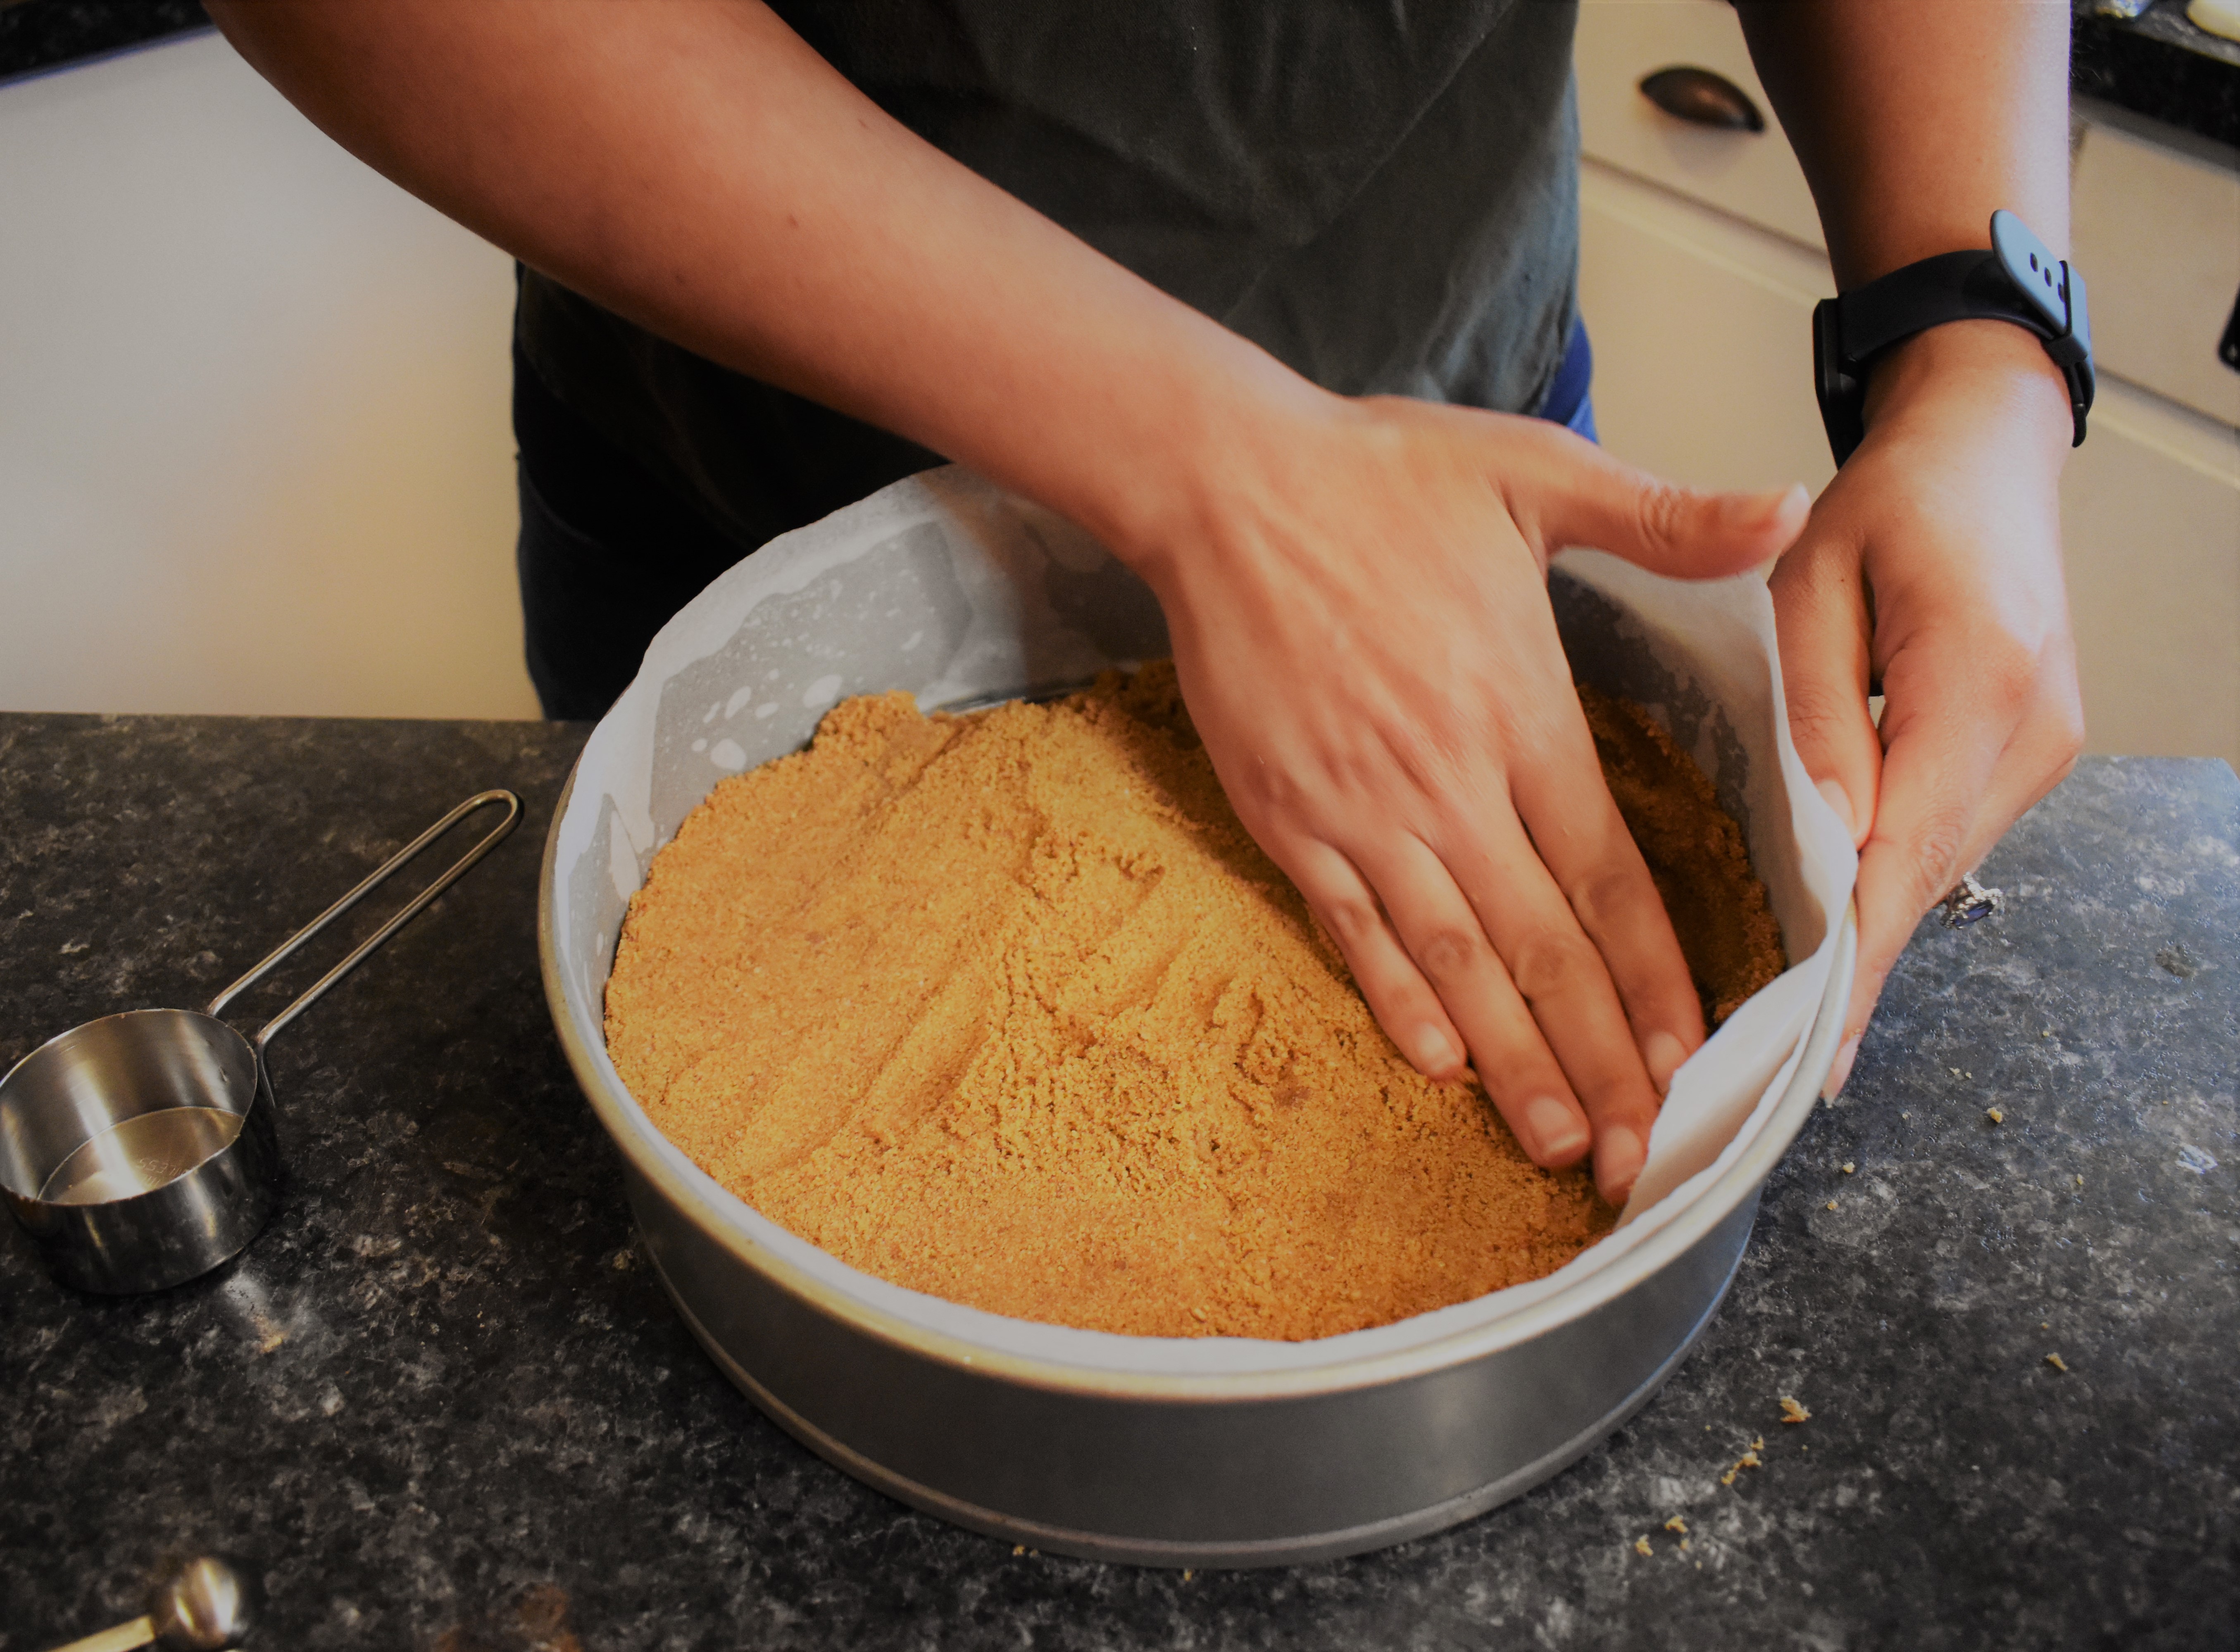
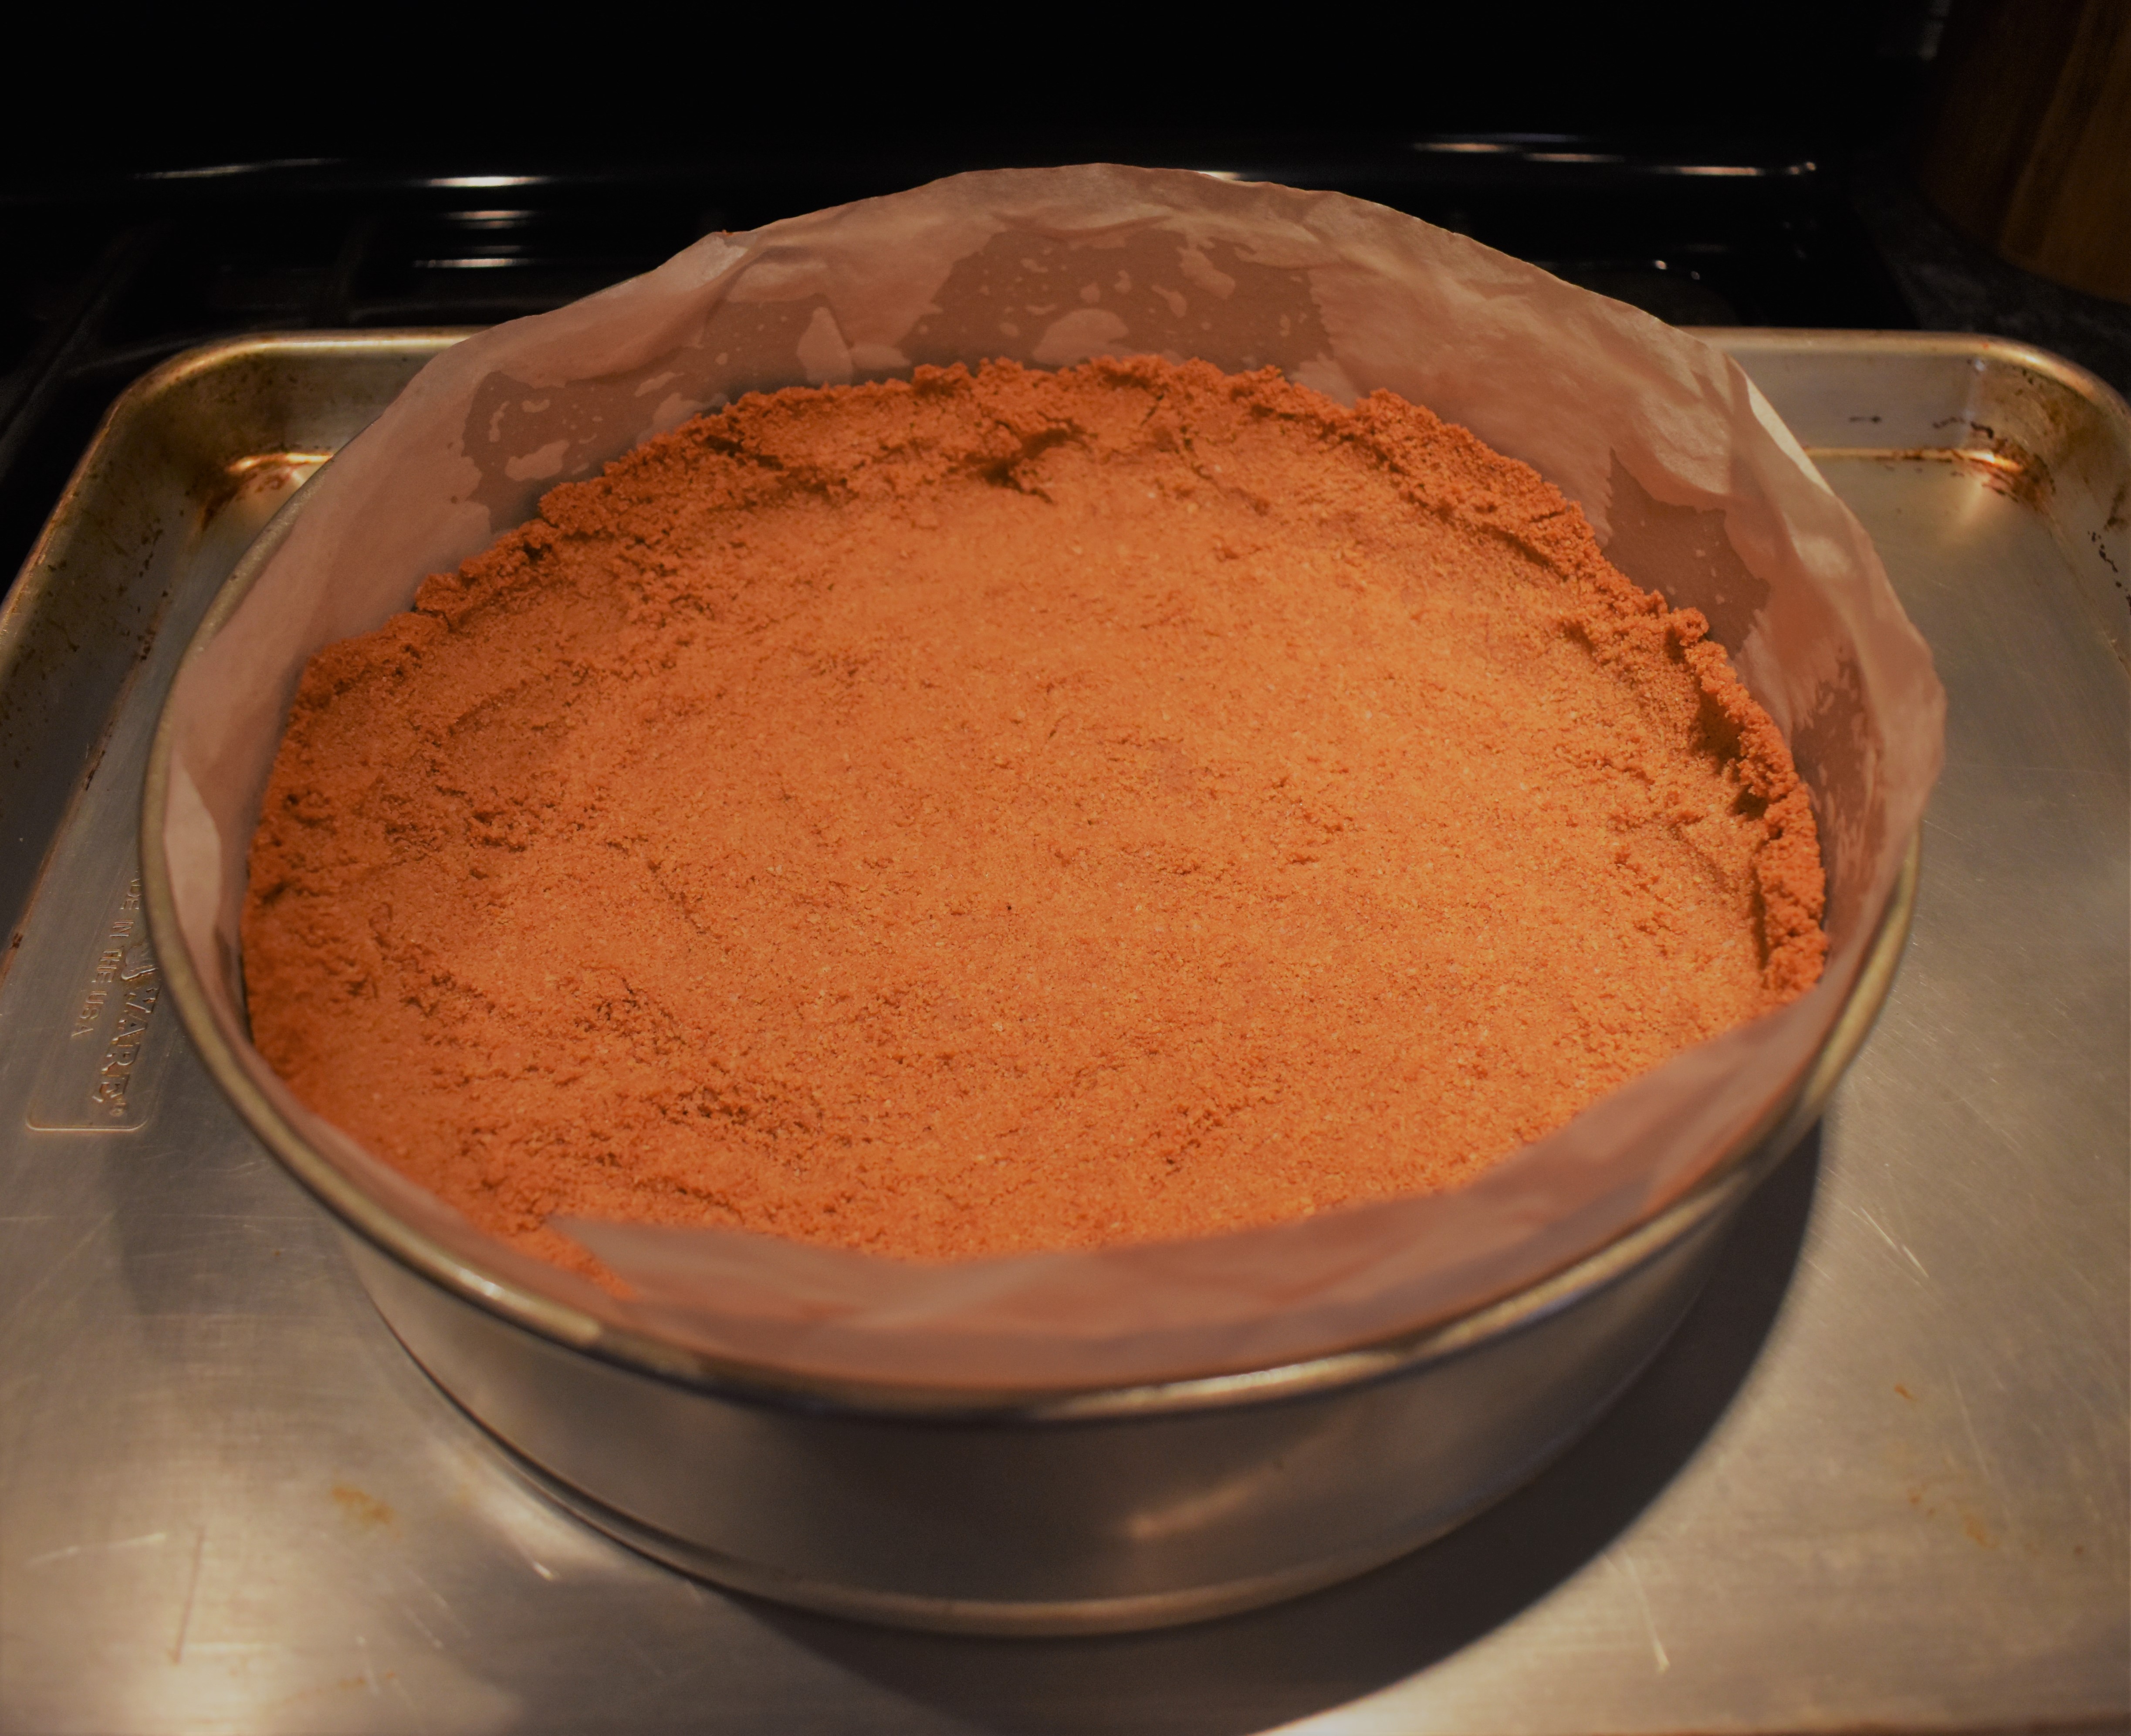
- Pour the crust mixture into the prepared springform pan. Press the mixture into the bottom and up the sides (about 1/2 inch). It should be somewhat firm.
- Bake the crust for 25 mins.
- Set aside to cool.
- Melt the butter. You can use a microwave, 30 sec at a time until melted.


The Apple Filling
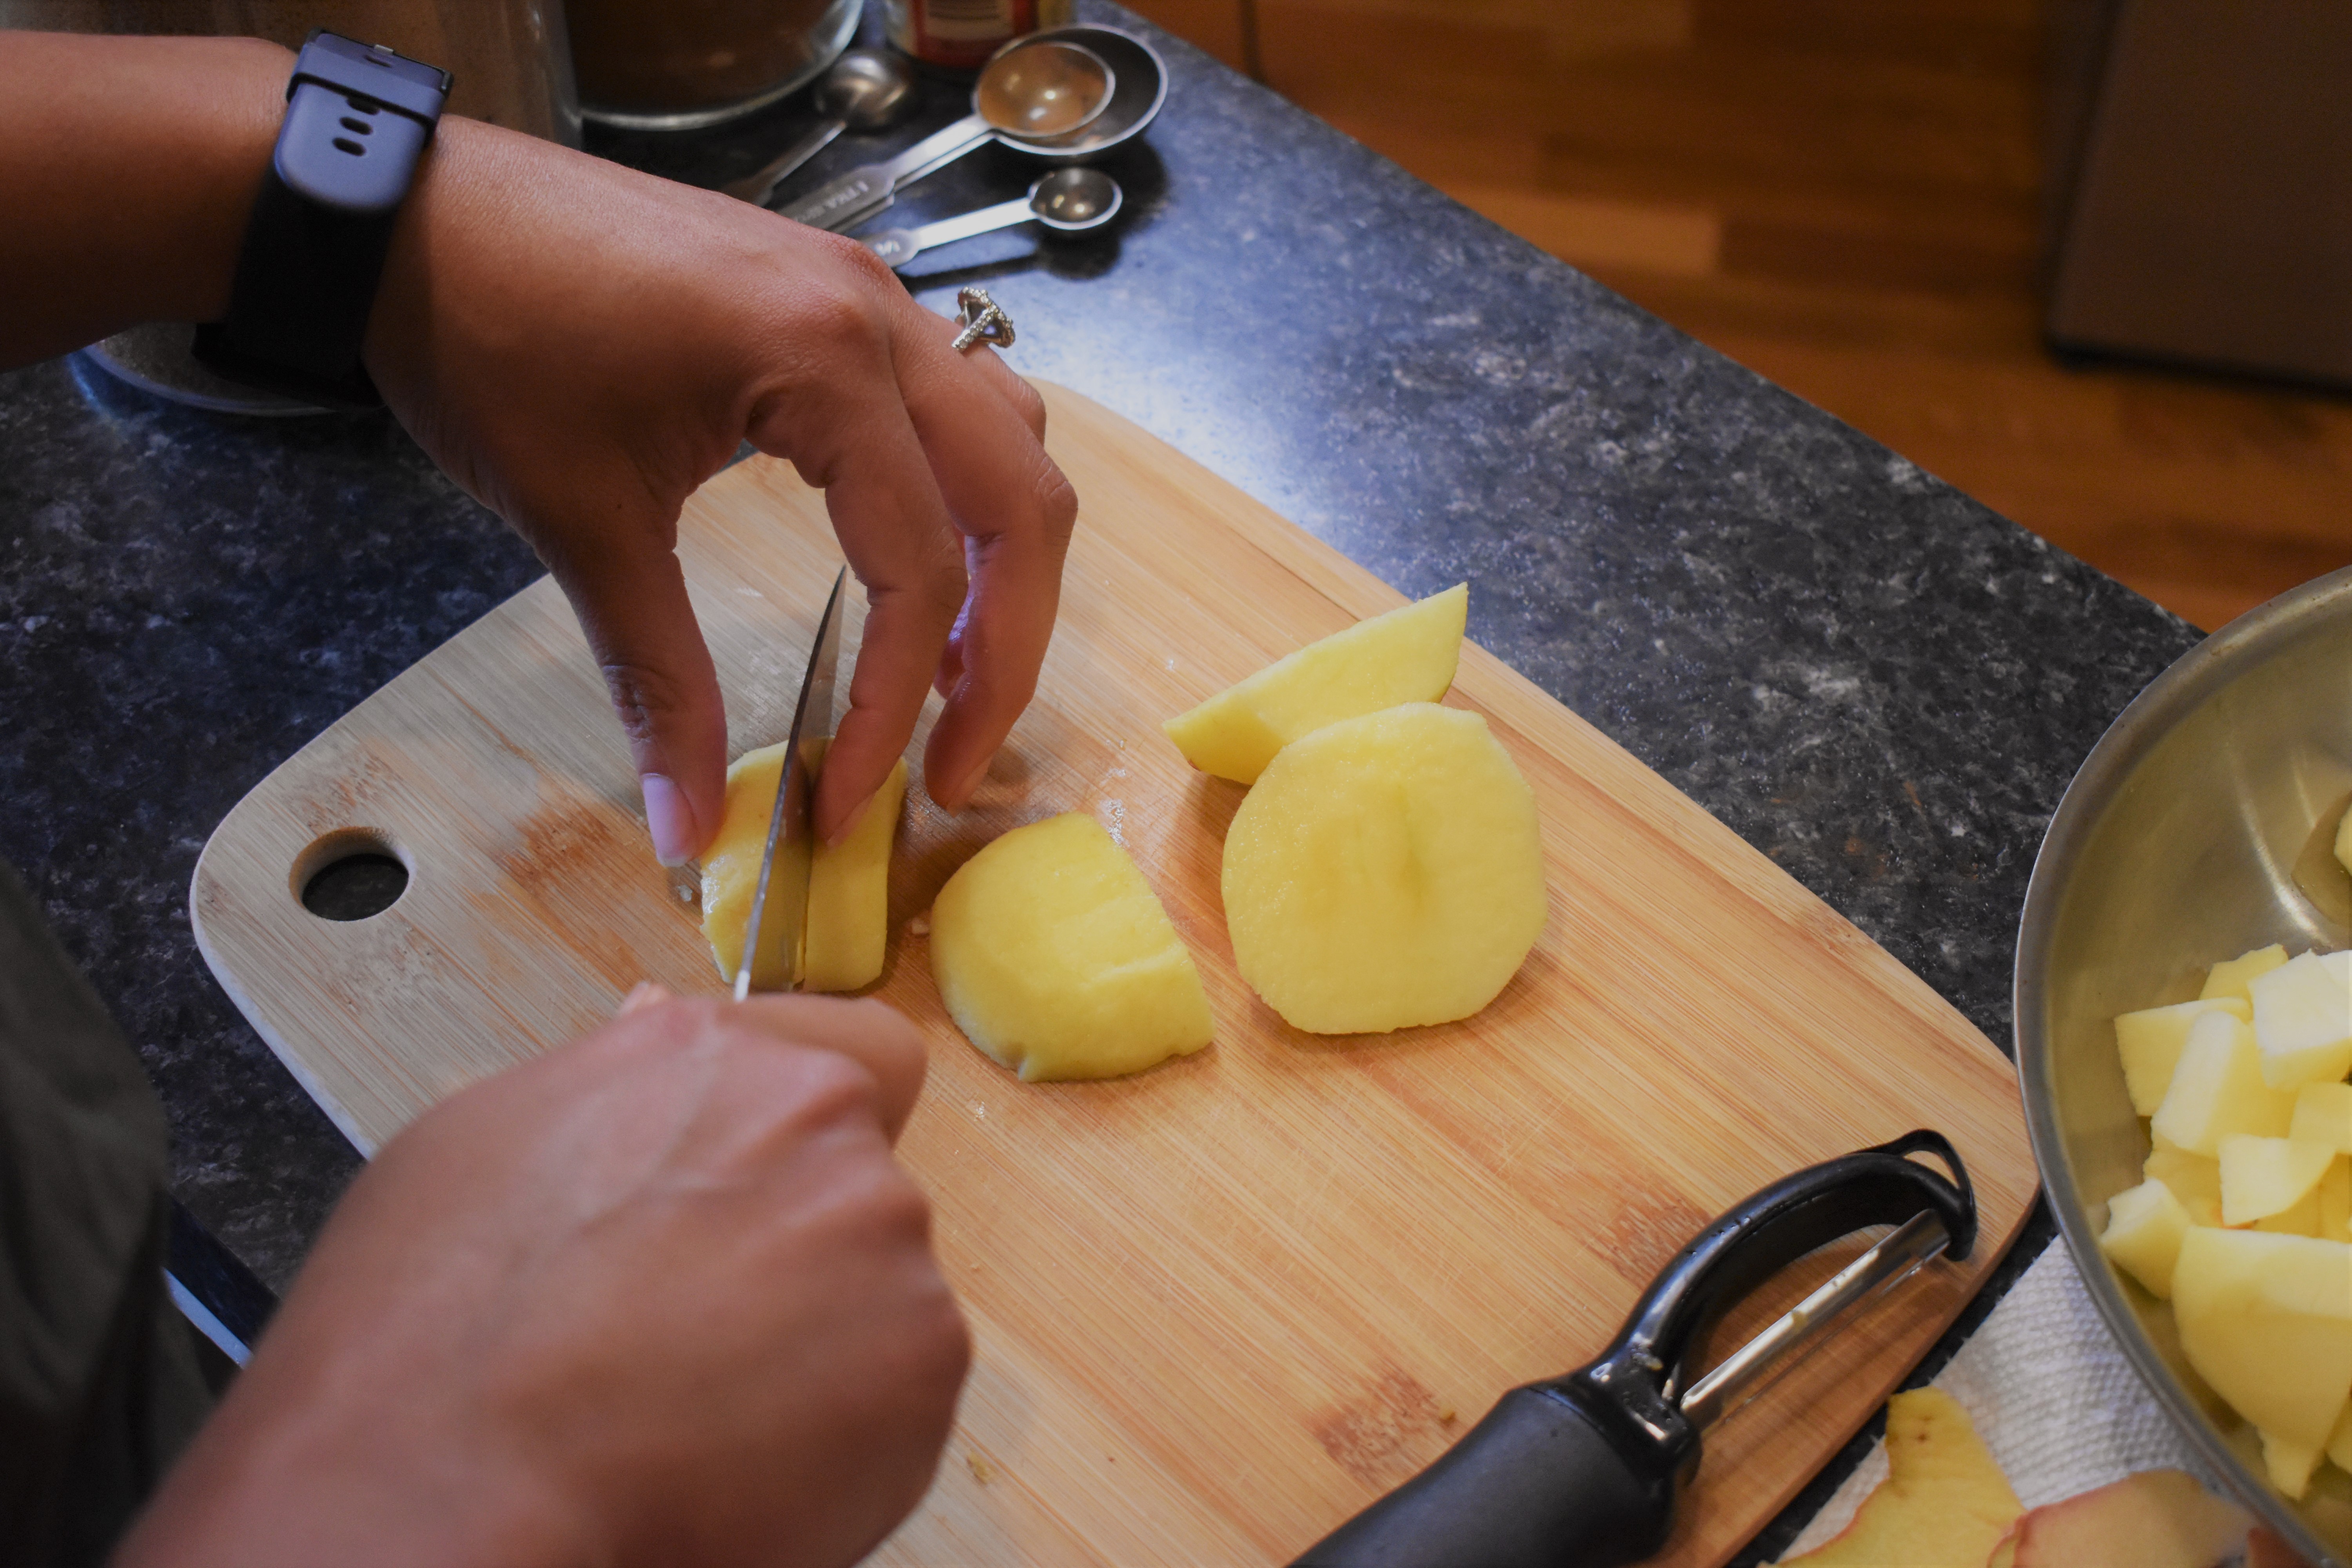
- Peel and chop apples into small pieces. Add the apple to a pan
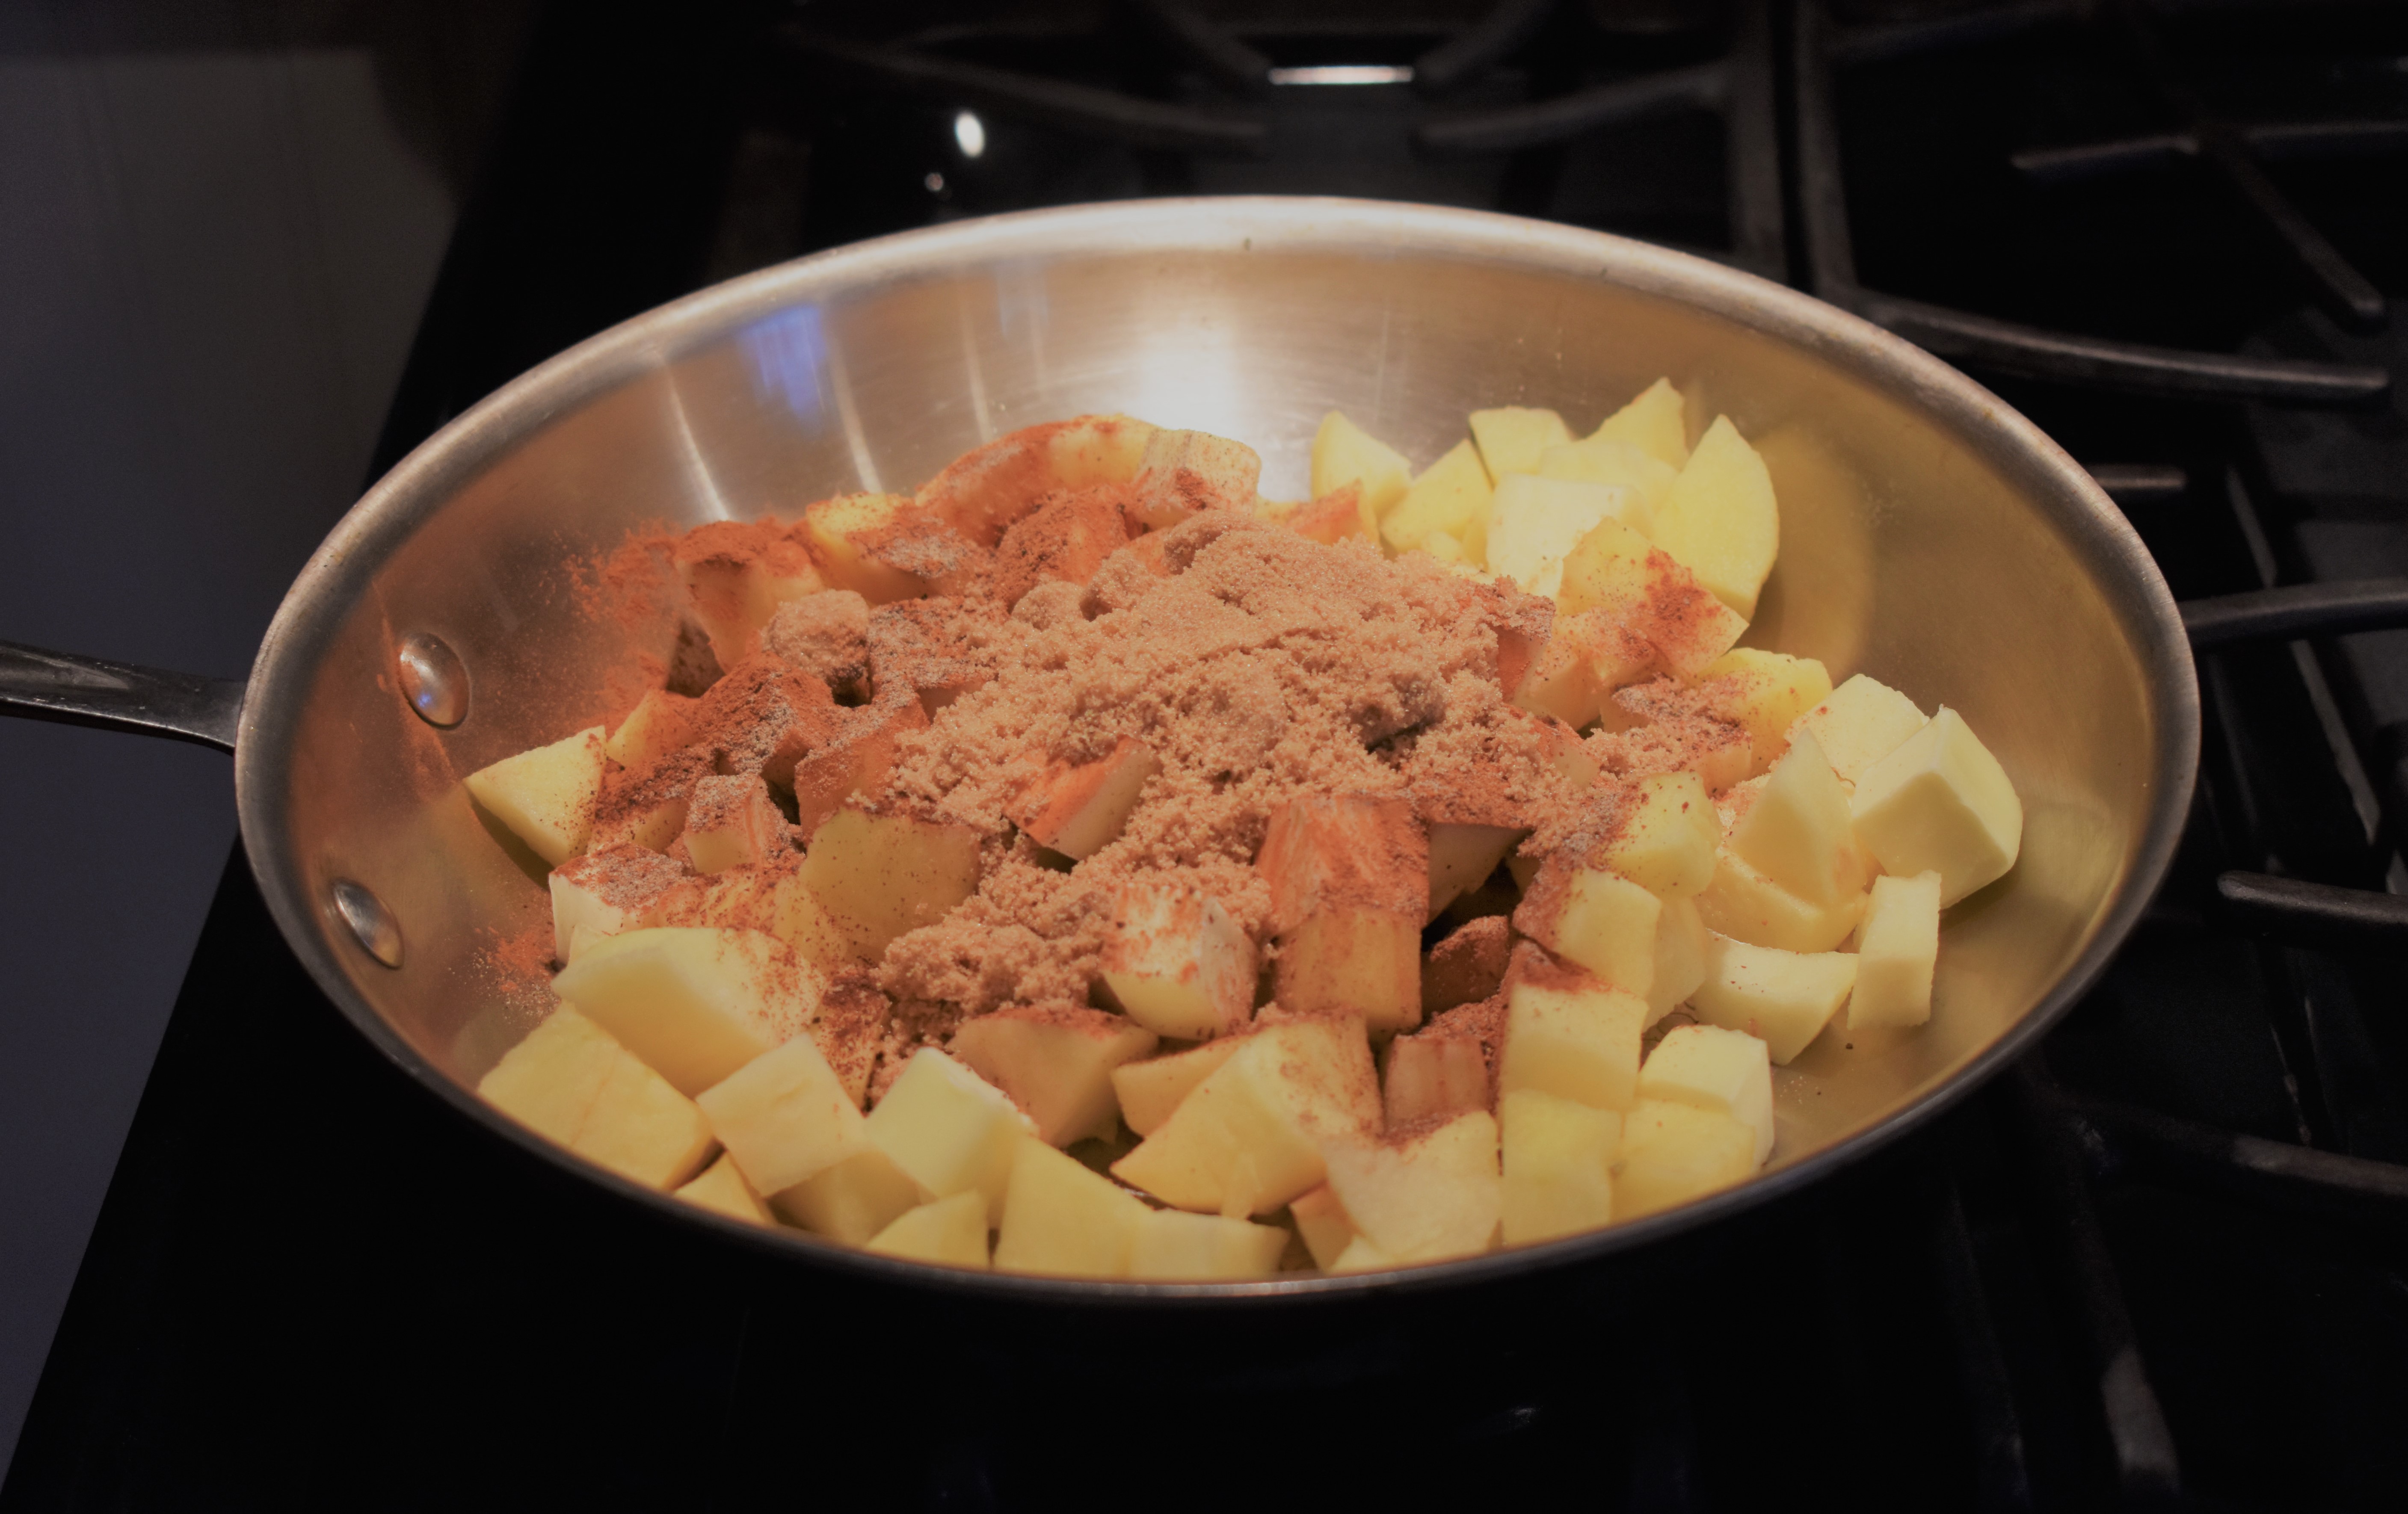
- Cut up the butter and add that to the apples.
- Add the spices and sugar to the apples.
- Cook apples on low heat until the apples are soft and the sugar has created a syrup around the apples.
- Put the apple filling onto the prepared crust. Allow to cool while making the cheesecake base.


Cheesecake Base
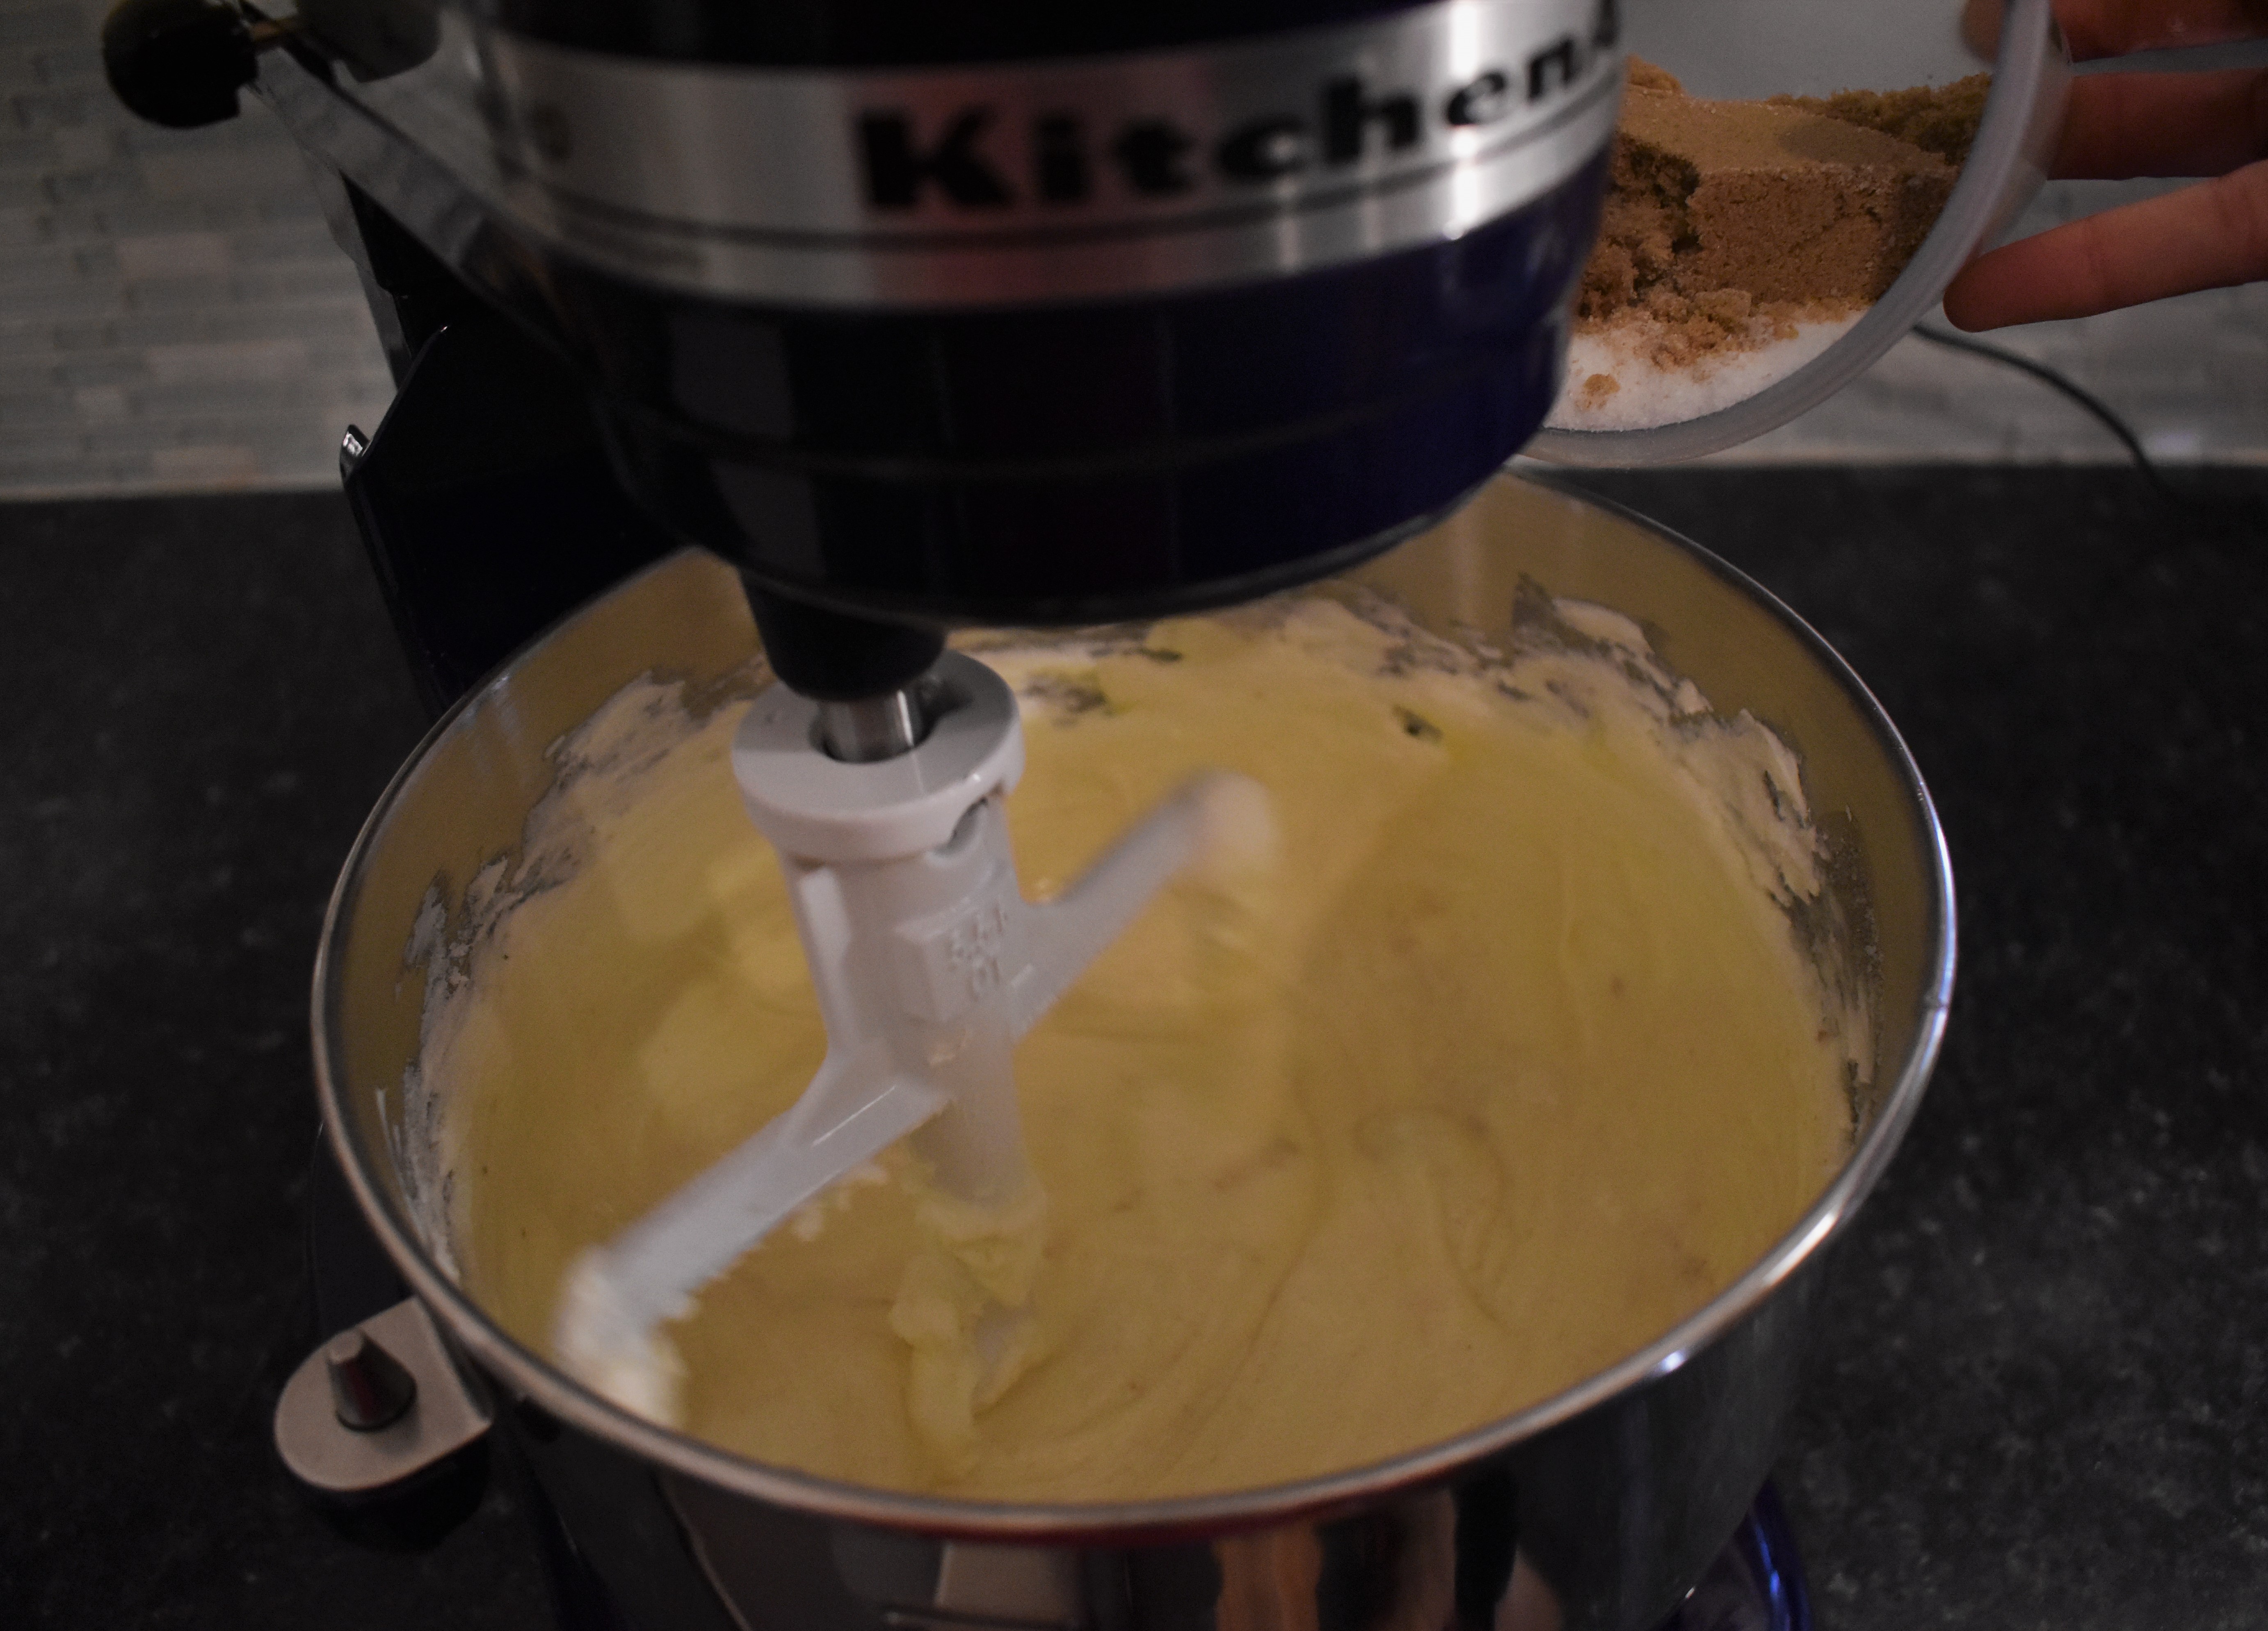
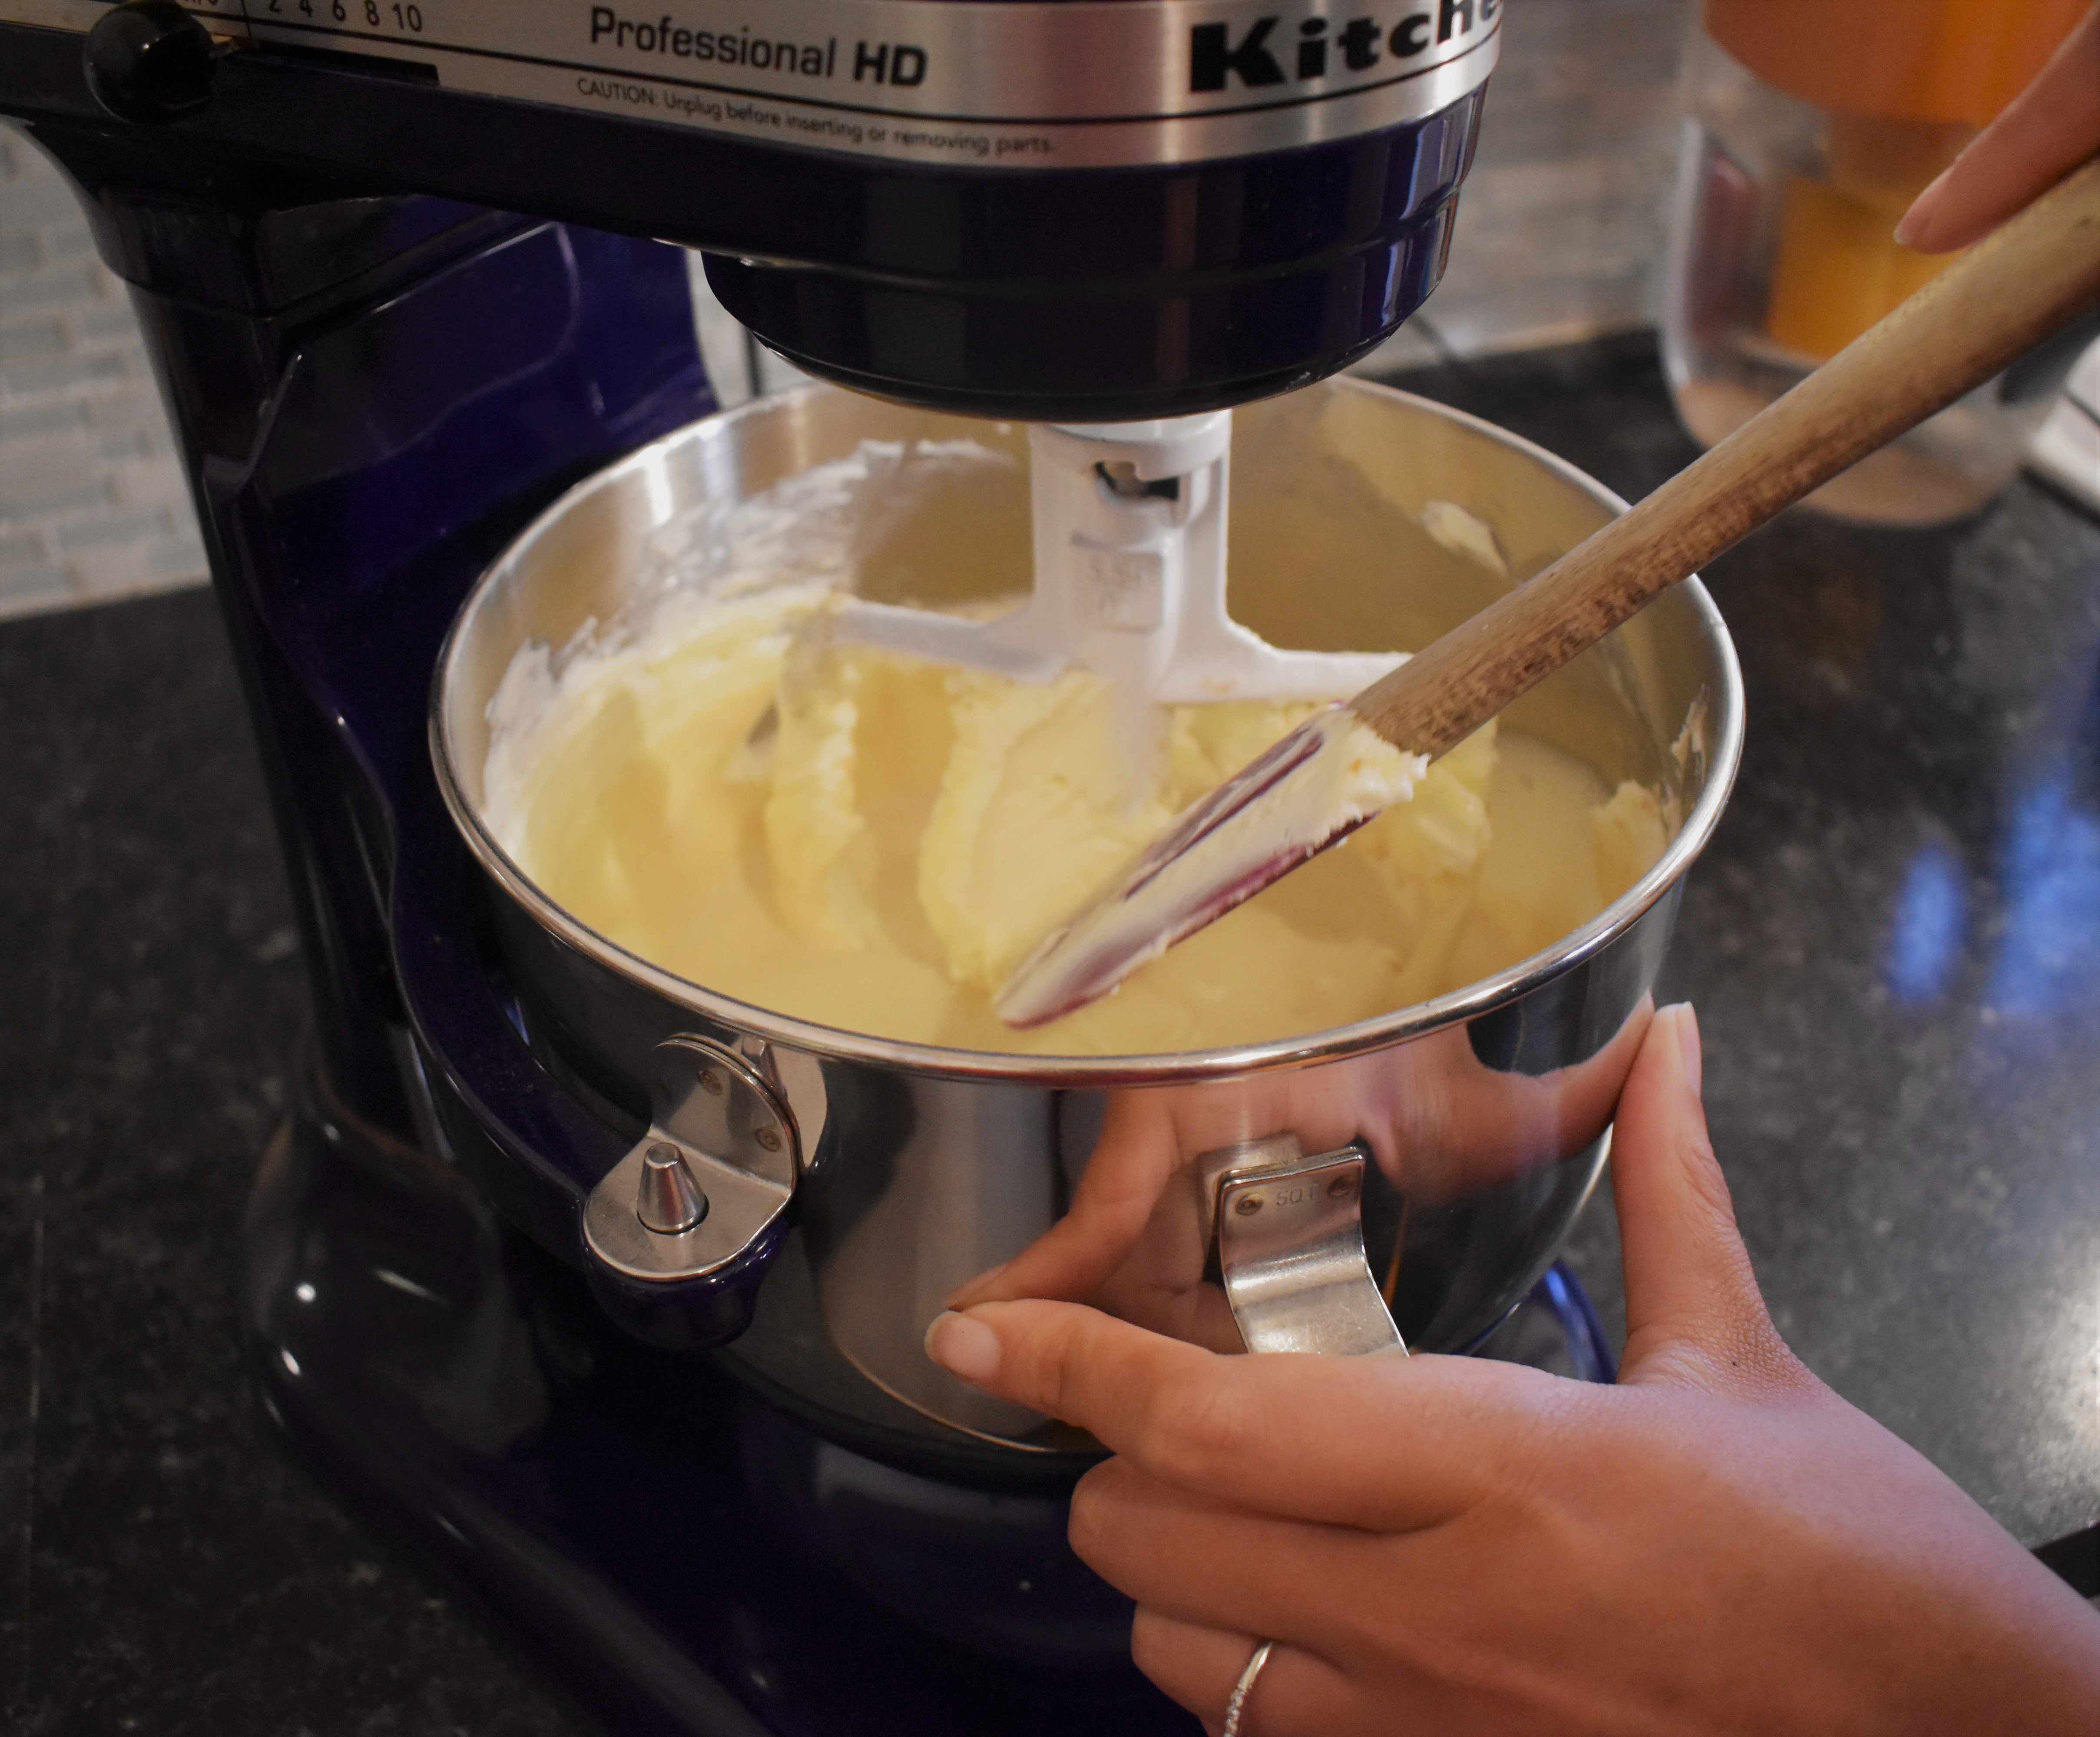
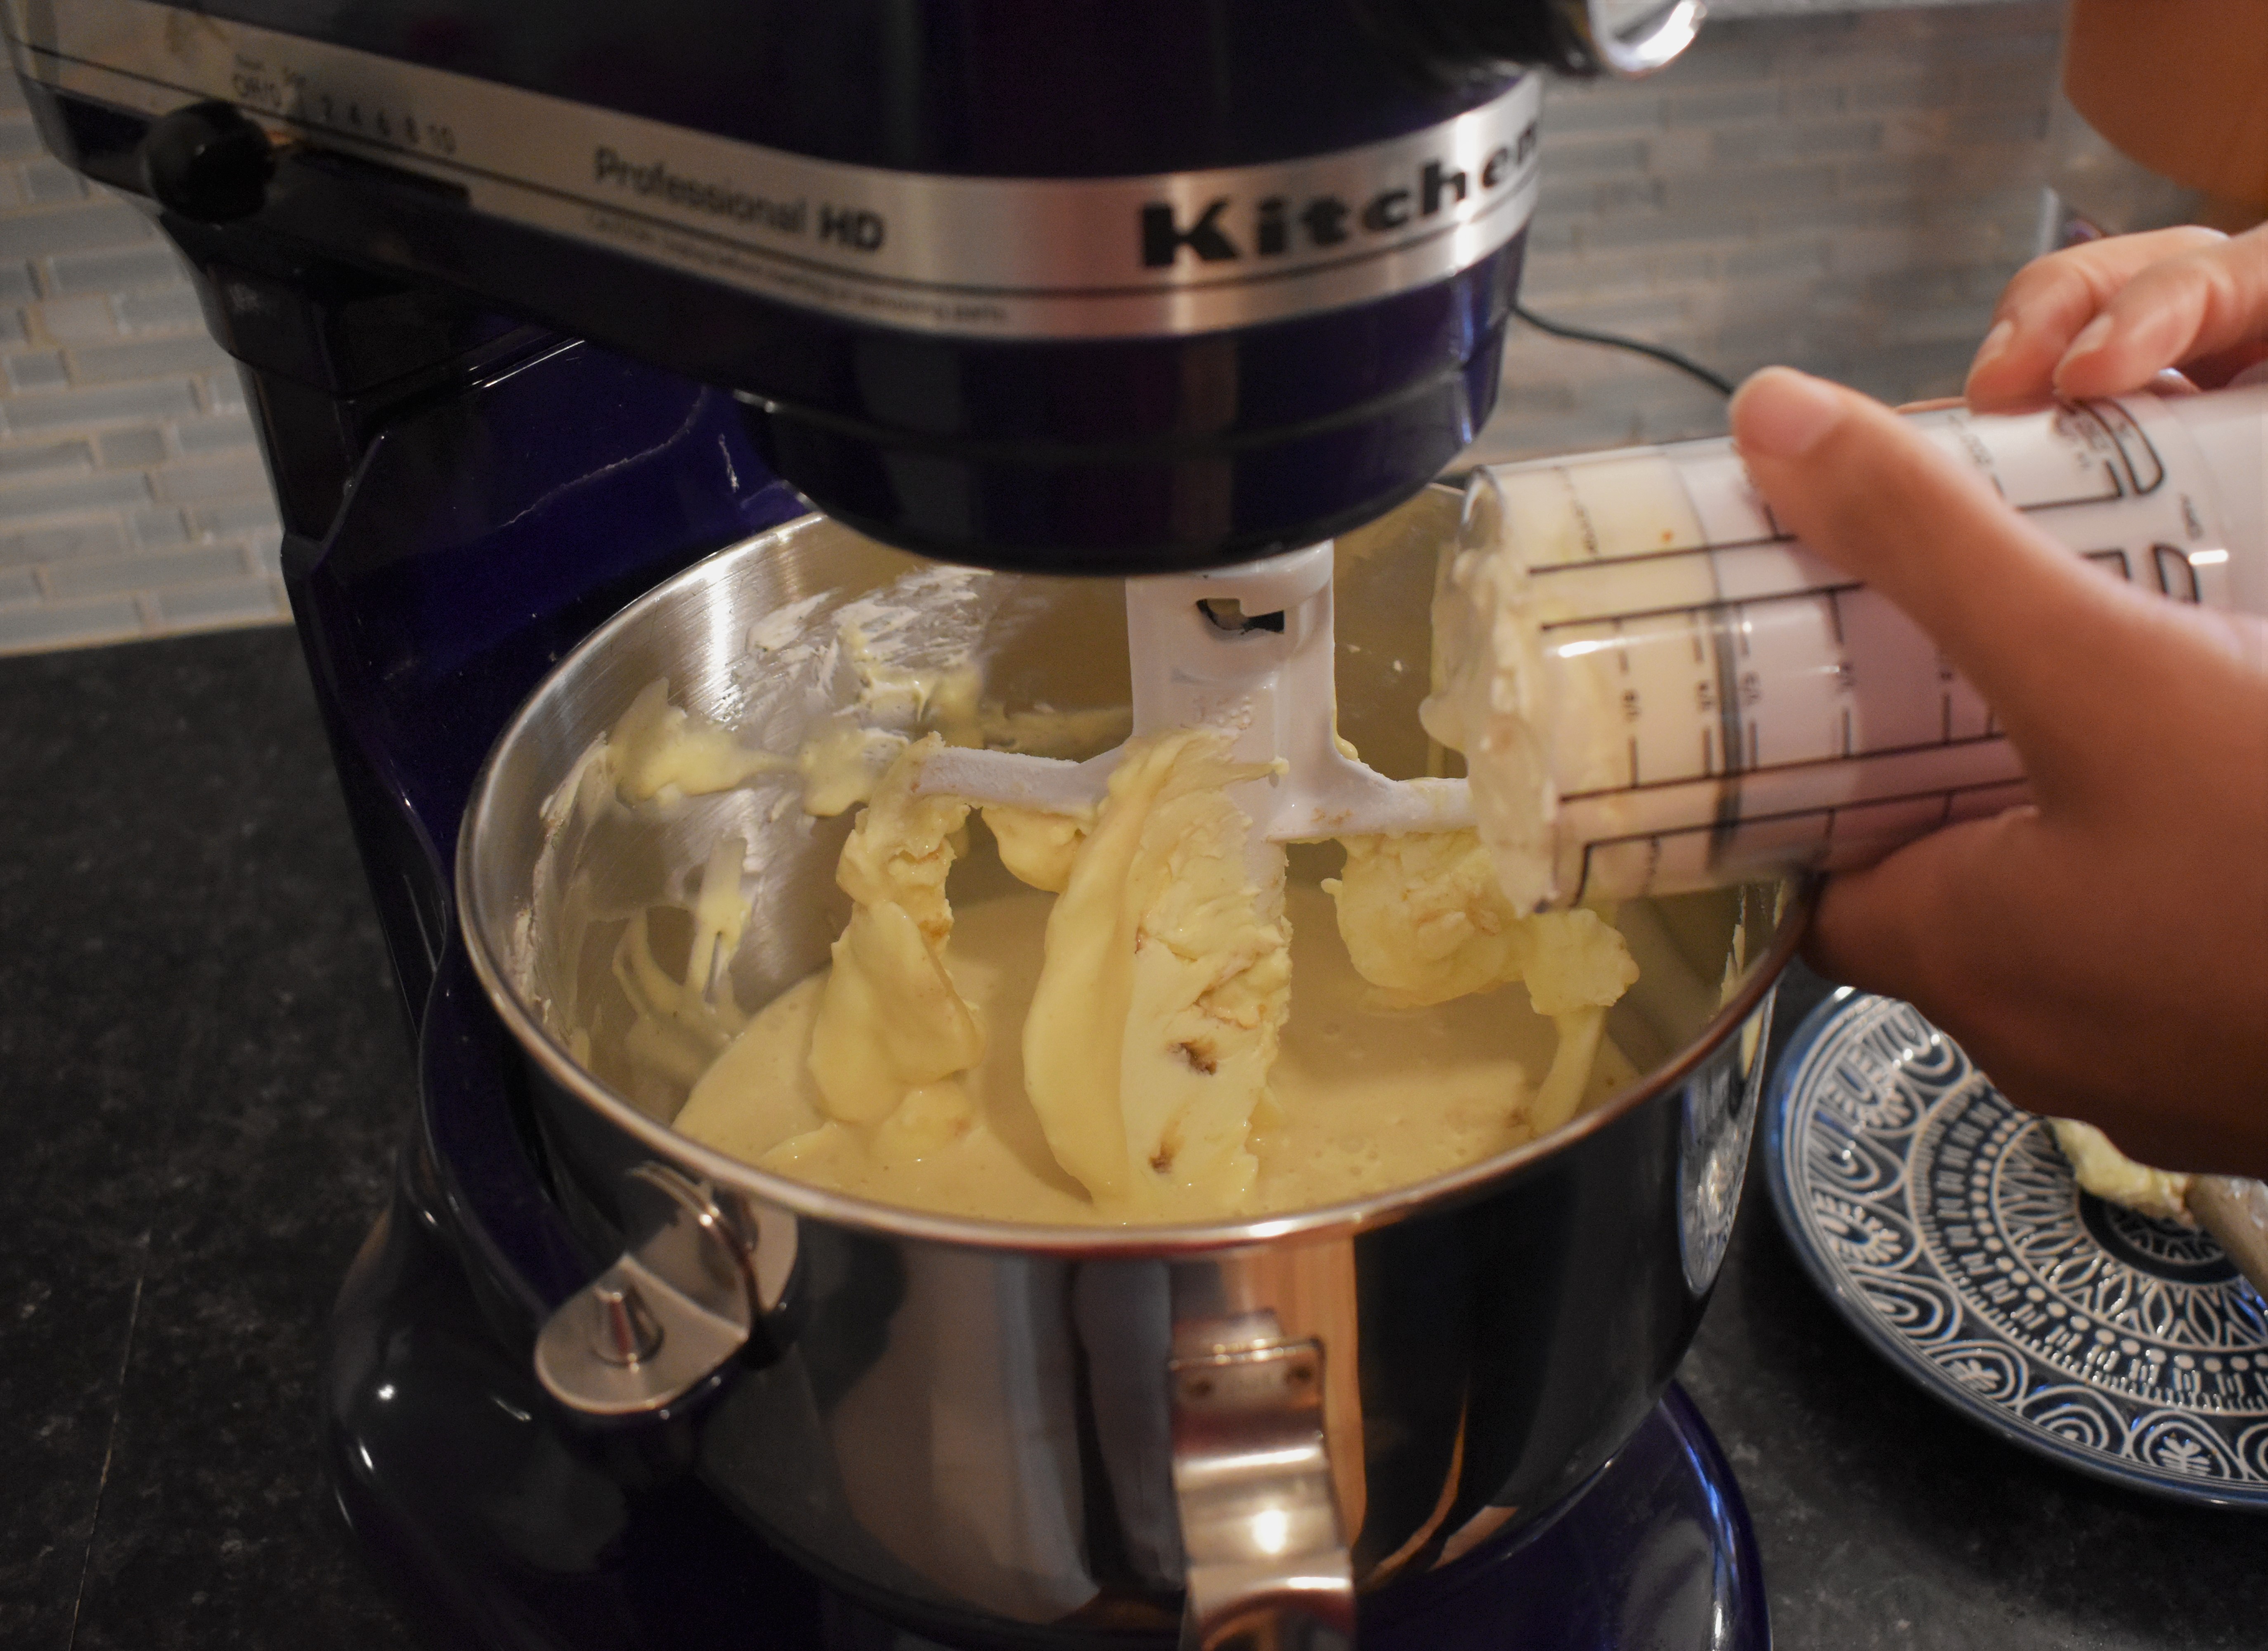
- Put the room temperature cream cheese into the mixing bowl and start the mixer on a low speed. Slowly move up to a medium speed. Use the paddle attachment. Mix until smooth.

- Using a hand mixer is fine. Mixing by hand is not as recommended because that would suck to get through.
- Add the sugars (white and brown) and beat until smooth. Stop machine and scrap down sides occasionally.
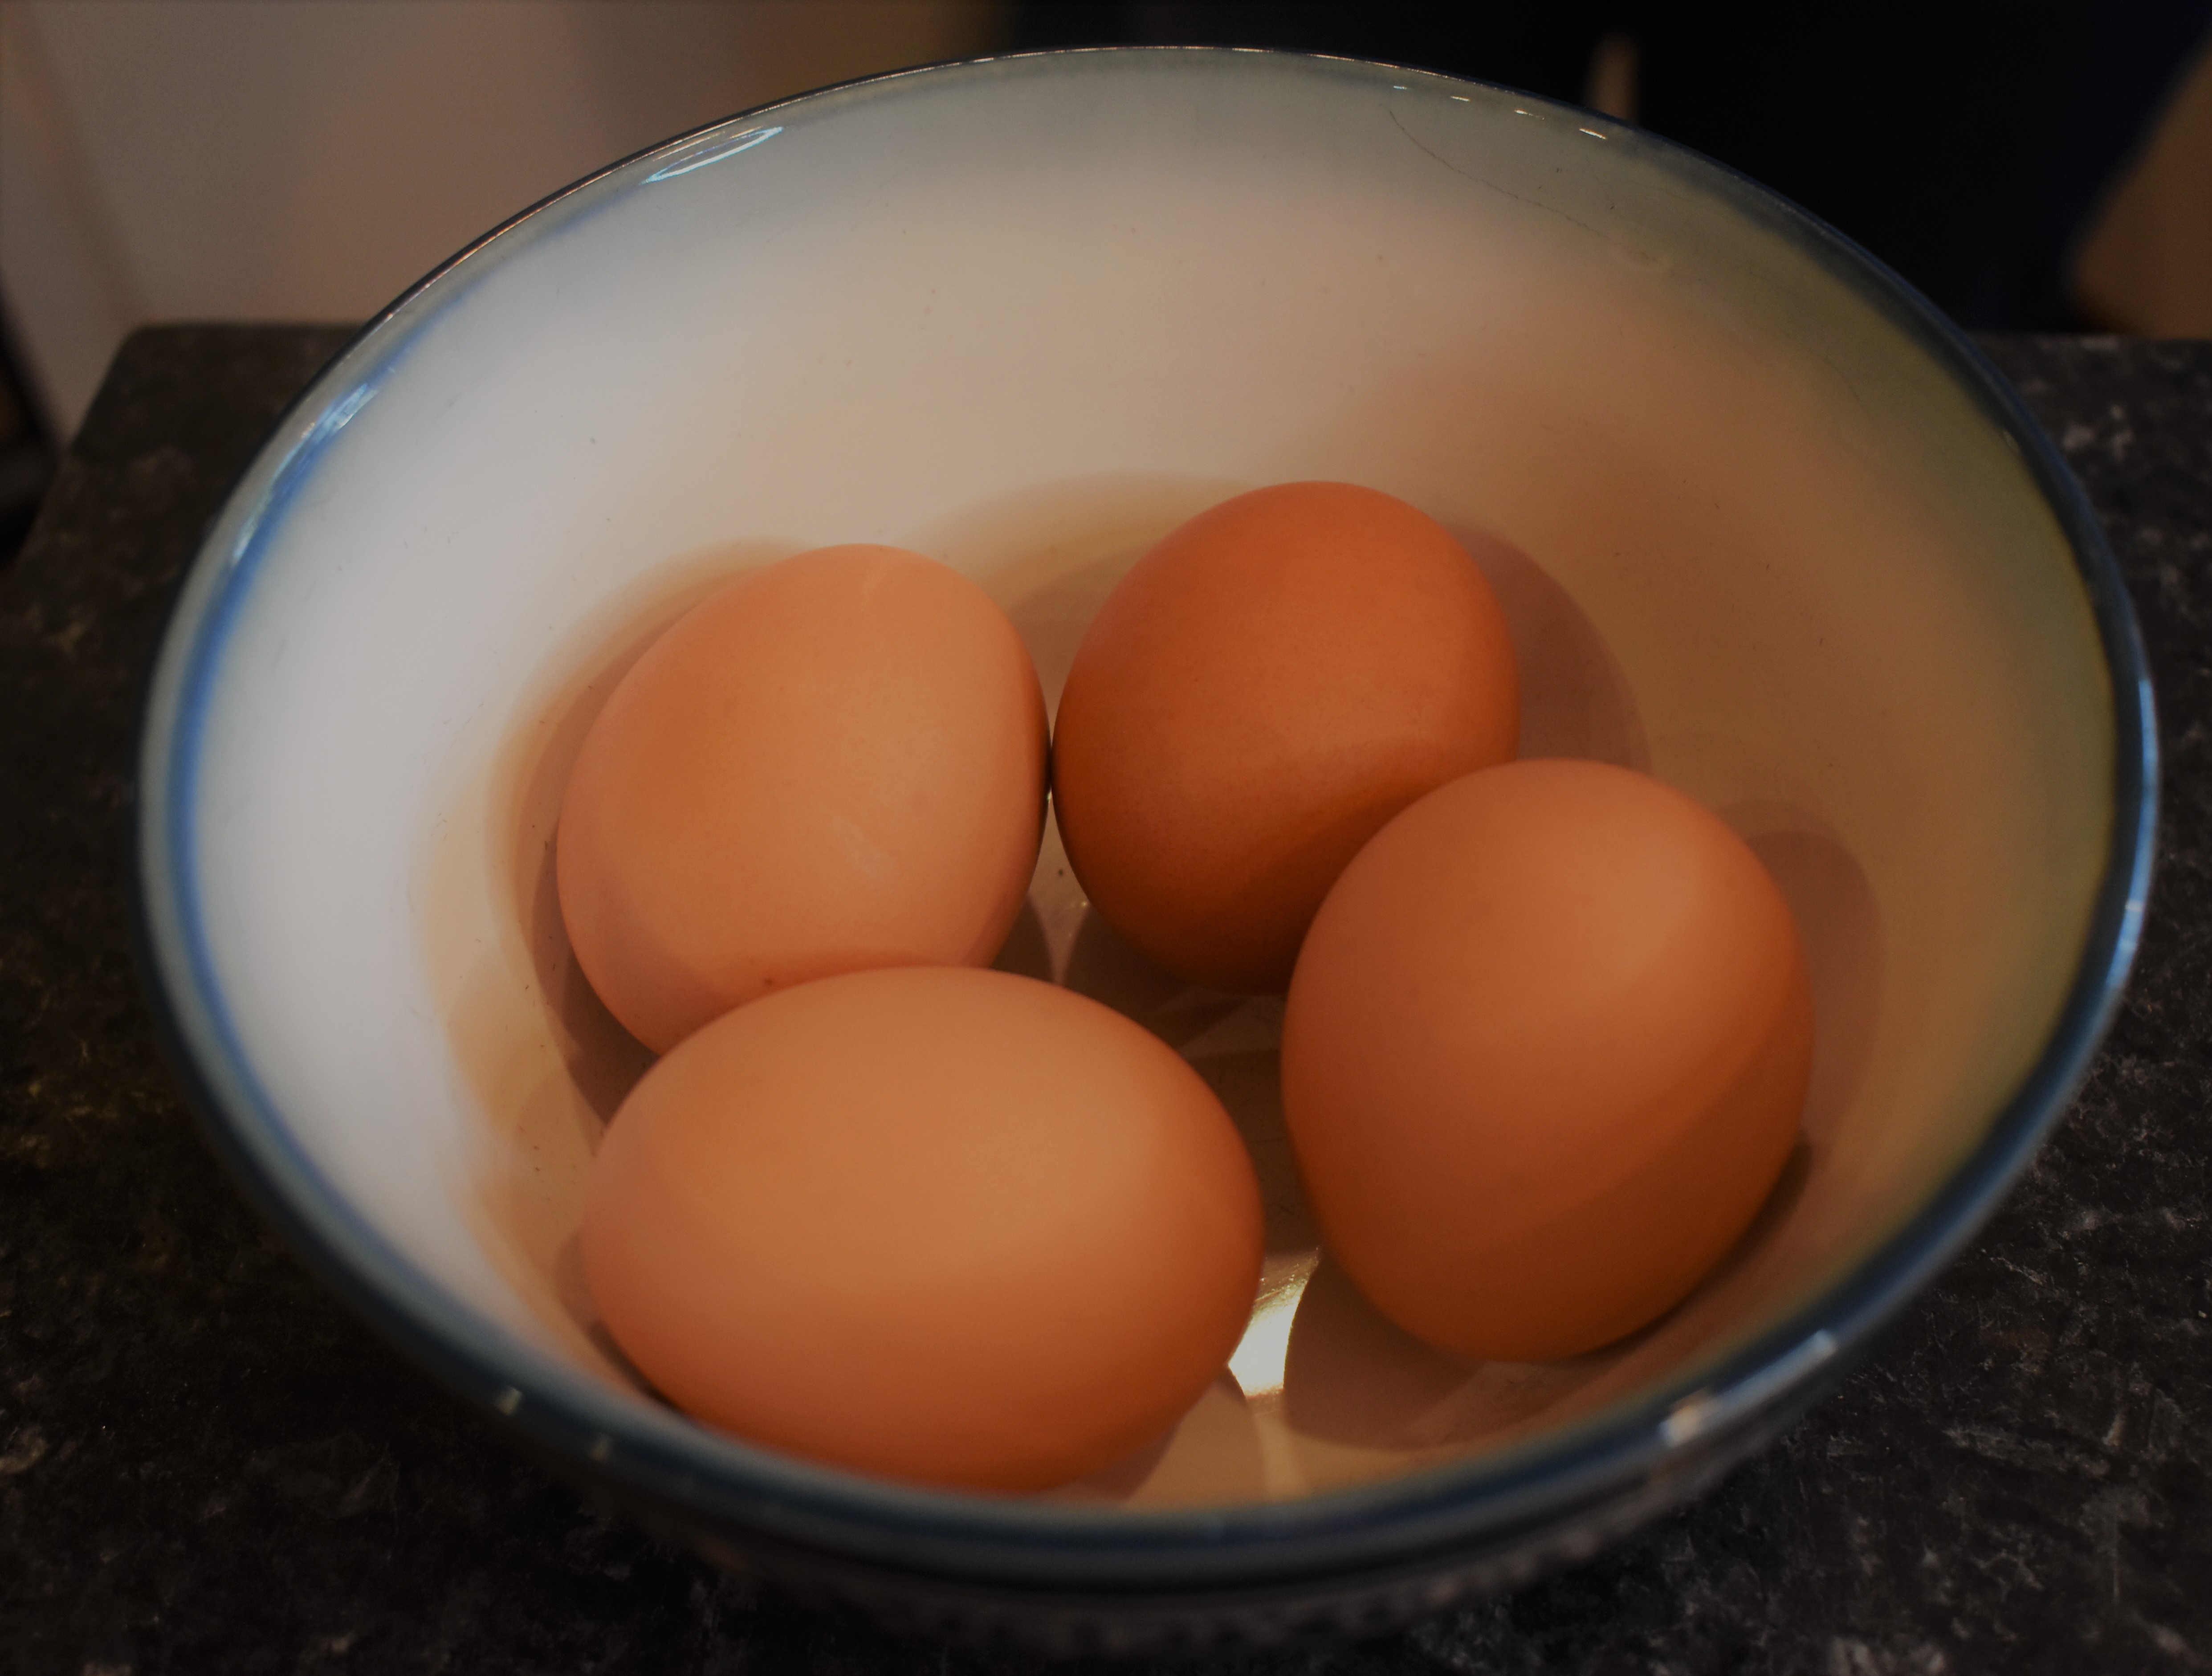
- Once the cream cheese and sugar has been beaten add the eggs one at a time, beating well between each egg.
- Eggs should be cracked into a separate bowl before being put into the cheesecake mixture.


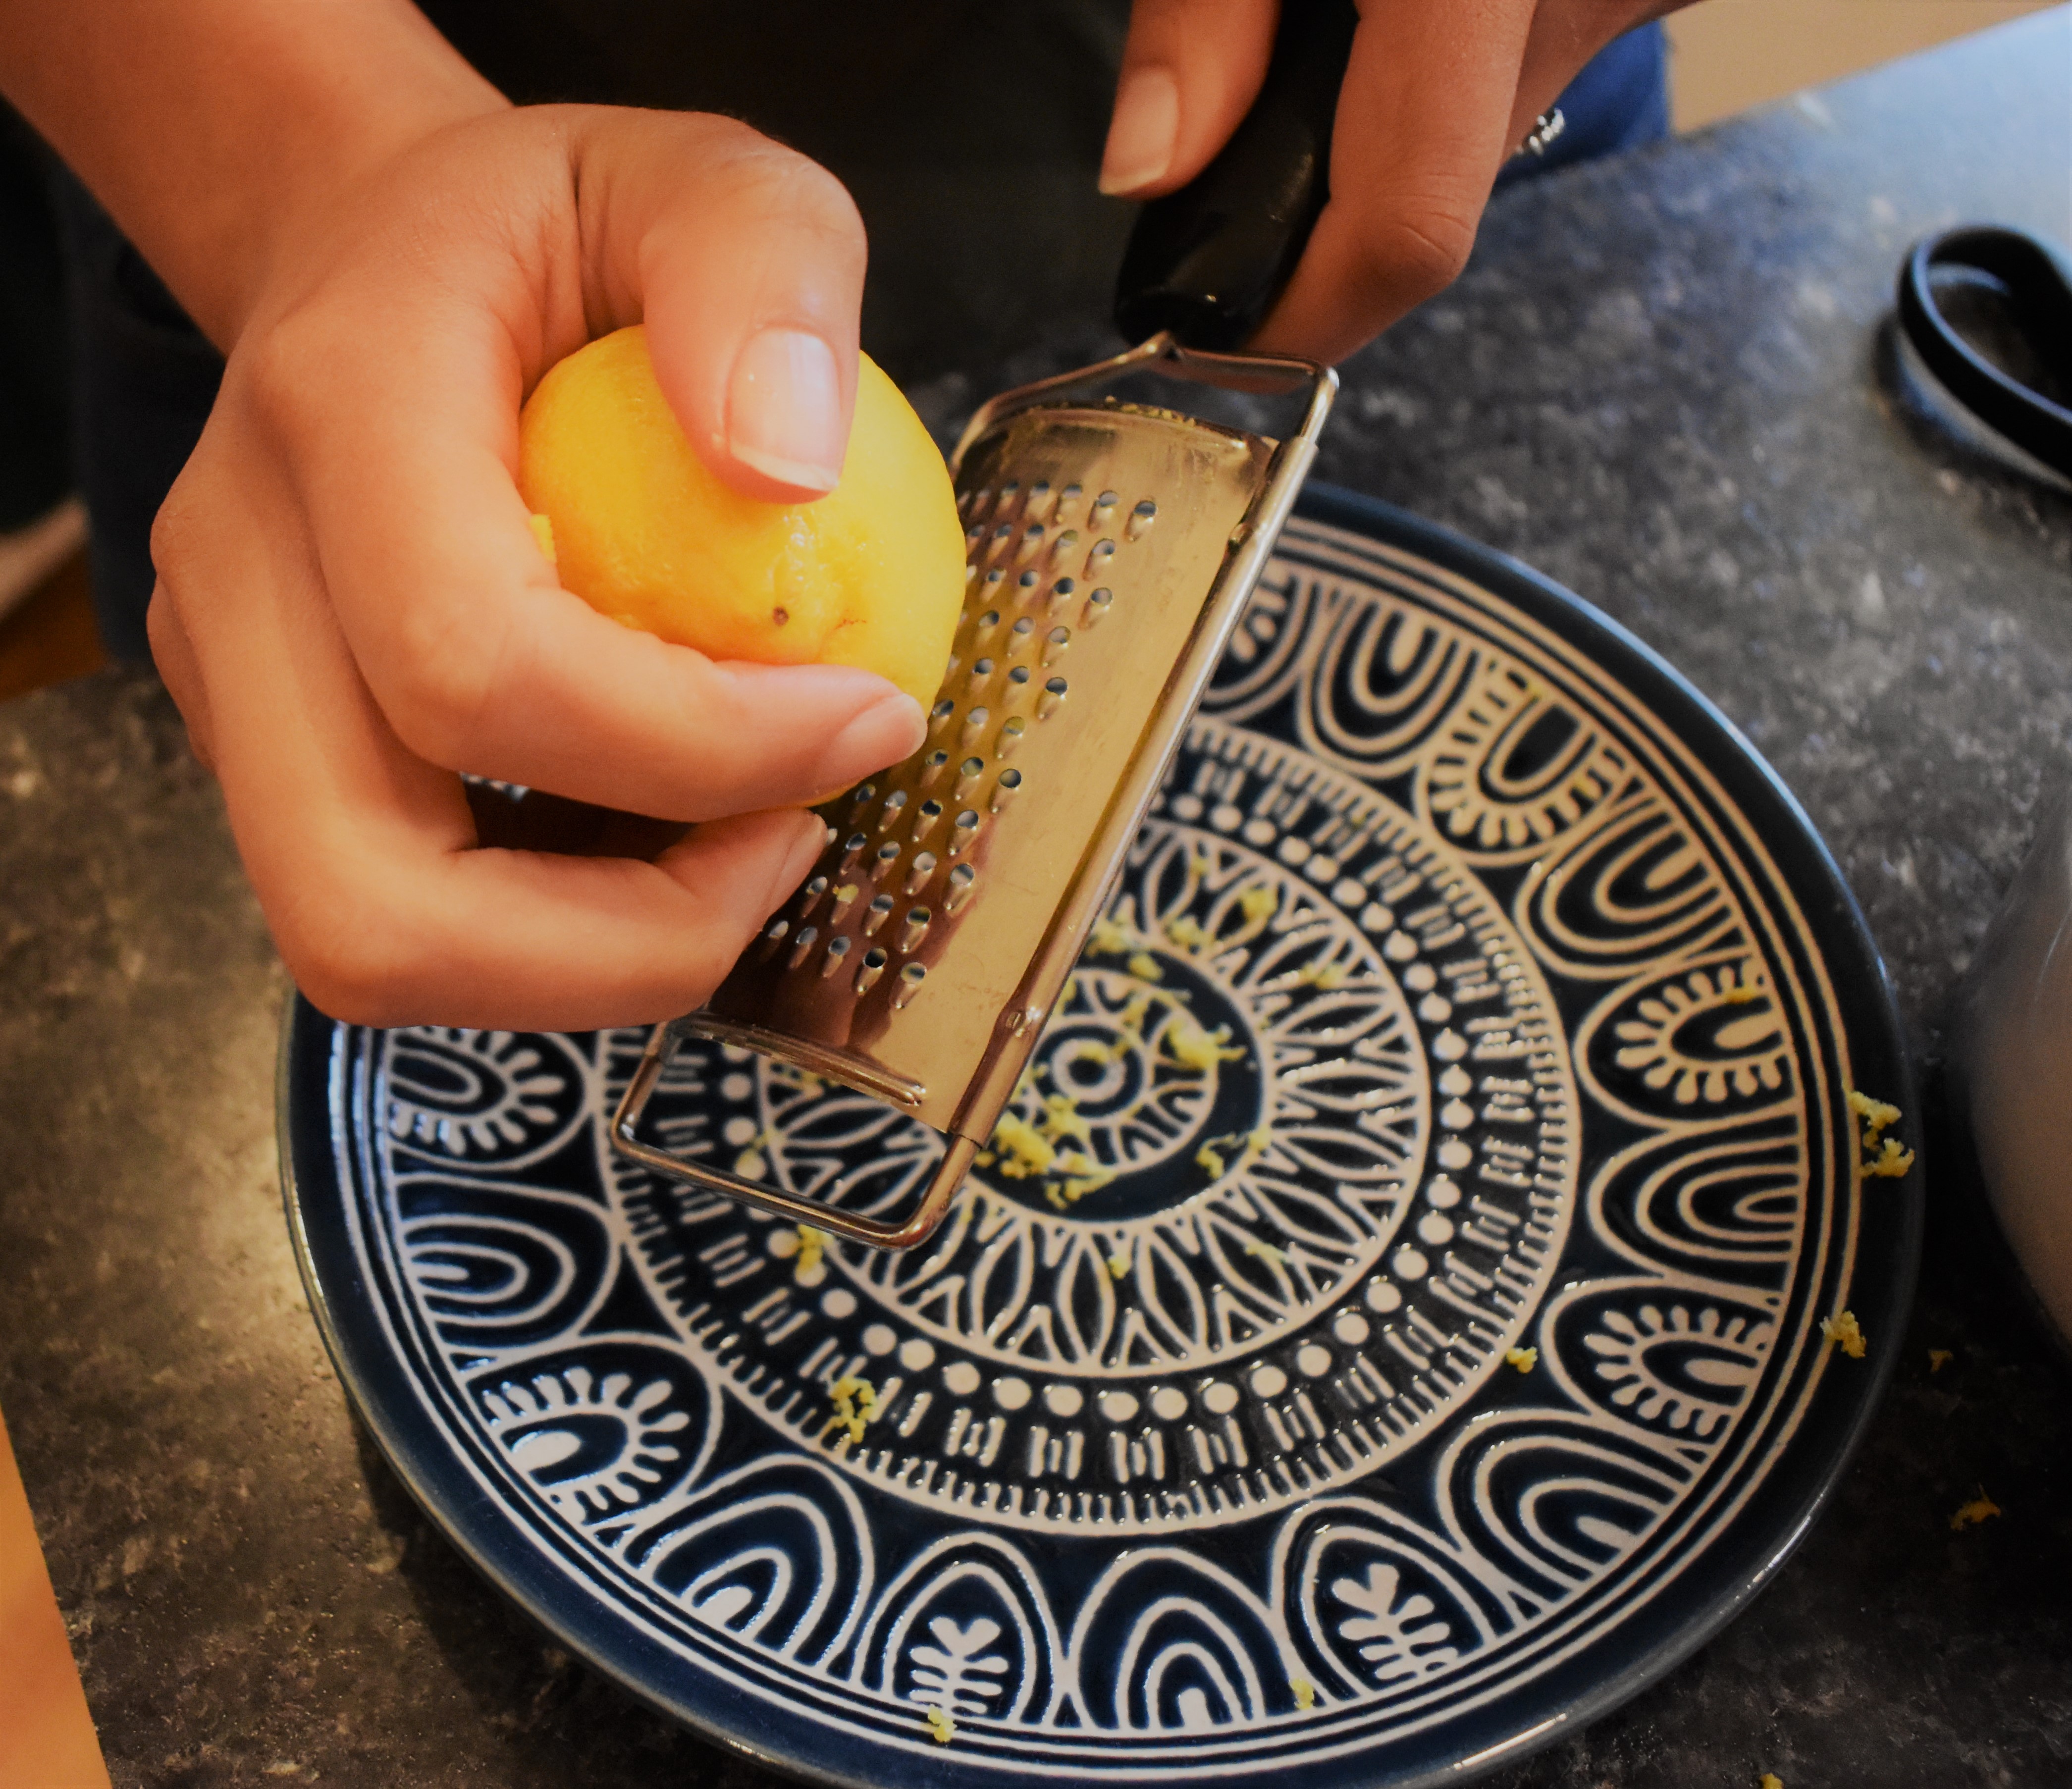
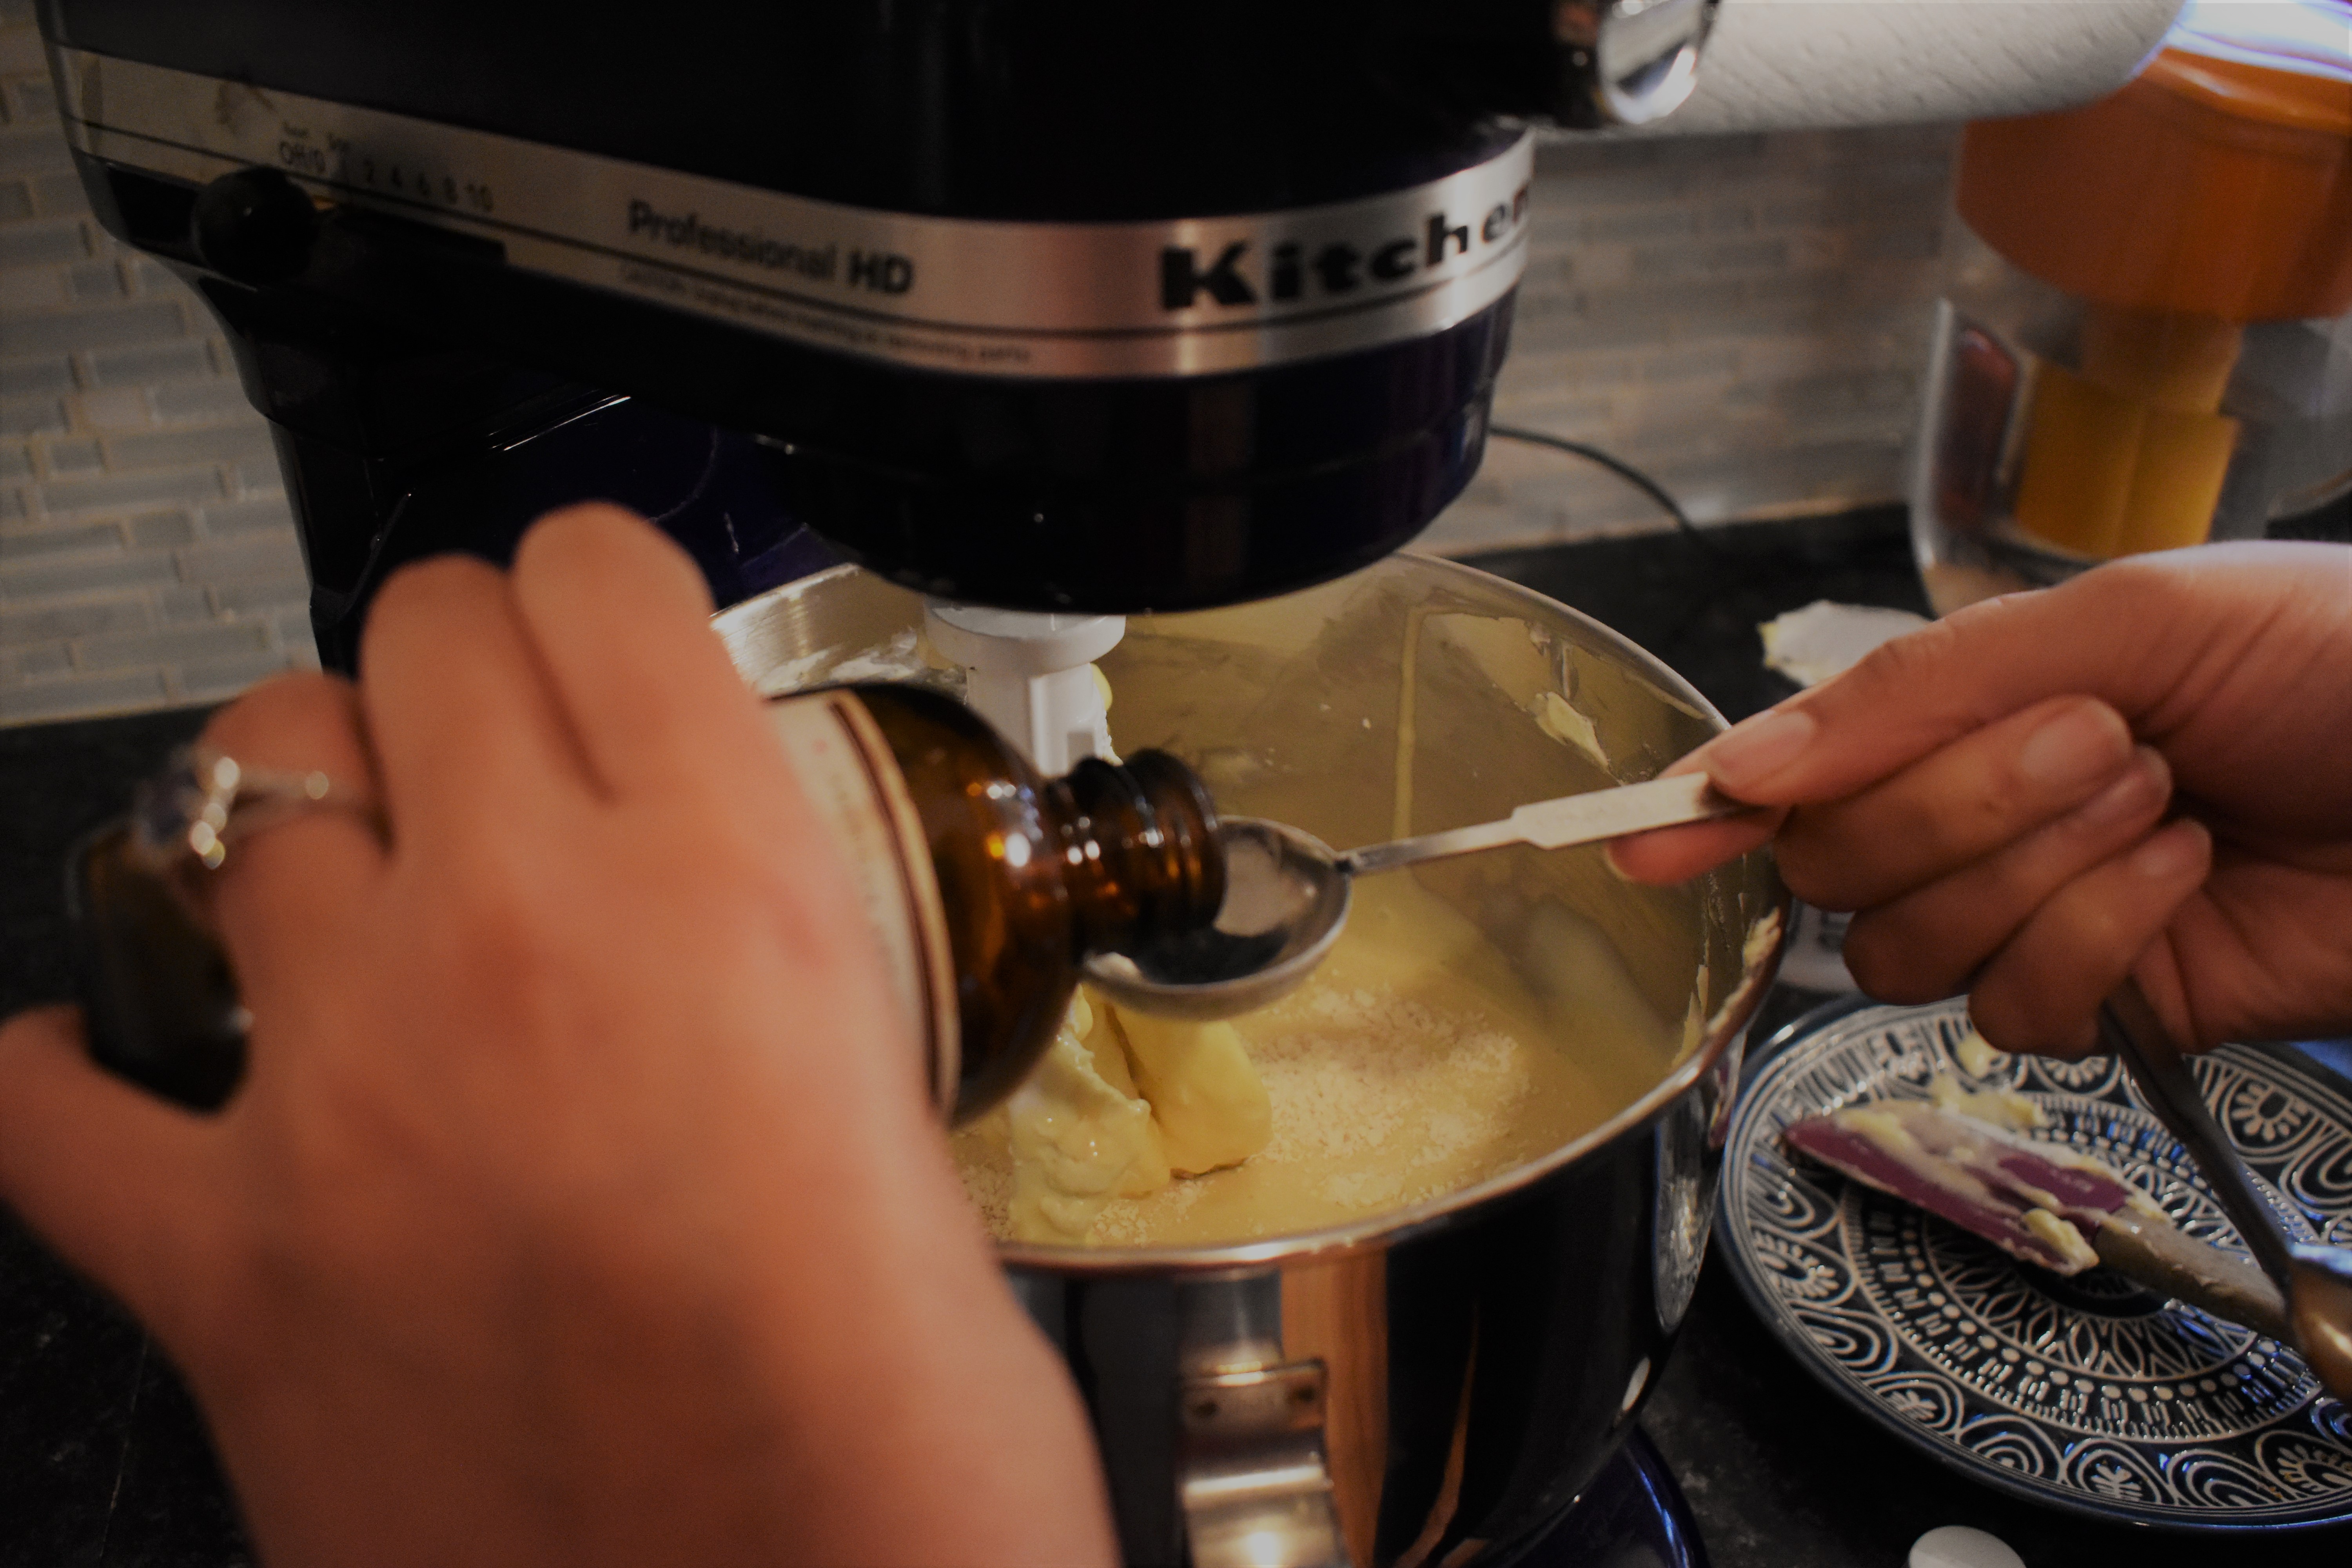
- Add the sour cream, flour, vanilla, lemon zest, lemon juice, and salt. Continue to mix until smooth.
- Pour mixture onto the prepared crust and apple mixture.
- Bake for 1hr and 30min. Once that is over turn off oven and prop open with a wooden utensil to cool for 1hr. After that hour allow to cool for 5hrs on the countertop.

Caramel Topping and the Finished Product
- After the cheesecake has cooled it can be topped with the caramel.
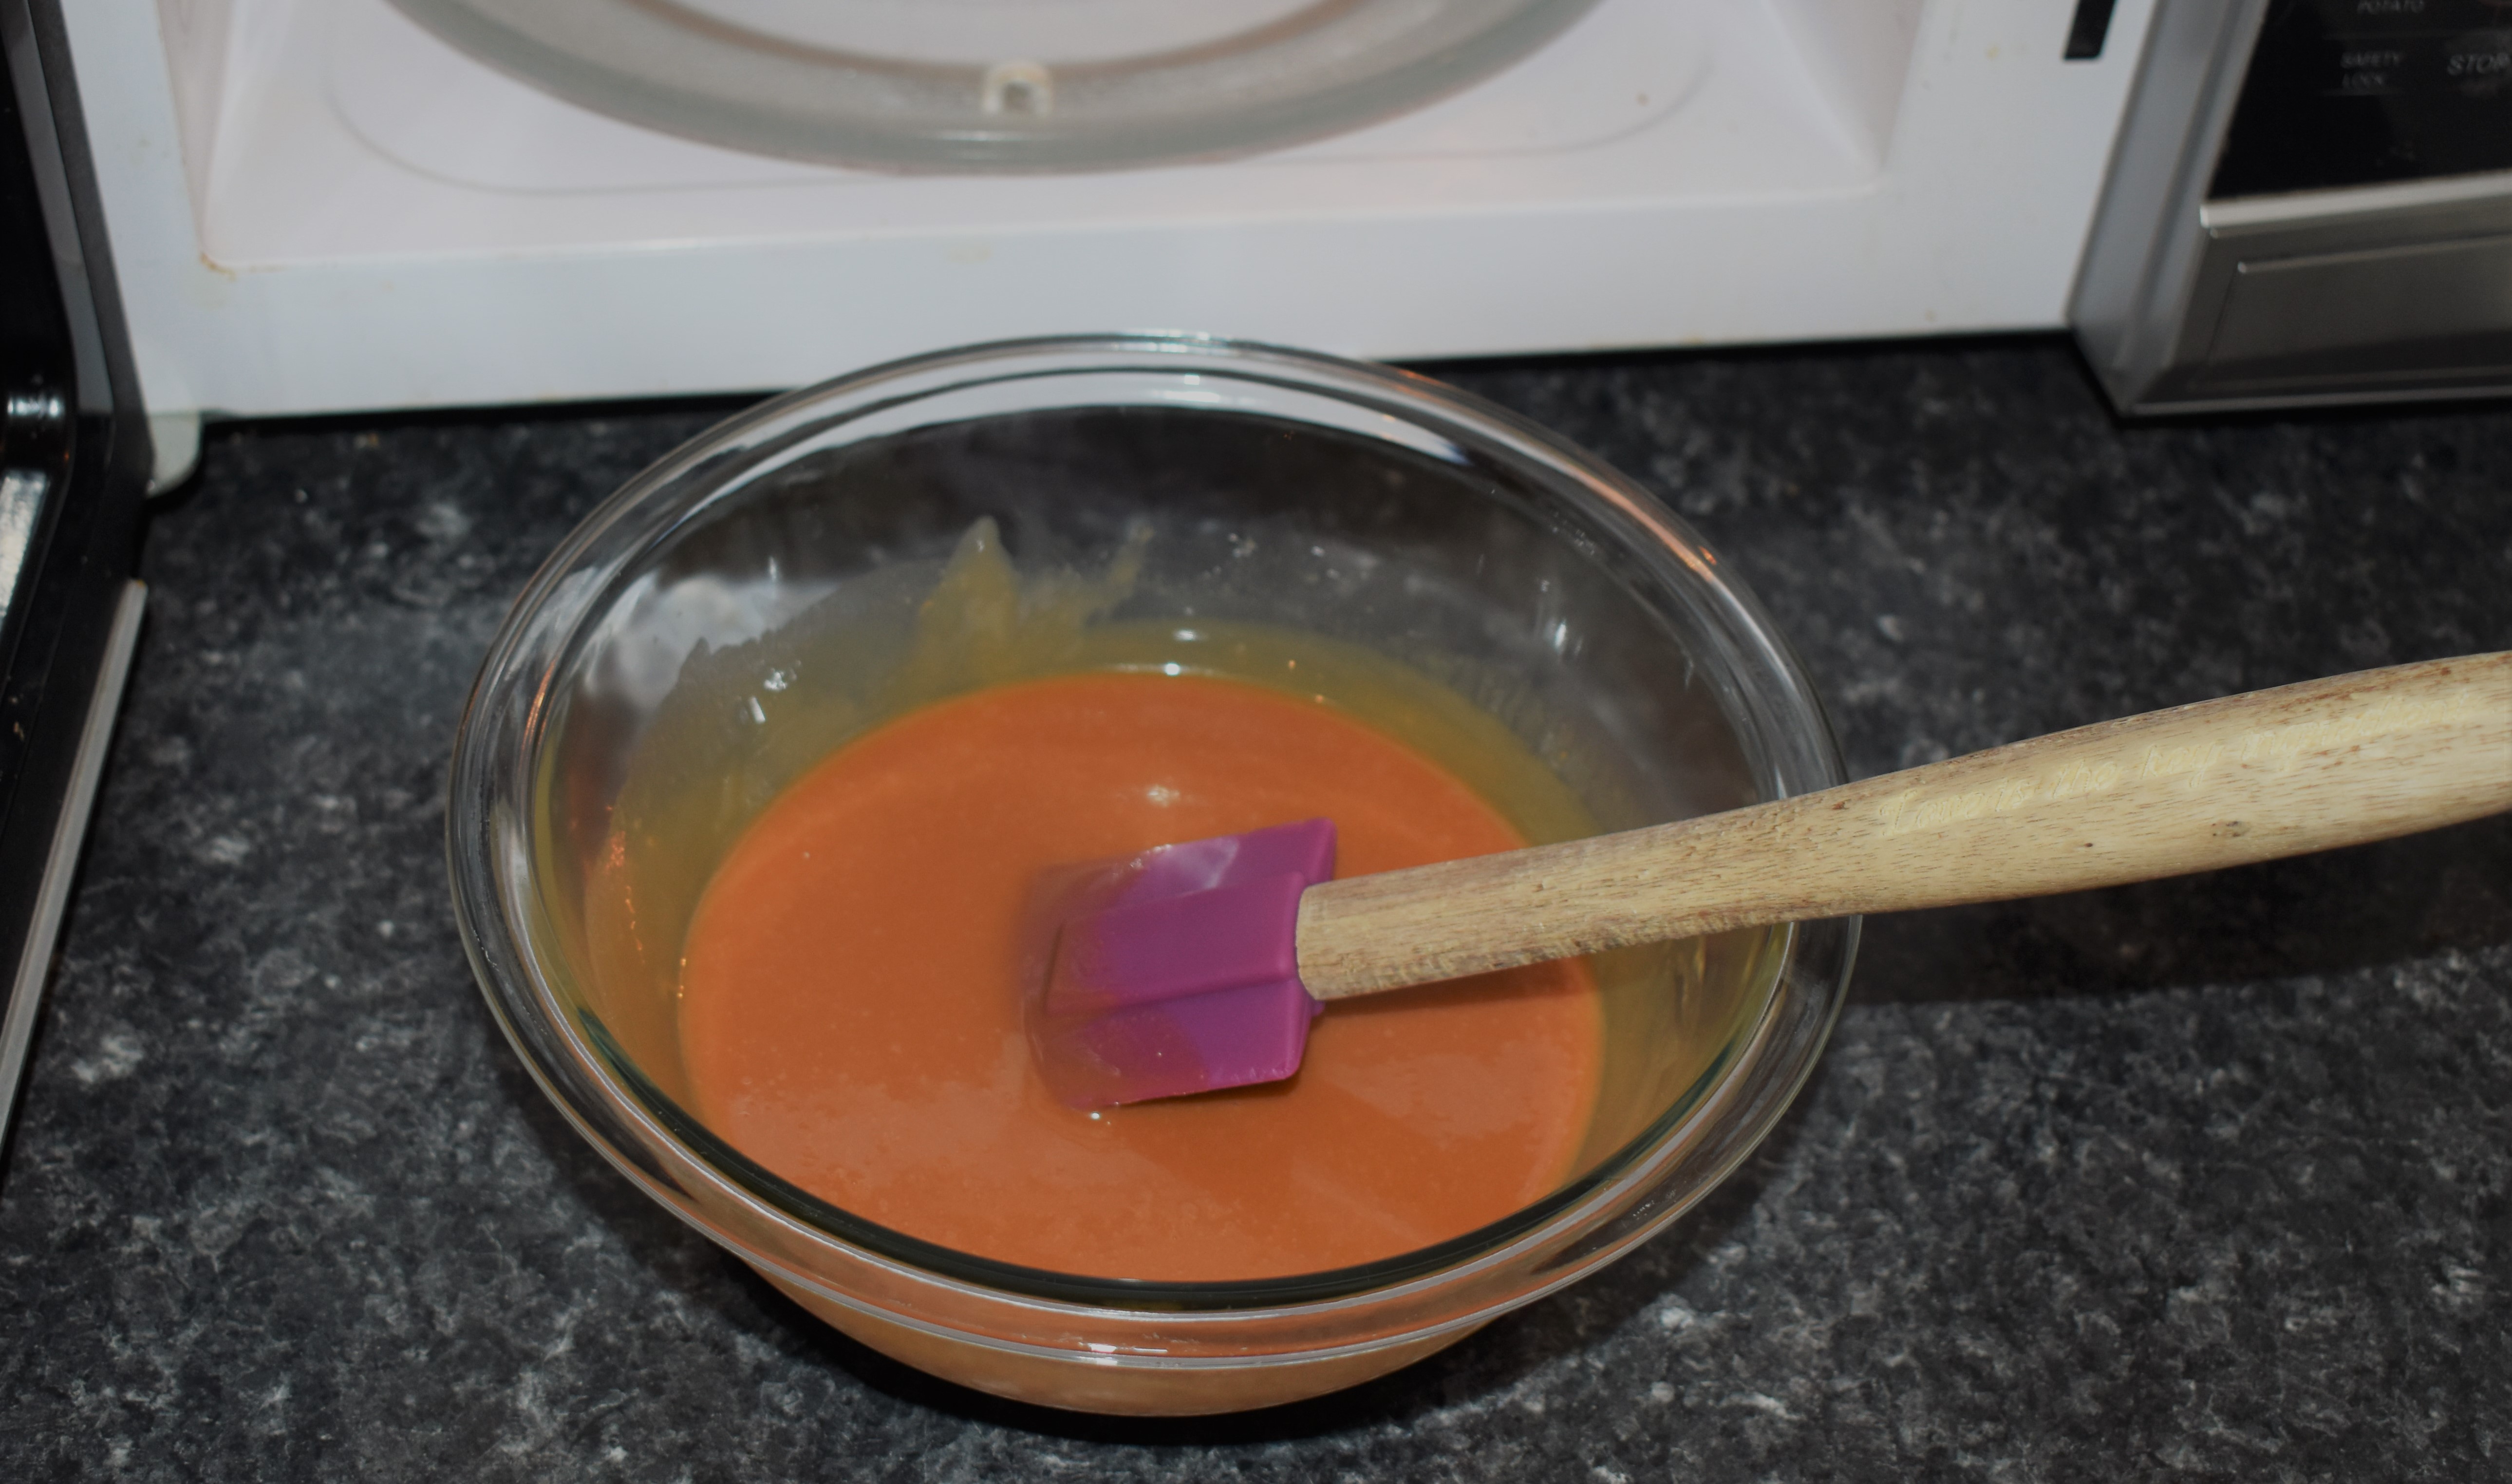
- Add the caramel pieces and milk to a microwave safe bowl, I prefer glass for this.
- Microwave for 30sec then stir. Continue microwaving at 30sec intervals until the mixture is smooth.
- Pour the caramel mixture on top of the cheesecake. Refrigerate the cheesecake until the caramel topping is completely cool.


So how was it?
I love this cheesecake. It is my favorite version of cheesecake, it’s a mix of apple pie and cheesecake. The apples are soft, sweet, and well seasoned. The cheesecake is creamy and light. The caramel on top makes it feel extra special. I normally don’t serve this with anything else, but a cup of coffee can help balance the sweetness.
Cutting into this cake can be frustrating. Even when cold it can stick to everything, the knife, your hands, the plate. There is a great way to cut the cake into servings without the need to wash (or lick) your fingers between each cut. You won’t even need a knife. Cheesecake is very soft, even the crust is not very tough to get though. For this procedure I used a pastry scrapper. This utensil is a large rectangle of metal, with a handle on one side. To start, cut a piece of parchment paper that is as long as the radius of the cake and a little wider than twice the height of the cake. Fold the parchment paper around the pastry cutter (blade side) and press the blade down into the cake. Do this until you have portioned out the entire cake (I cut 12 slices). The parchment paper will stay in the cake as the pastry cutter is removed. When serving have a pair of scissors to cut the parchment paper to separate the slices. Would anyone like to see a video of this process? Here is a link to a video demonstrating the process. They used wax paper and a knife, but my knife went right through the paper. https://www.youtube.com/watch?v=x2axAzDOtZ4
I found that cling film stuck way too well to the caramel, removing that layer completely, so the extra parchment paper sticking up from the cake kept the cling film away from the caramel.
How long did it really take?
Cheesecake takes a very long time. Each step can be time consuming, then there is the long bake time and cooling time. It took nearly 2 hours to bring the cream cheese up to room temperature. I spent 8 mins getting the rest of the ingredients and tools out. The crust was my first step which took 5 minutes to prep, and baked for 25 min. I continued with the process while the crust baked. The apples took 6 minutes to prep and 8 minutes to cook. This was active cooking time, while the apples cooked I stayed attentive to it instead of moving on to the filling. So, that was 14 minutes of cooking time. The filling took 16 minutes to prep and mix together. The apple mixture and cheesecake mixture were ready after 30 minutes, so the crust was out of the oven and cooling for 5 minutes while I was finishing that. The cheesecake then baked for 1 hour and 30 minutes, cooled in the oven for 1 hour, and cooled on the counter for 5 hours.
This brings us to 2 hours of inactive prep, 42 minutes of active prep and cooking time, 1 hour and 30 minutes of baking, and 6 hours of cooling. The topping took 3 minutes to prepare and another 2 hours to cool. All together that is 12 hours and 15 minutes. This is definitely something you’ll want to plan ahead of time. If you need the cake for an event, plan on cooking it the day before and allowing plenty of time to cool in the refrigerator before serving. Cut the slices while the cake is very cool, it’ll be less messy. It’s even less messy to cut partially frozen, but that is a whole other chunk of time that I did not do for this.
But at what cost?
This recipe has many ingredients, most of these things I had in my pantry and don’t buy frequently. Most of the spices are reasonable priced, with the exception of cardamom. Cardamom is often $7-18 for a 1.5 oz jar. I’ll go over the main ingredients and leave out common items and the spices.
- Cream Cheese, 4 packs of 8 oz – $7.68
- Eggs, 4 – $0.56
- Graham crackers – $3.12
- Apples, 3 – $2.19
- Sour cream – $0.36
- Caramel – $1.98
- Milk – $0.14
- TOTAL – $13.84 for 12 servings
- $1.15 per serving (but who eats just one slice of cake?)
What about the nutrition facts? How dare I bring up nutrition in a dessert blog? Yeah, still gotta consider it sometimes. So, for those who are interested I have done the math. There are about 680 calories per slice. These calories are made up of 45g of fat, 62g of carbs, and 9g of protein. It’s a dessert, so that makes sense. To cut down on some of this you can use low fat cream cheese and reduce the amount of sugar in the recipe. I have a great version with lower fat and sugar if anyone is interested.
Final thoughts
I love this cheesecake, it’s my favorite version. It was one of the first recipes that I changed to suit my own tastes when I was younger. What you see here was years in the making. I learned so much from each change I made, writing down my impressions every time. Of course, if you don’t like apples they can be left out. Blueberries, strawberries, and raspberries make a great substitution. The crust can be nearly any kind of cookie you prefer. Cheesecake can be altered to suit many tastes. Once you have the base and the knowhow, anything is possible.
Over the course of a week I can eat the entire thing, and I will if I don’t have to share. If you don’t finish the cheesecake within a week consider freezing the extra slices. They can be wrapped in clingwrap and frozen individually for easy serving later. When defrosting, remove the clingwrap while it is still frozen, it’s too messy once defrosted.
So let me know what you think about it in the comments, and I’ll have my video out soon!
